Easy & Affordable DIY Organizers to Tidy Up Limited Spaces
Easy & Affordable DIY Organizers to Tidy Up Limited Spaces
In today's world, where living spaces are shrinking and clutter seems to accumulate effortlessly, finding smart storage solutions is more crucial than ever. Limited spaces, such as small apartments, dorm rooms, or compact offices, often pose a challenge when it comes to organization. However, with a bit of creativity and DIY spirit, you can transform everyday items into functional organizers that not only tidy up your space but also save money. This article explores a variety of easy and affordable DIY organizers, drawing inspiration from popular international websites. We'll delve into detailed methods, discussing their advantages and disadvantages, and provide step-by-step guides to help you reclaim your space. DIY organizers are not just about saving money; they offer customization to fit your exact needs, promote sustainability by repurposing materials, and can be a fun, rewarding activity. In limited spaces, every inch counts, and these projects maximize vertical storage, utilize underutilized areas, and reduce visual clutter.
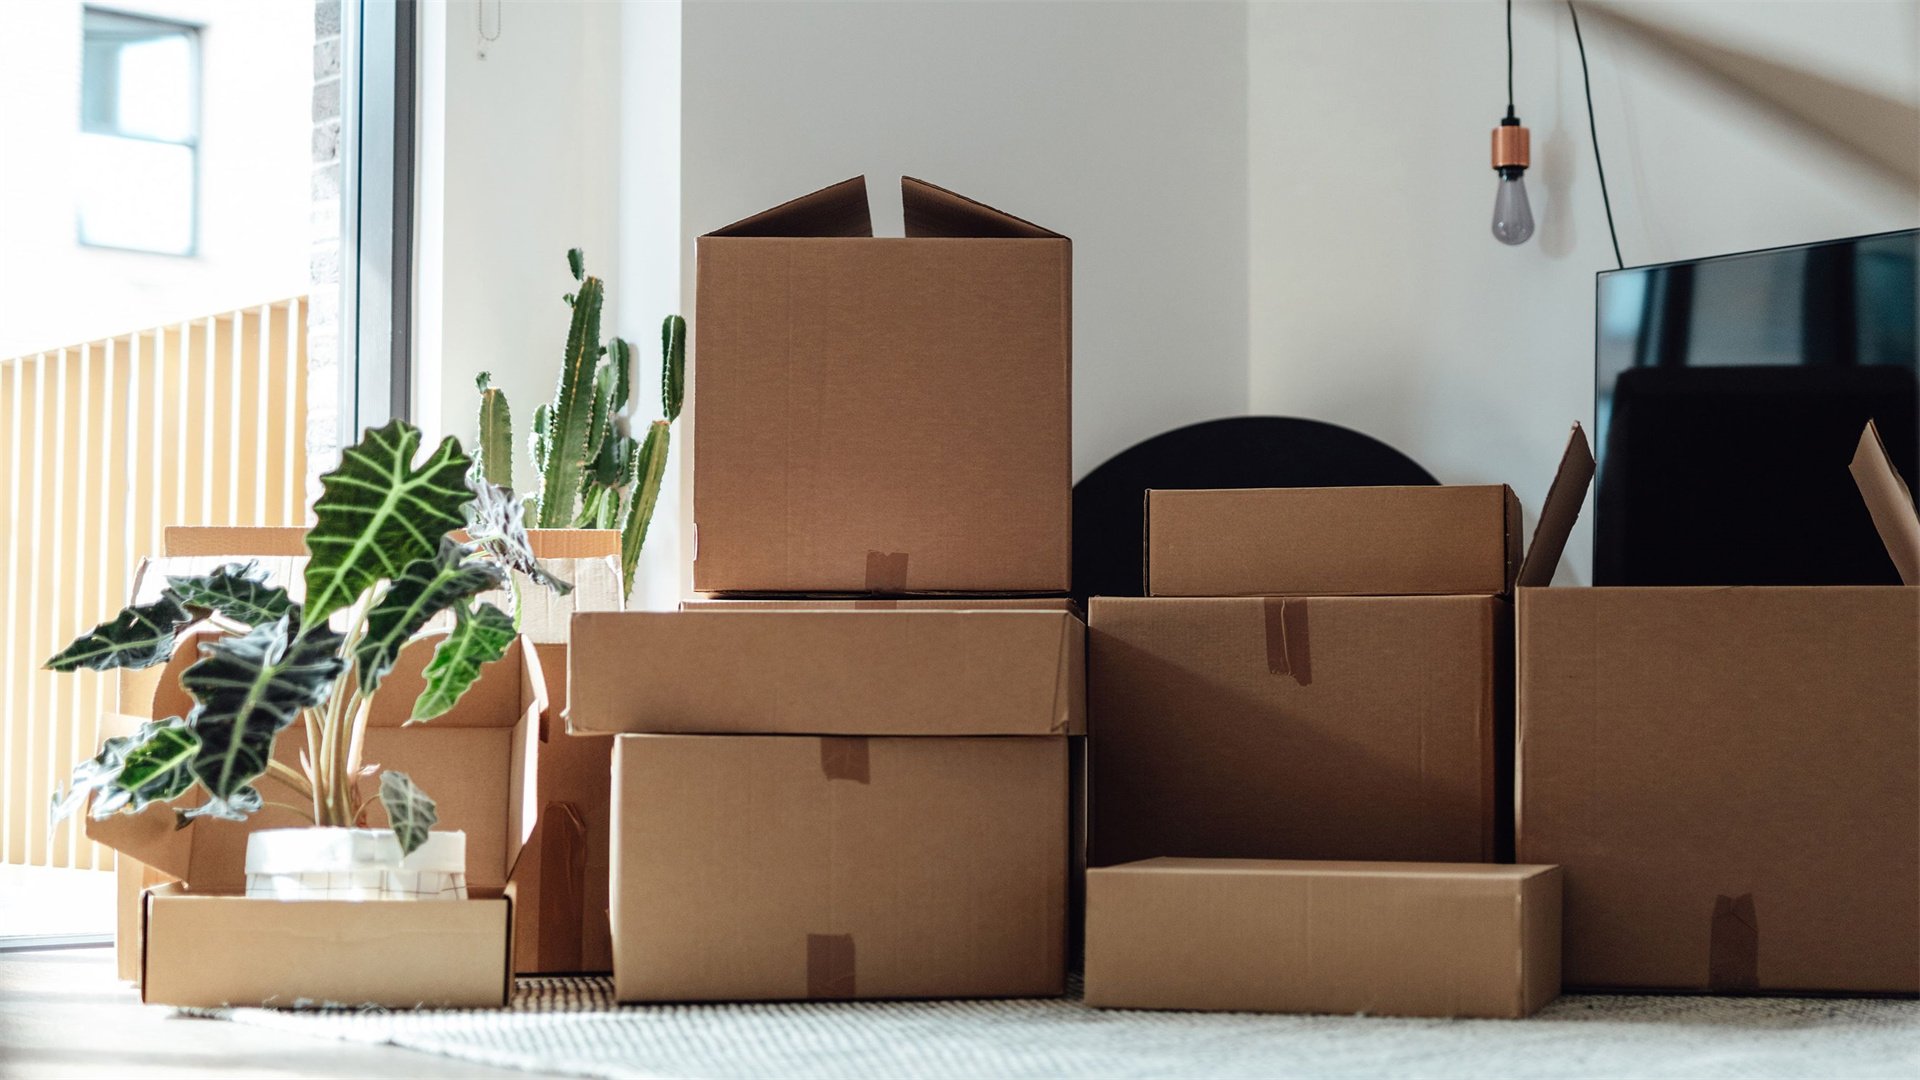
📦 Method 1: Cardboard Box Storage Bins
Cardboard boxes are a staple in DIY organization due to their availability, low cost, and versatility. They can be transformed into stylish storage bins for closets, shelves, or under-bed storage. This method is perfect for organizing items like clothing, books, or miscellaneous goods in limited spaces.
✅ Advantages of Cardboard Box Storage Bins
- Cost-Effective: Cardboard boxes are often free or inexpensive, especially if sourced from deliveries or recycling centers.
- Customizable: You can cut, fold, and decorate them to match your space's dimensions and style.
- Eco-Friendly: Repurposing cardboard reduces waste and promotes sustainability.
- Lightweight: These bins are easy to move around, making them ideal for flexible storage solutions.
❌ Disadvantages of Cardboard Box Storage Bins
- Durability Issues: Cardboard can weaken over time, especially when exposed to moisture or heavy loads.
- Limited Weight Capacity: They are not suitable for storing very heavy items.
- Aesthetic Limitations: Without proper decoration, they may look makeshift or unattractive.
- Fire Hazard: Cardboard is flammable, so avoid using near heat sources.
🔨 How to Make Cardboard Box Storage Bins: A Step-by-Step Guide
- Gather Materials: You'll need cardboard boxes, a utility knife, ruler, pencil, strong glue, and decorative materials.
- Prepare the Box: Flatten the box and cut it to your desired dimensions for the bin.
- Reinforce the Structure: Add extra layers of cardboard to the base and sides for durability.
- Assemble the Bin: Fold the cardboard, apply glue to edges, and secure. Use clamps while drying.
- Add Handles and Decorations: Cut handle holes and decorate with paint, fabric, or paper.
- Implement in Your Space: Place the bin in closets, under beds, or on shelves. Stack multiple bins vertically.
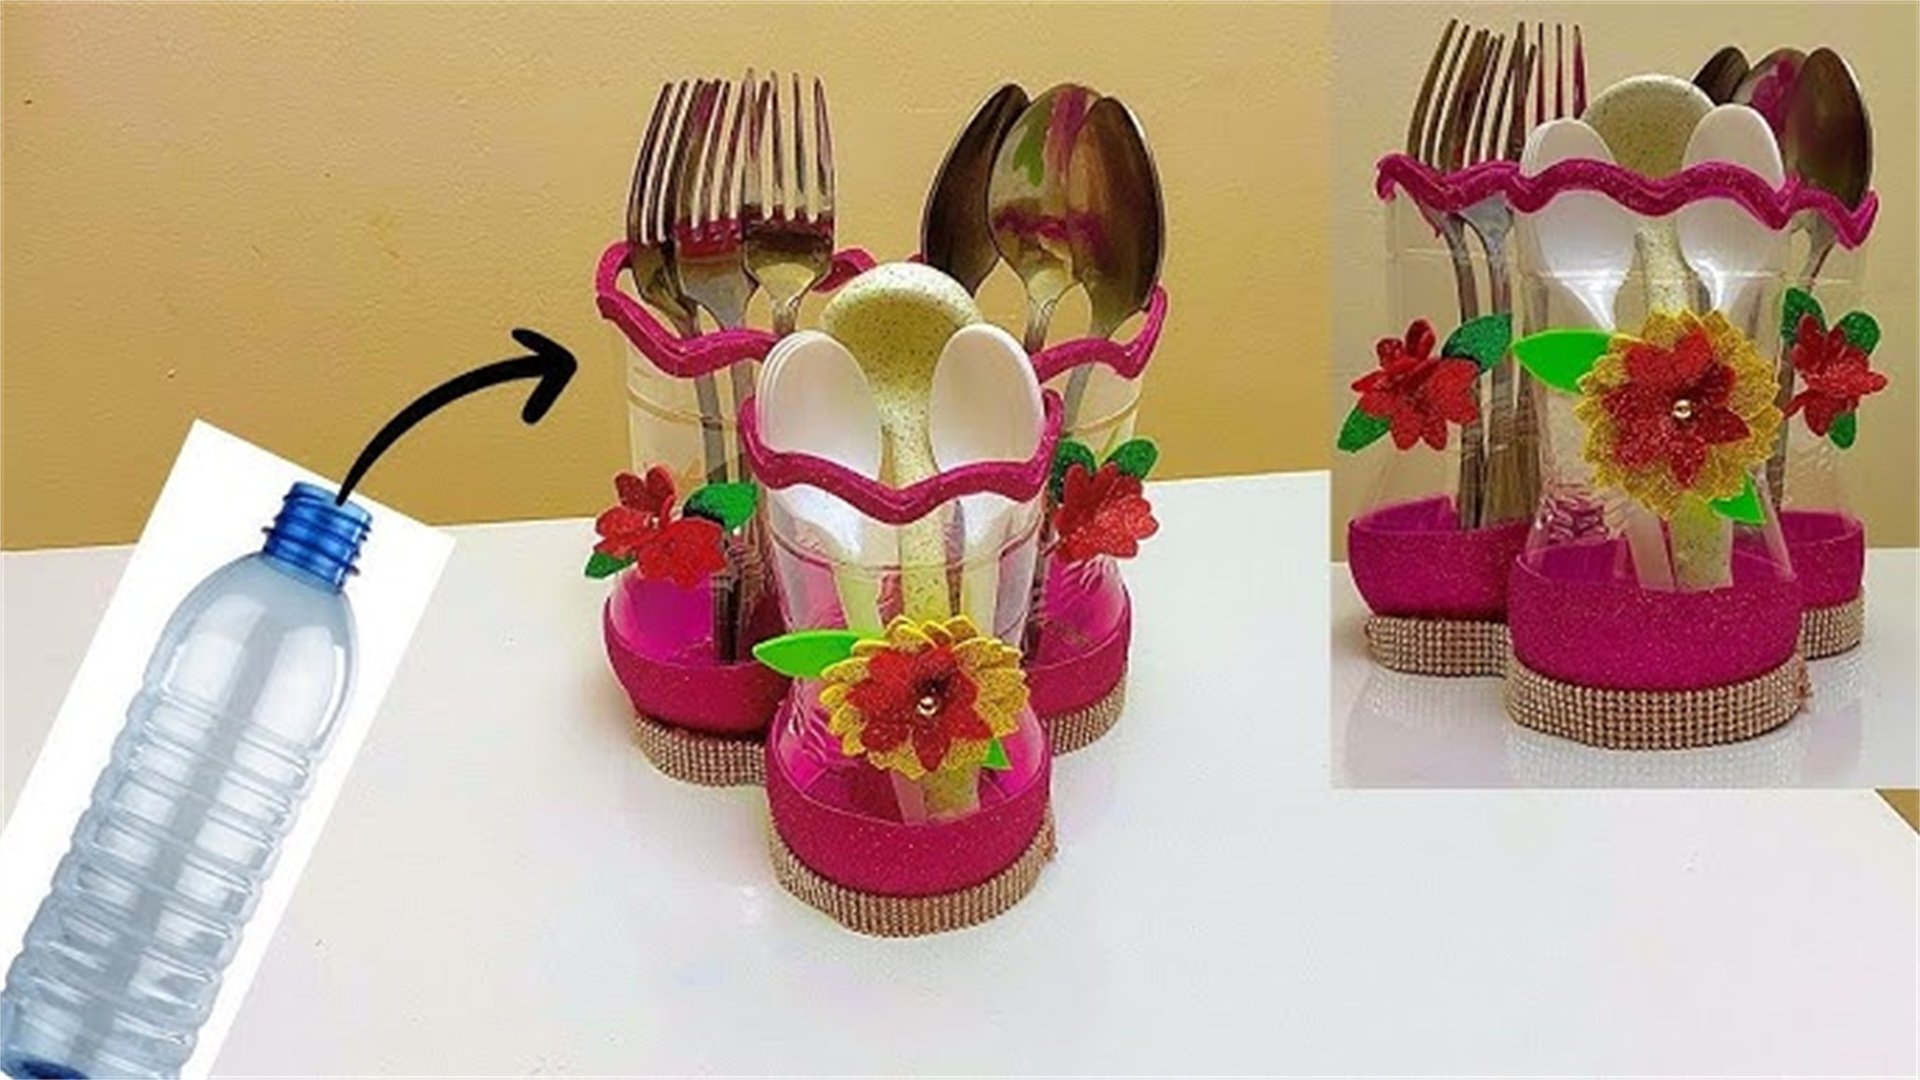
🧴 Method 2: Plastic Bottle Organizers
Plastic bottles are ubiquitous waste items that can be upcycled into handy organizers for small items like pens, utensils, or cosmetics. This method is ideal for tackling clutter on desks, bathroom counters, or kitchen shelves in limited spaces.
✅ Advantages of Plastic Bottle Organizers
- Zero Cost: Using discarded bottles is free and reduces plastic pollution.
- Water-Resistant: Plastic is durable against moisture, suitable for wet areas.
- Transparent Options: Clear bottles allow you to see contents easily.
- Versatile Shapes: Enables creative designs like tiered or hanging organizers.
❌ Disadvantages of Plastic Bottle Organizers
- Sharp Edges: Cutting plastic can leave rough edges requiring careful sanding.
- Limited Aesthetics: May look cheap without decoration.
- Not Biodegradable: Plastic itself is not biodegradable.
- Size Constraints: Limits storage to small objects.
🔨 How to Make Plastic Bottle Organizers: A Step-by-Step Guide
- Collect and Clean Bottles: Gather bottles, remove labels, and rinse thoroughly.
- Cut and Shape: Cut bottles to preferred height and smooth edges.
- Decorate and Personalize: Paint or wrap bottles to enhance appearance.
- Add Compartments (Optional): Glue multiple bottles together for multi-section organizers.
- Create Hanging Mechanisms: Attach strings or hooks for wall mounting to save space.
- Organize Your Items: Place organizers on shelves, desks, or walls for stationery, utensils, etc.
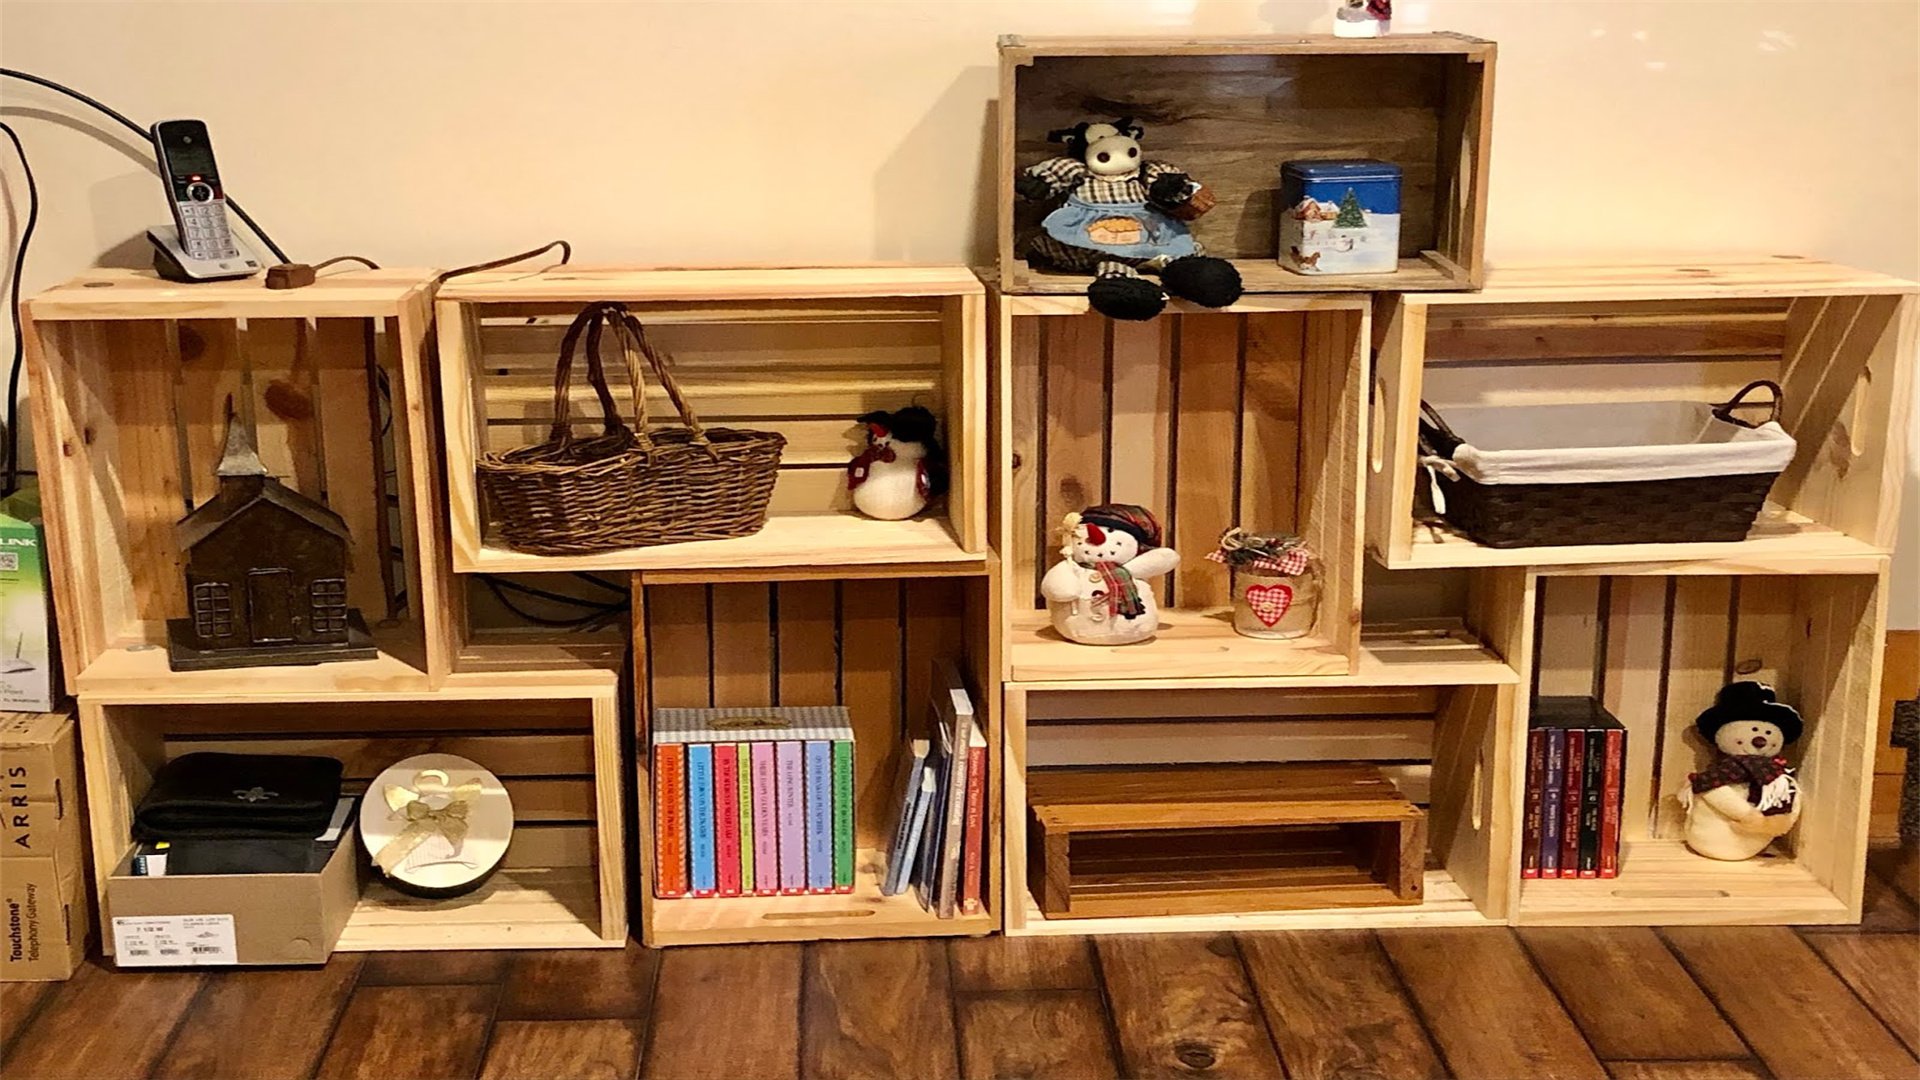
🎉 Method 3: Wooden Crate Shelving Units
Wooden crates can be assembled into sturdy shelving units that provide ample storage in limited spaces. This method adds a rustic or modern touch while offering flexible configurations for books, plants, or decorative items.
✅ Advantages of Wooden Crate Shelving Units
- Robust and Durable: Wood is strong and can support heavier items.
- Modular Design: Crates can be stacked, arranged sideways, or wall-mounted.
- Aesthetic Appeal: Natural look that can be stained or painted to complement décor.
- Multi-Functional: Serves as both storage and display areas.
❌ Disadvantages of Wooden Crate Shelving Units
- Higher Cost: May cost more than free materials like cardboard.
- Heavier Weight: Bulkier and harder to move frequently.
- Requires Basic Tools: Assembly might need drills, screws, or sandpaper.
- Potential Splinters: Rough edges require sanding for safety.
🔨 How to Make Wooden Crate Shelving Units: A Step-by-Step Guide
- Source and Prepare Crates: Obtain crates, sand thoroughly, and stain/paint if desired.
- Plan Your Layout: Measure space and sketch a shelving configuration.
- Assemble the Unit: Stack crates and secure with L-brackets and screws.
- Reinforce for Safety: Add extra support by gluing or nailing crates together.
- Customize with Features: Add hooks, fabric liners, or casters for mobility.
- Organize and Style: Place unit in room and use for books, plants, or essentials.
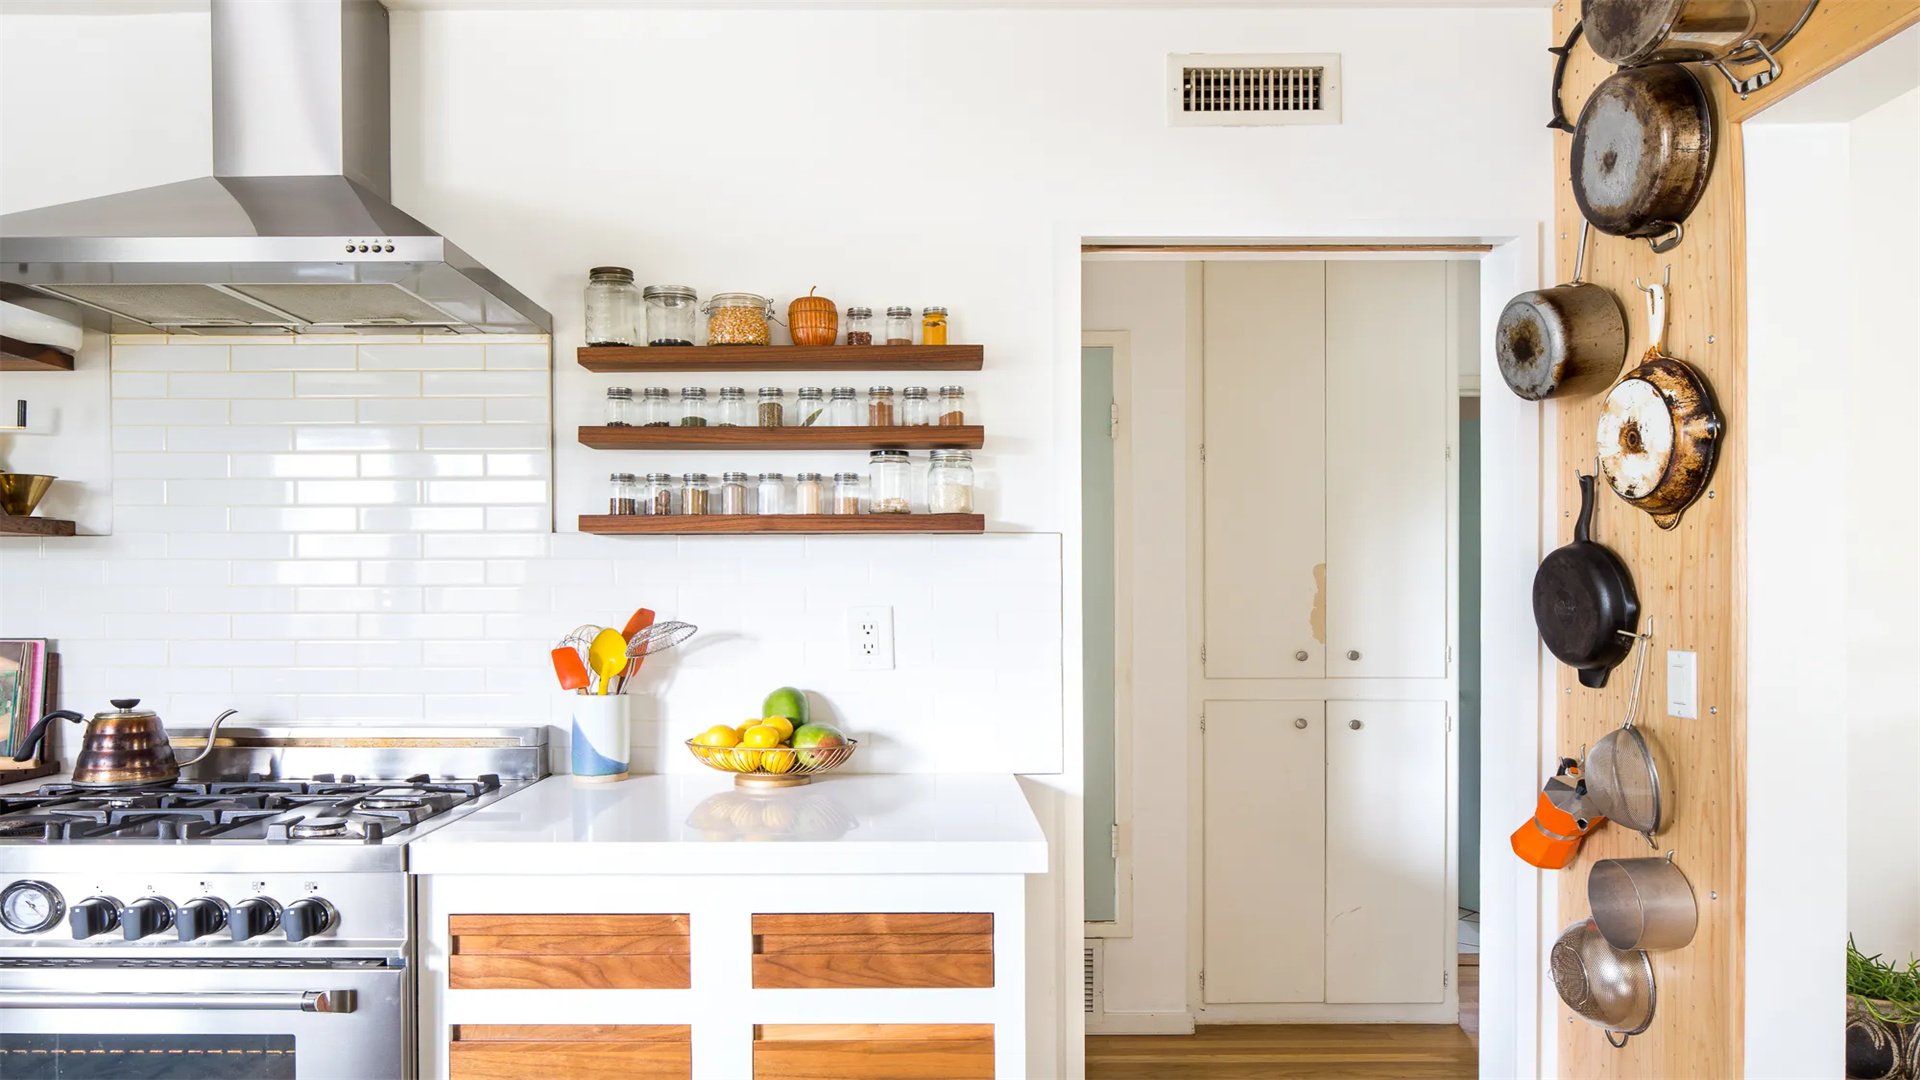
🧲 Method 4: Magnet Strip Tool Organizers
Magnet strips provide an ingenious way to organize metal tools, utensils, or stationery in limited spaces. Mounting a strip on a wall or inside a cabinet keeps items accessible and off counters.
✅ Advantages of Magnet Strip Organizers
- Space-Saving: Mounts vertically, utilizing unused wall space.
- Quick Access: Items are visible and within reach.
- Versatile: Can hold a variety of metal objects in different rooms.
- Easy Installation: Requires minimal tools and can be set up quickly.
❌ Disadvantages of Magnet Strip Organizers
- Limited to Metal Items: Only works with ferromagnetic materials.
- Strength Variations: Weaker strips might not hold heavier tools securely.
- Aesthetic Constraints: Industrial look may not suit all décors.
- Potential Damage: Improper mounting can damage walls.
🔨 How to Make Magnet Strip Organizers: A Step-by-Step Guide
- Choose Your Magnet Strip: Purchase a strip based on length and strength needs.
- Prepare the Surface: Clean the mounting surface and locate studs if necessary.
- Mount the Strip: Use adhesive or screws to secure the strip, ensuring it's level.
- Test and Adjust: Place items to check hold; reinforce if needed.
- Organize Your Items: Arrange tools or utensils on the strip, grouping similar items.
- Safety and Maintenance: Regularly check adherence and clean the strip.
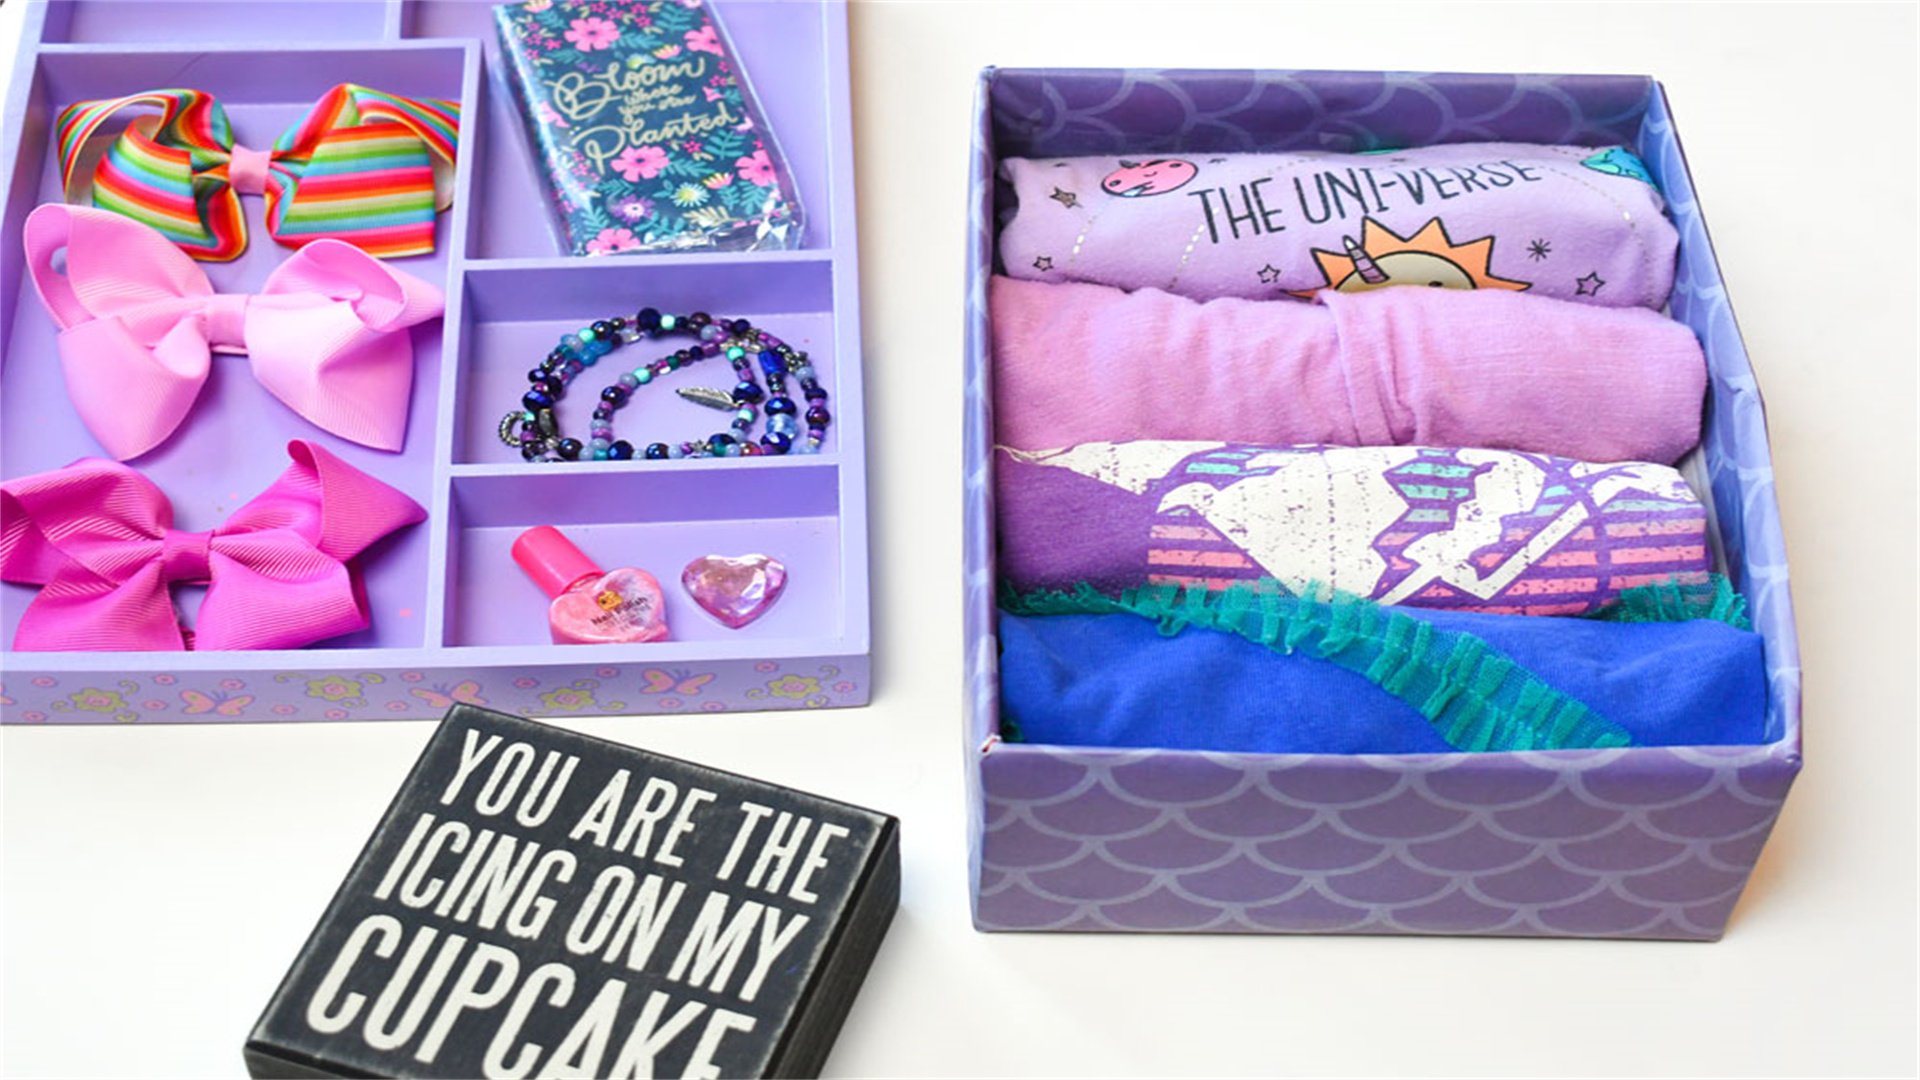
👟 Method 5: Shoebox Drawer Dividers
Shoeboxes make excellent drawer dividers to organize small items like socks, accessories, or craft supplies in limited spaces. This method is ultra-affordable and leverages common household waste.
✅ Advantages of Shoebox Drawer Dividers
- Free or Low-Cost: Shoeboxes are readily available from purchases.
- Custom Fit: Can be trimmed to fit any drawer size perfectly.
- Lightweight and Flexible: Easy to cut and rearrange as needs change.
- Discreet Storage: Keeps items hidden inside drawers for a tidy look.
❌ Disadvantages of Shoebox Drawer Dividers
- Fragility: Cardboard may wear out over time with frequent use.
- Moisture Sensitivity: Can be damaged by spills or humidity.
- Basic Aesthetics: Look plain without decoration, but are hidden.
- Limited Strength: Not suitable for heavy items.
🔨 How to Make Shoebox Drawer Dividers: A Step-by-Step Guide
- Collect and Measure Shoeboxes: Gather boxes and measure drawer dimensions.
- Cut and Reshape Boxes: Cut boxes to create dividers of desired heights and shapes.
- Reinforce if Needed: Line with adhesive paper or glue layers for durability.
- Arrange in Drawer: Experiment with layouts for an efficient configuration.
- Secure the Dividers: Use double-sided tape or a tight fit to keep boxes in place.
- Organize Contents: Fill compartments and label if desired for quick identification.
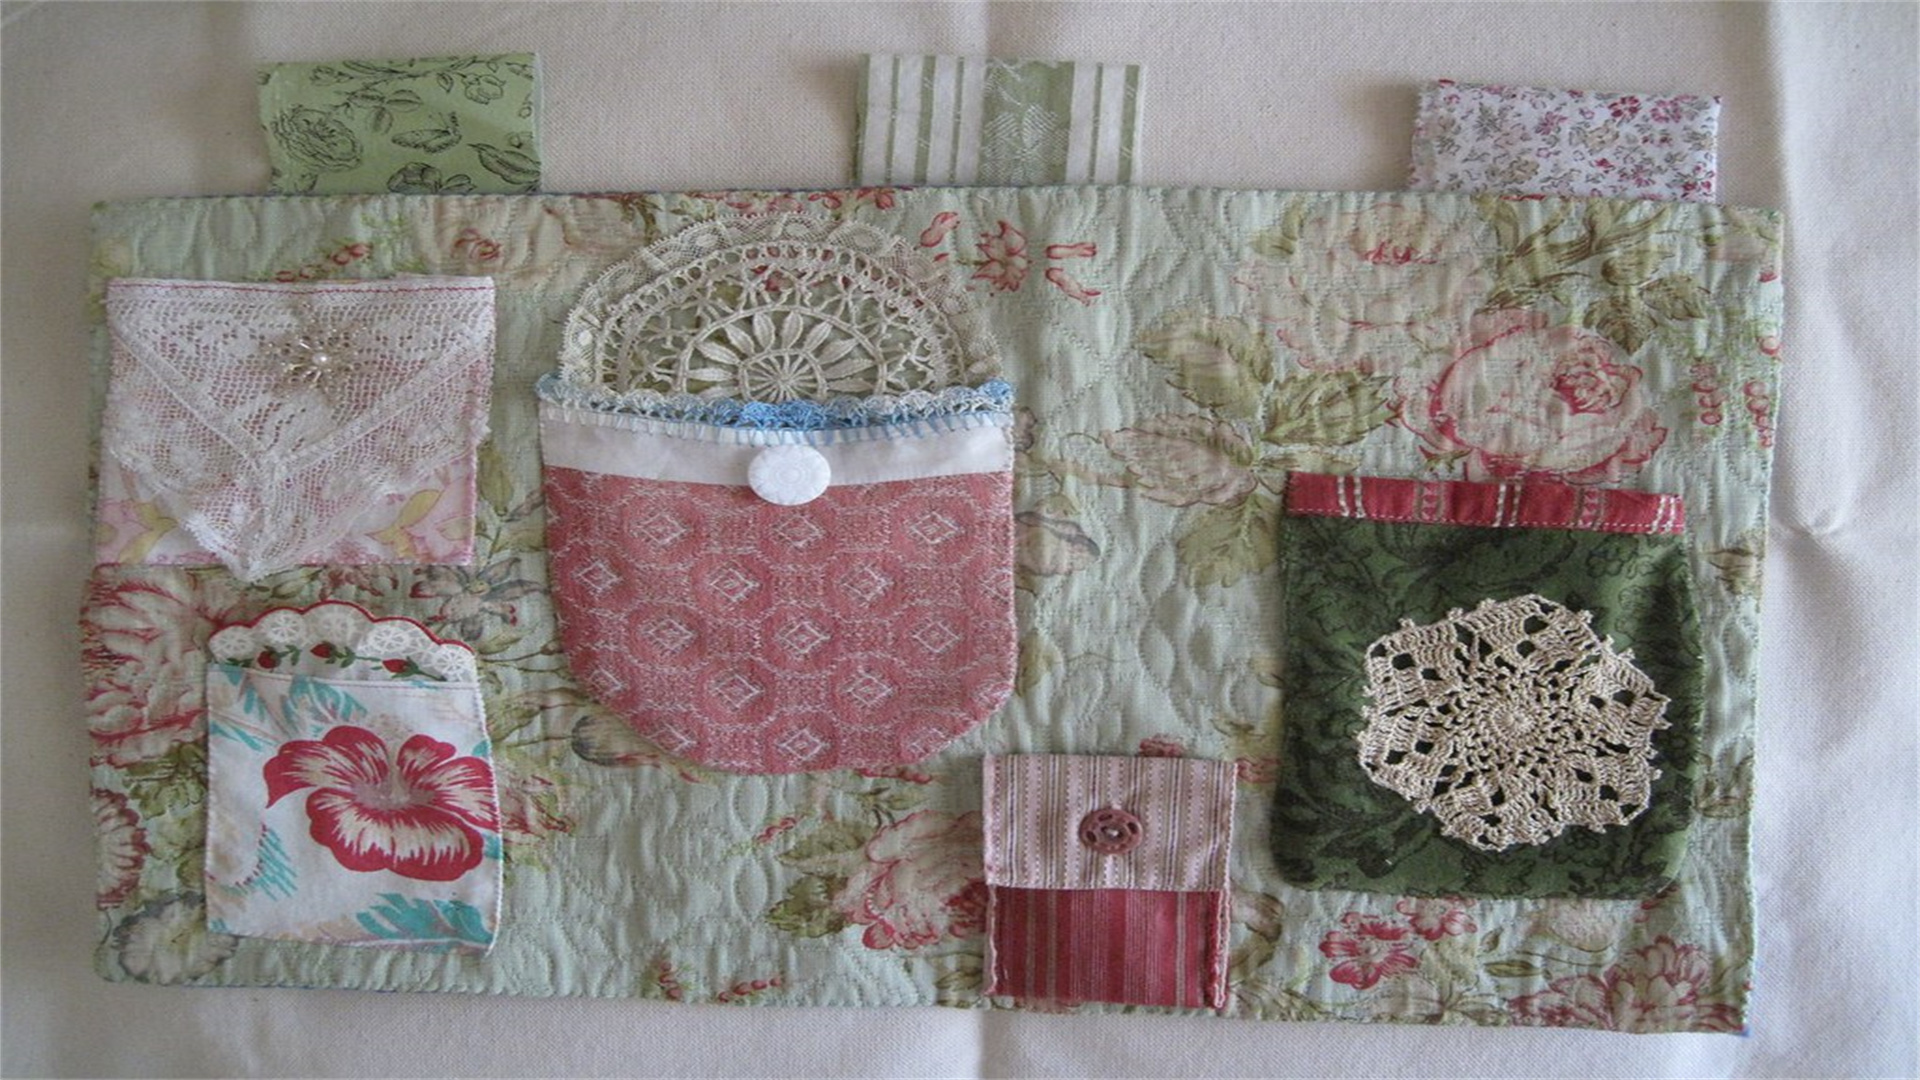
👕 Method 6: Hanging Fabric Pocket Organizers
Fabric pocket organizers are perfect for storing small items in limited spaces like closets or bathrooms. They maximize vertical space by hanging on doors or walls.
✅ Advantages of Hanging Fabric Pocket Organizers
- Maximizes Vertical Space: Hangs on doors or walls, saving floor space.
- Soft and Safe: Fabric is gentle and reduces noise.
- Washable and Durable: Can be made from sturdy, washable fabrics.
- Highly Customizable: Pocket sizes and numbers can be tailored.
❌ Disadvantages of Hanging Fabric Pocket Organizers
- Sewing Required: May need basic sewing skills, though no-sew options exist.
- Weight Limitations: Heavier items can cause sagging.
- Potential Clutter: Overfilled pockets can look messy.
- Space for Hanging: Requires a door, hook, or rod.
🔨 How to Make Hanging Fabric Pocket Organizers: A Step-by-Step Guide
- Choose Fabric and Design: Select durable fabric and measure hanging area.
- Cut and Prepare Pieces: Cut back panel and pocket pieces with seam allowances.
- Sew or Assemble Pockets: Sew or glue pockets onto the back panel.
- Add Hanging Mechanism: Attach a rod pocket, loops, or grommets at the top.
- Decorate and Finish: Embellish with ribbons or labels.
- Install and Use: Hang organizer and fill pockets with items like shoes or accessories.
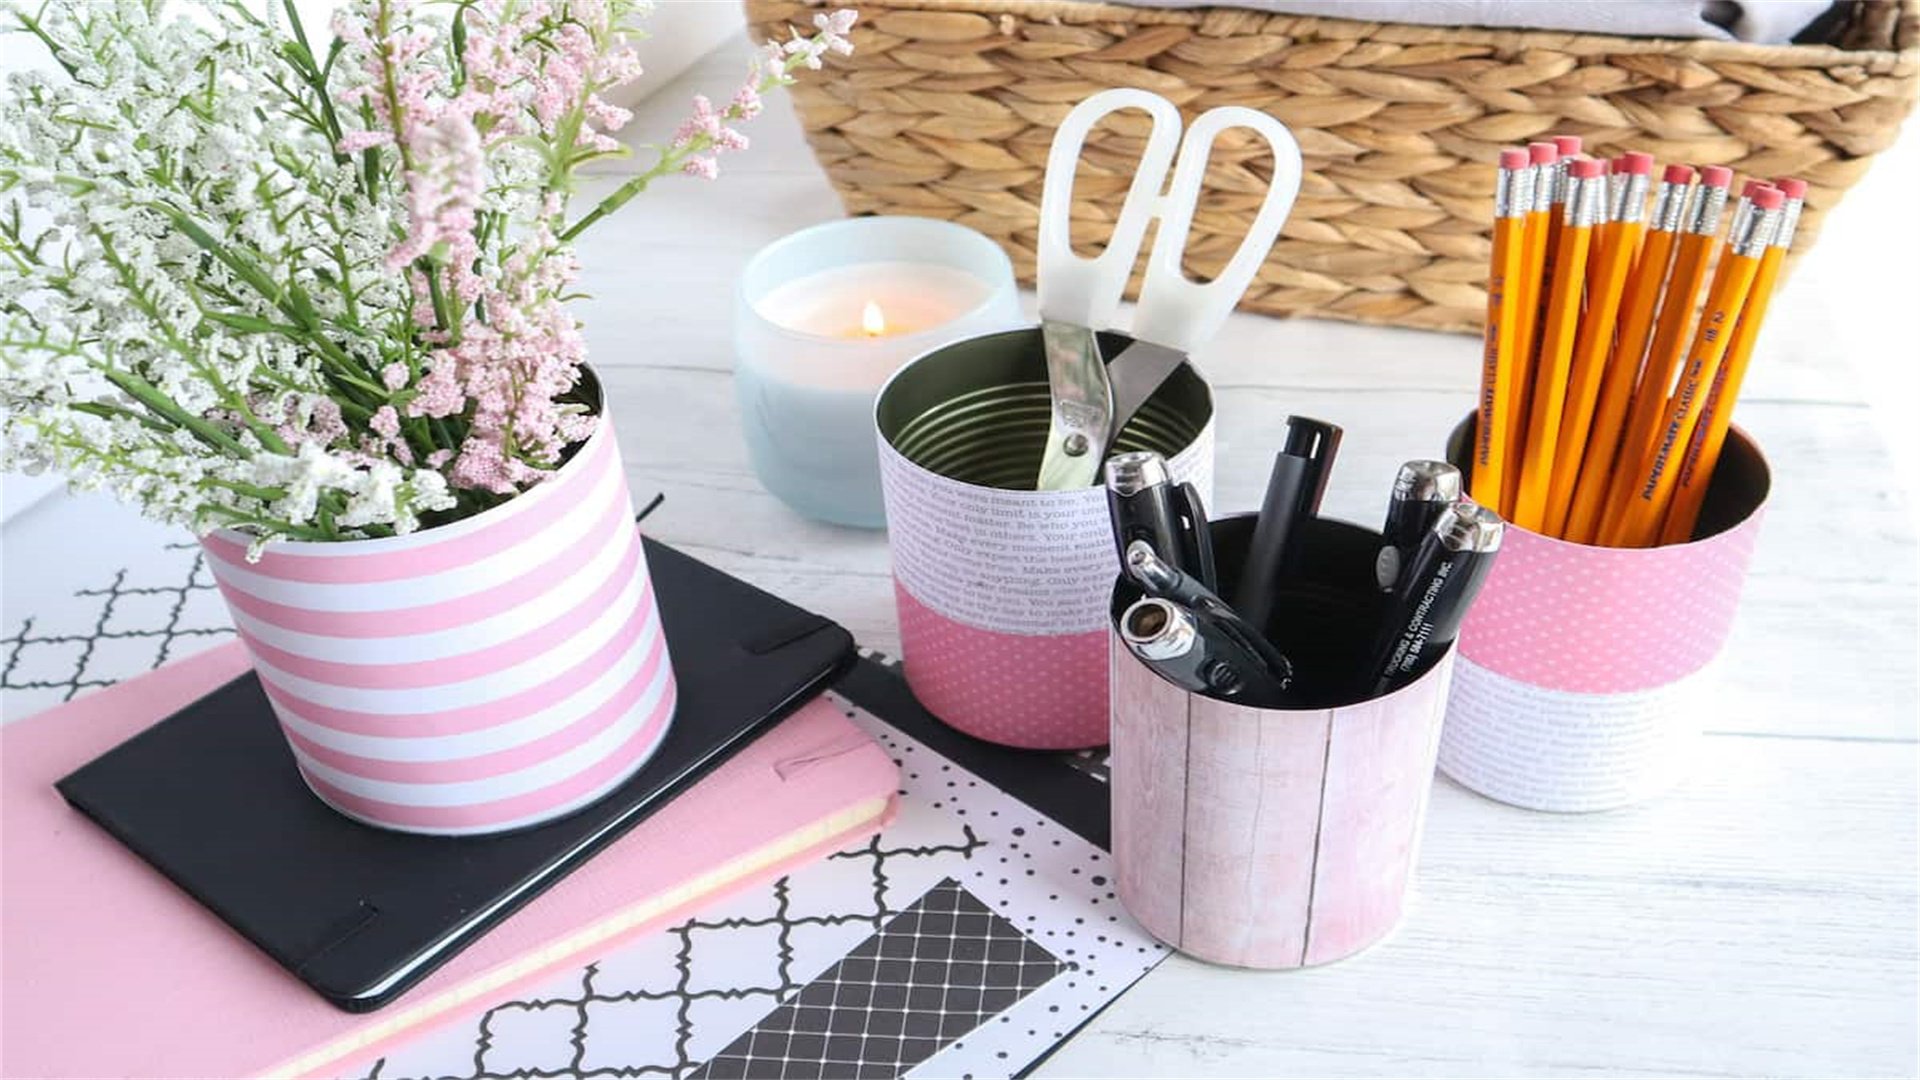
🥫 Method 7: Tin Can Desk Organizers
Tin cans are sturdy containers that can be transformed into desk organizers for pens, brushes, or tools. This method adds industrial chic to workspaces.
✅ Advantages of Tin Can Desk Organizers
- Sturdy and Long-Lasting: Metal cans are robust and hold heavy items.
- Easy to Clean: Wipeable surfaces are hygienic.
- Stackable Design: Can be glued to form tiered organizers.
- Cost-Free: Upcycling cans from groceries reduces waste.
❌ Disadvantages of Tin Can Desk Organizers
- Sharp Edges: Requires careful sanding to prevent cuts.
- Rust Potential: May rust if not treated, especially in humidity.
- Basic Look: Appears utilitarian without decoration.
- Limited Size: Standard cans may not fit larger items.
🔨 How to Make Tin Can Desk Organizers: A Step-by-Step Guide
- Collect and Clean Cans: Gather cans, remove labels, and wash thoroughly.
- Remove Sharp Edges: Use a can opener or file to smooth rims.
- Decorate the Cans: Paint or wrap cans with decorative materials.
- Create Compartments (Optional): Cut or glue cans for multi-slot organizers.
- Assemble and Mount: Glue cans together or add magnetic strips for wall mounting.
- Organize Your Desk: Place on desks or shelves to hold stationery or tools.
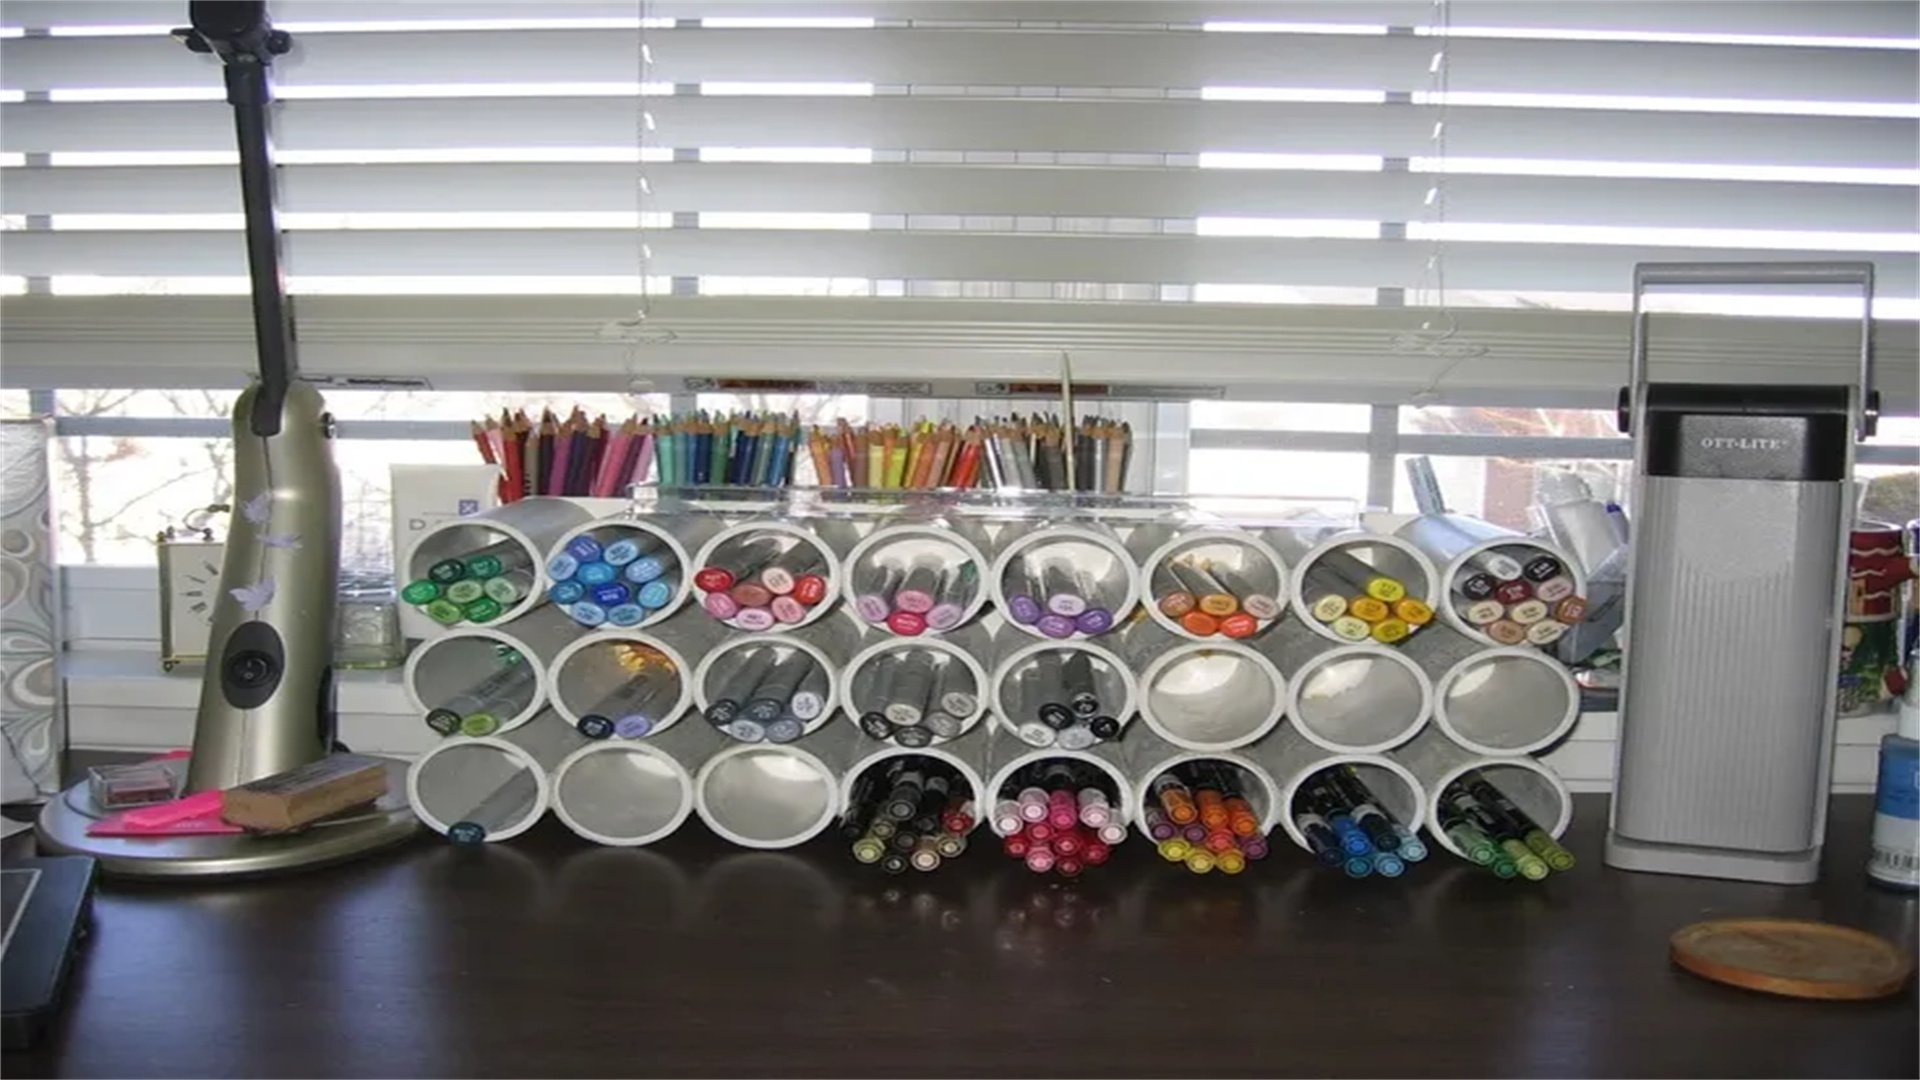
📏 Method 8: PVC Pipe Storage Solutions
PVC pipes can be cut into sections to create versatile organizers for items like wine bottles or tools. This method offers a modular and durable storage system for limited spaces.
✅ Advantages of PVC Pipe Storage Solutions
- Highly Durable: Waterproof, rot-resistant, and withstands heavy use.
- Modular and Scalable: Can be cut and arranged in various configurations.
- Low Cost: Pipes and fittings are affordable.
- Easy to Clean: Smooth surfaces can be wiped down.
❌ Disadvantages of PVC Pipe Storage Solutions
- Industrial Appearance: Plastic look may not suit all décors.
- Cutting Requirements: Requires tools like a saw or PVC cutter.
- Bulky Storage: Unused pipes can take up space.
- Chemical Smell: New PVC may have an odor.
🔨 How to Make PVC Pipe Storage Solutions: A Step-by-Step Guide
- Plan Your Design: Decide purpose and sketch a design (e.g., wine rack).
- Gather Materials: Purchase PVC pipes, fittings, cutter, adhesive, and optional paint.
- Cut and Prepare Pipes: Cut pipes to length and sand edges smooth.
- Assemble the Organizer: Dry-fit pieces, then bond with PVC cement.
- Paint and Decorate: Spray paint if desired to match décor.
- Install and Use: Mount on walls or place freestanding to store items.
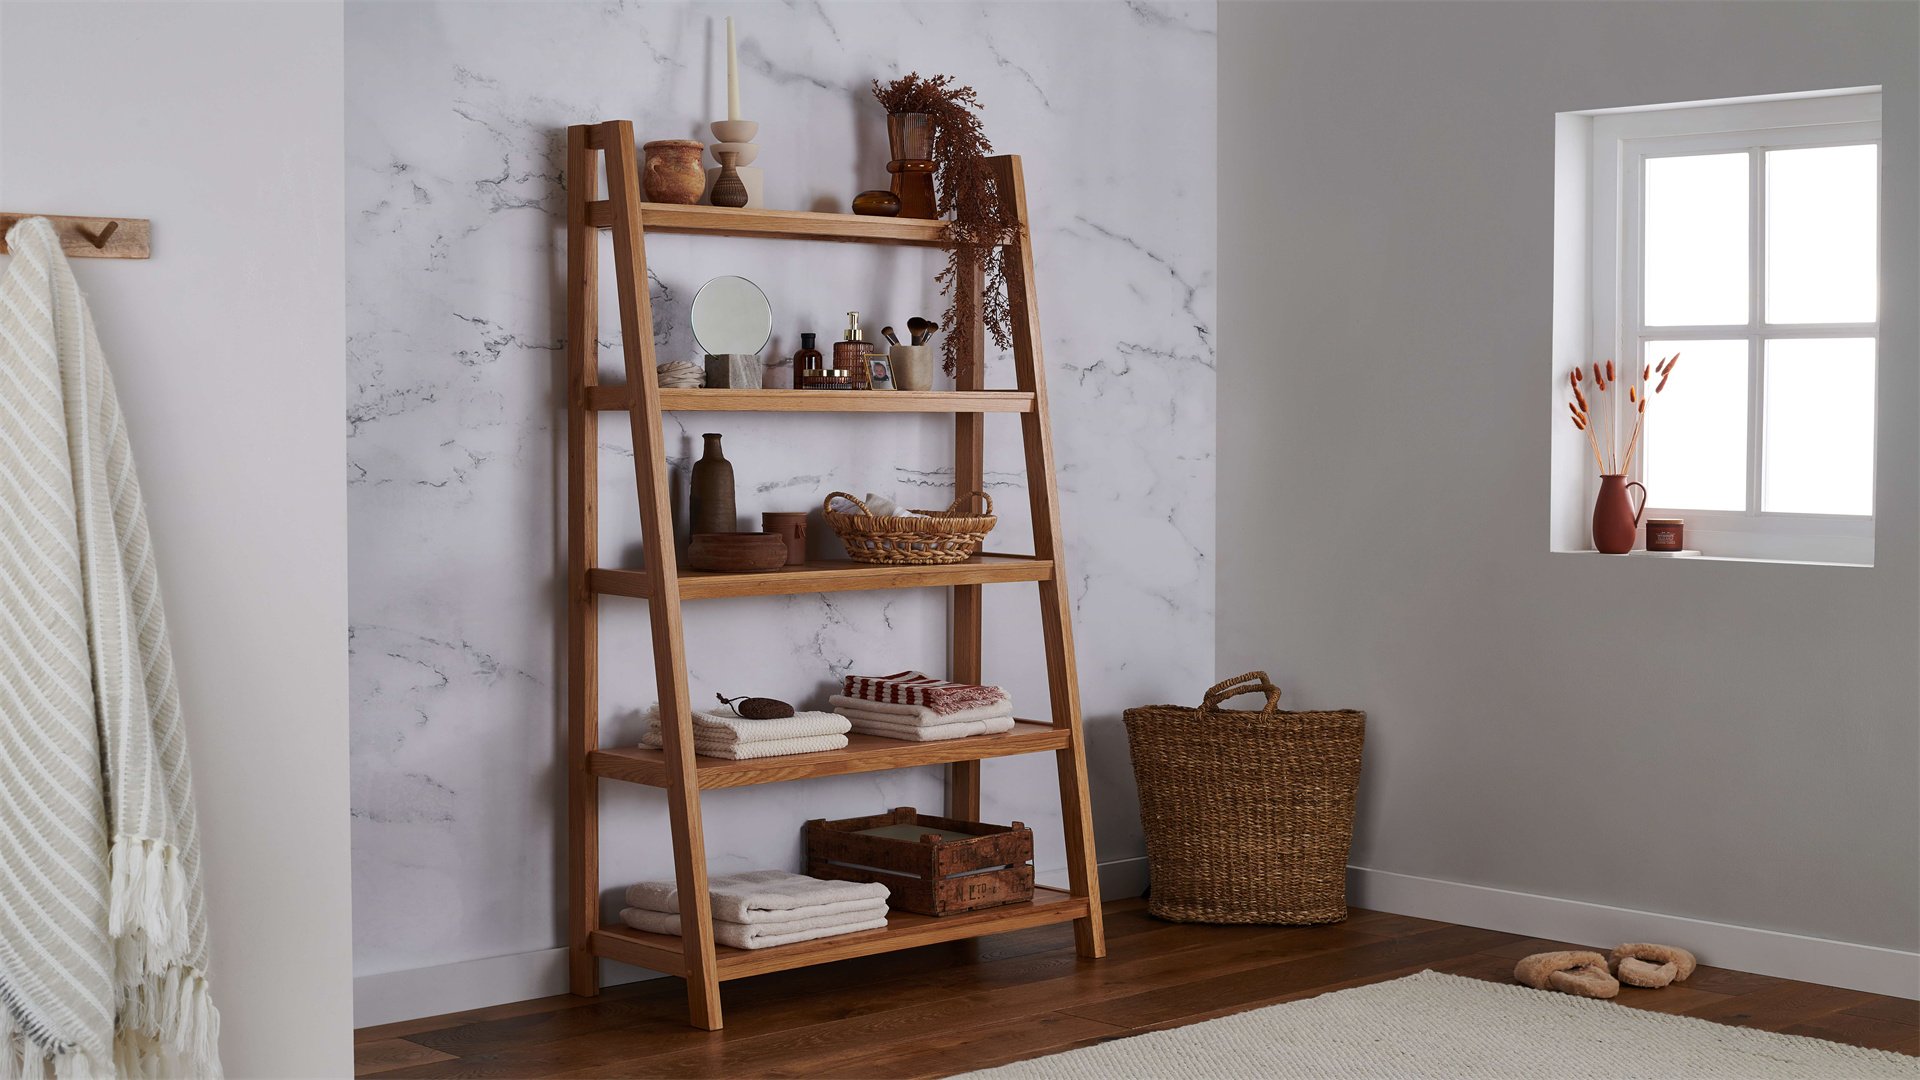
🎯 Method 9: Ladder Shelving Units
Repurposing old ladders into shelving units is a trendy way to add vertical storage in limited spaces. It provides a rustic solution for displaying books or décor.
✅ Advantages of Ladder Shelving Units
- Vertical Storage: Leans against walls, saving floor space.
- Aesthetic Appeal: Adds farmhouse or industrial charm.
- Flexible Configuration: Shelves can be added at varying heights.
- Sturdy Construction: Wooden ladders can hold significant weight.
❌ Disadvantages of Ladder Shelving Units
- Space for Leaning: Requires adequate wall space.
- Potential Instability: Can tip if not secured or loaded unevenly.
- DIY Complexity: Building from scratch may require woodworking skills.
- Limited Shelf Depth: Rungs may be narrow for larger items.
🔨 How to Make Ladder Shelving Units: A Step-by-Step Guide
- Source a Ladder: Find an old wooden ladder, check condition, and clean/sand it.
- Add Shelves: Cut wooden boards to fit between ladder sides as shelves.
- Attach Shelves Securely: Use brackets or screws to fix shelves to rungs.
- Reinforce Structure: Ensure stability, especially for taller units.
- Anchor to Wall (Recommended): Secure the top to the wall to prevent tipping.
- Style and Organize: Place items like books or plants on the shelves.
Advertisement