Simple Electrical Repairs Every Homeowner Can Do
Simple Electrical Repairs Every Homeowner Can Do
🔌 Safety First: Essential Precautions for Electrical Work
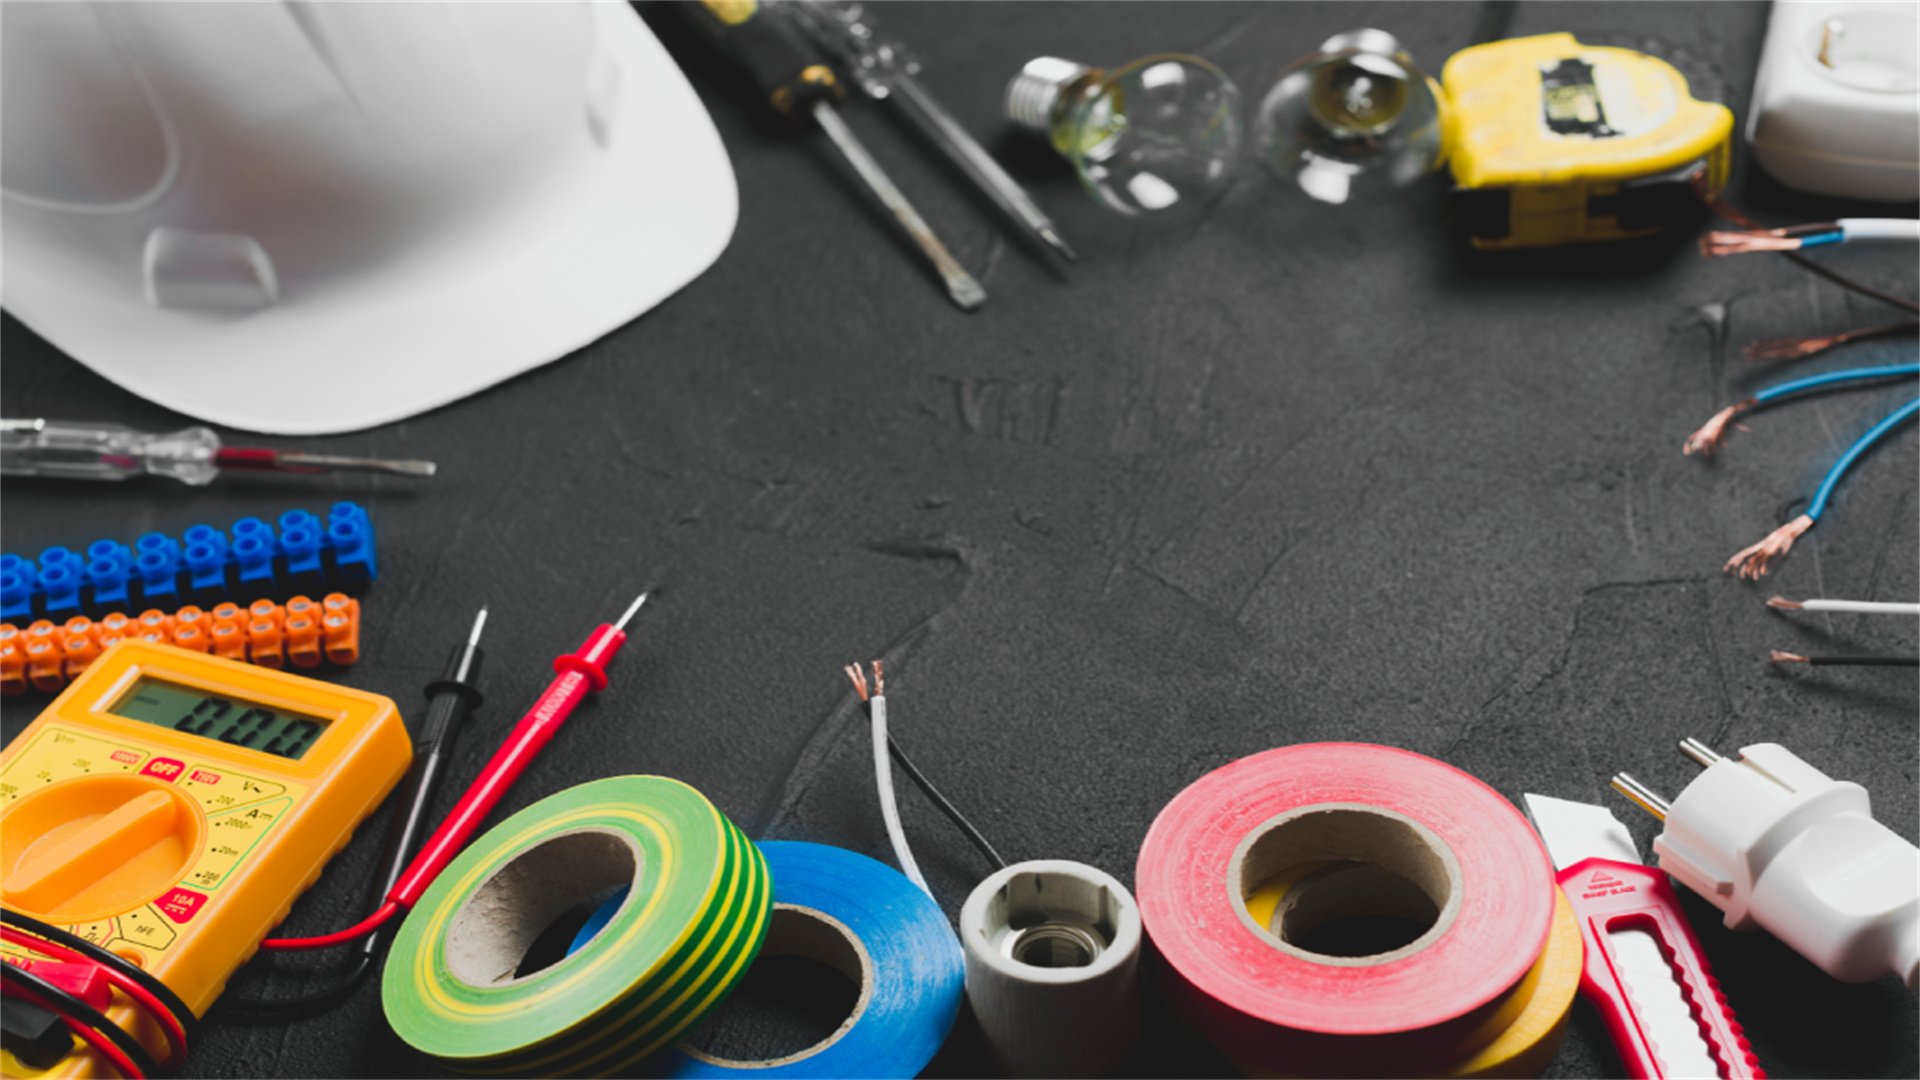
Turn Off the Power
- Always switch off the circuit breaker or fuse for the specific circuit you're working on.
- Use a voltage tester to confirm that wires are de-energized before touching them.
- For added safety, place a note on the breaker panel to prevent others from turning it back on accidentally.
Use Insulated Tools
- Invest in tools with insulated handles rated for electrical work.
- These tools reduce the risk of shock.
- Avoid using metal tools near live wires.
Wear Protective Gear
- Wear safety glasses to protect your eyes from sparks or debris.
- Use rubber-soled shoes to minimize grounding risks.
- Gloves can provide extra insulation, but ensure they don't hinder dexterity.
Work in Dry Conditions
- Never perform electrical repairs in wet or damp areas.
- Moisture increases conductivity, raising shock hazards.
- If necessary, use a dehumidifier or wait for conditions to dry.
Know Your Limits
- If a repair involves complex wiring, such as main service panels or high-voltage systems, hire a licensed electrician.
- Simple repairs like replacing switches or outlets are generally safe for DIY, but always consult local codes and permits.
Keep a Fire Extinguisher Handy
- Have a Class C fire extinguisher (rated for electrical fires) nearby in case of emergencies.
- Never use water on electrical fires.
Additional Safety Knowledge
- Educate yourself on basic electrical principles, such as how circuits work and the difference between hot, neutral, and ground wires.
- Many online resources, like DIY forums and home improvement sites, offer tutorials that align with these safety guidelines.
- By adhering to these precautions, you can minimize risks and successfully complete repairs.
🛠️ Tools and Materials You'll Need
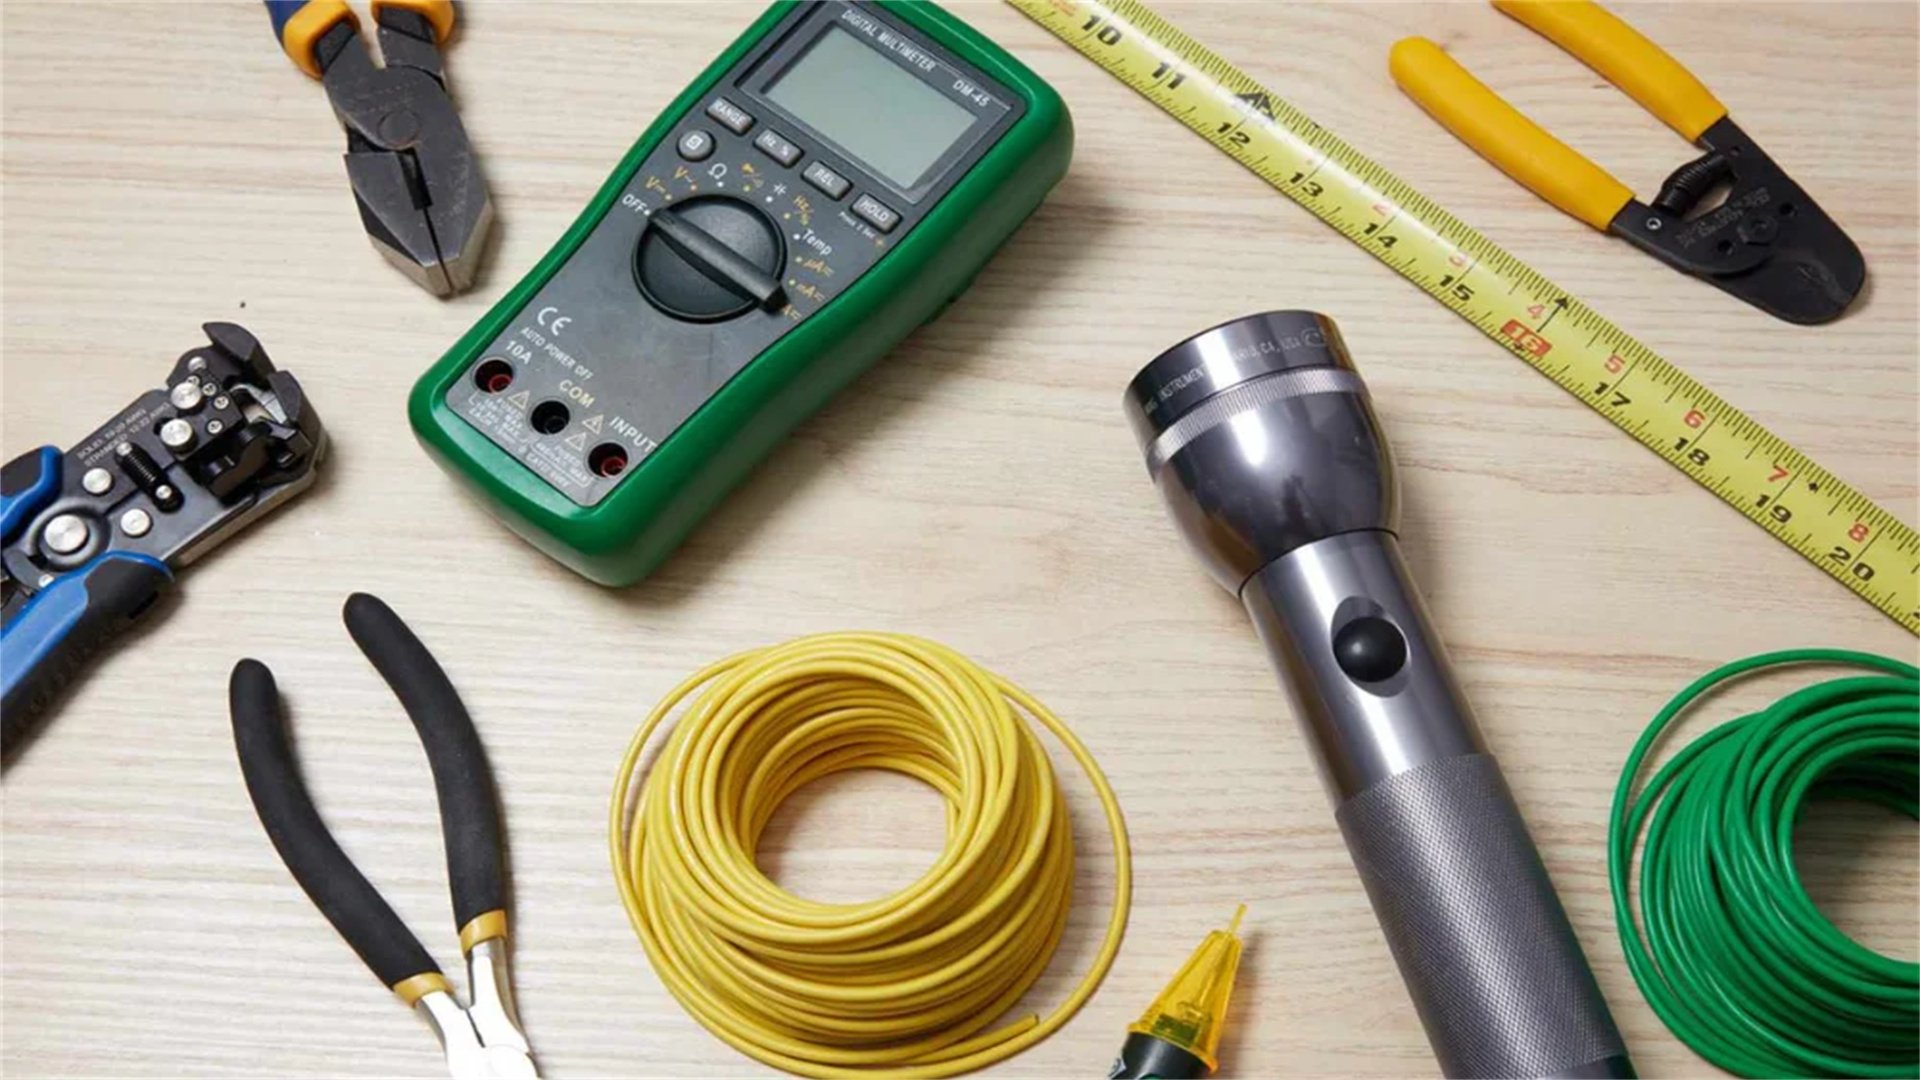
Voltage Tester
- A non-contact voltage tester is indispensable for checking if wires are live.
- Hold it near wires to detect voltage without direct contact.
- Some models also test outlets for proper wiring.
Multimeter
- This device measures voltage, current, and resistance.
- It's useful for diagnosing issues like short circuits or faulty connections.
- Learn how to set it to the correct range for home electrical systems (typically 120V in the US).
Insulated Screwdrivers
- A set of screwdrivers with insulated handles, including flathead and Phillips heads, is essential for loosening and tightening terminal screws on switches and outlets.
Wire Strippers
- These tools strip insulation from wires without damaging the copper conductor.
- Look for strippers with multiple gauge holes for different wire sizes (e.g., 14-gauge for most home circuits).
Needle-Nose Pliers
- Useful for bending wires, gripping small components, and reaching into tight spaces.
- Ensure they have insulated handles.
Wire Nuts
- Also known as wire connectors, these secure wire connections by twisting wires together.
- Choose the right size based on wire gauge and number of conductors.
Electrical Tape
- Use high-quality electrical tape to insulate wire connections or cover minor nicks in insulation.
- It's not a substitute for proper wire nuts, but adds extra safety.
Circuit Breaker Finder
- This tool helps identify which breaker controls a specific outlet or switch, saving time when turning off power.
Replacement Parts
- Stock up on common items like switches, outlets, light fixtures, and breakers.
- Ensure they match your home's voltage (e.g., 120V for standard outlets) and are UL-listed for safety.
Flashlight or Headlamp
- Electrical work often involves dark spaces, so adequate lighting is key.
General Tips
- Invest in quality tools from reputable brands—they last longer and provide better safety.
- Many hardware stores offer starter kits for DIY electrical work.
- Before starting any repair, gather all tools and materials to avoid interruptions.
💡 Replacing a Light Switch
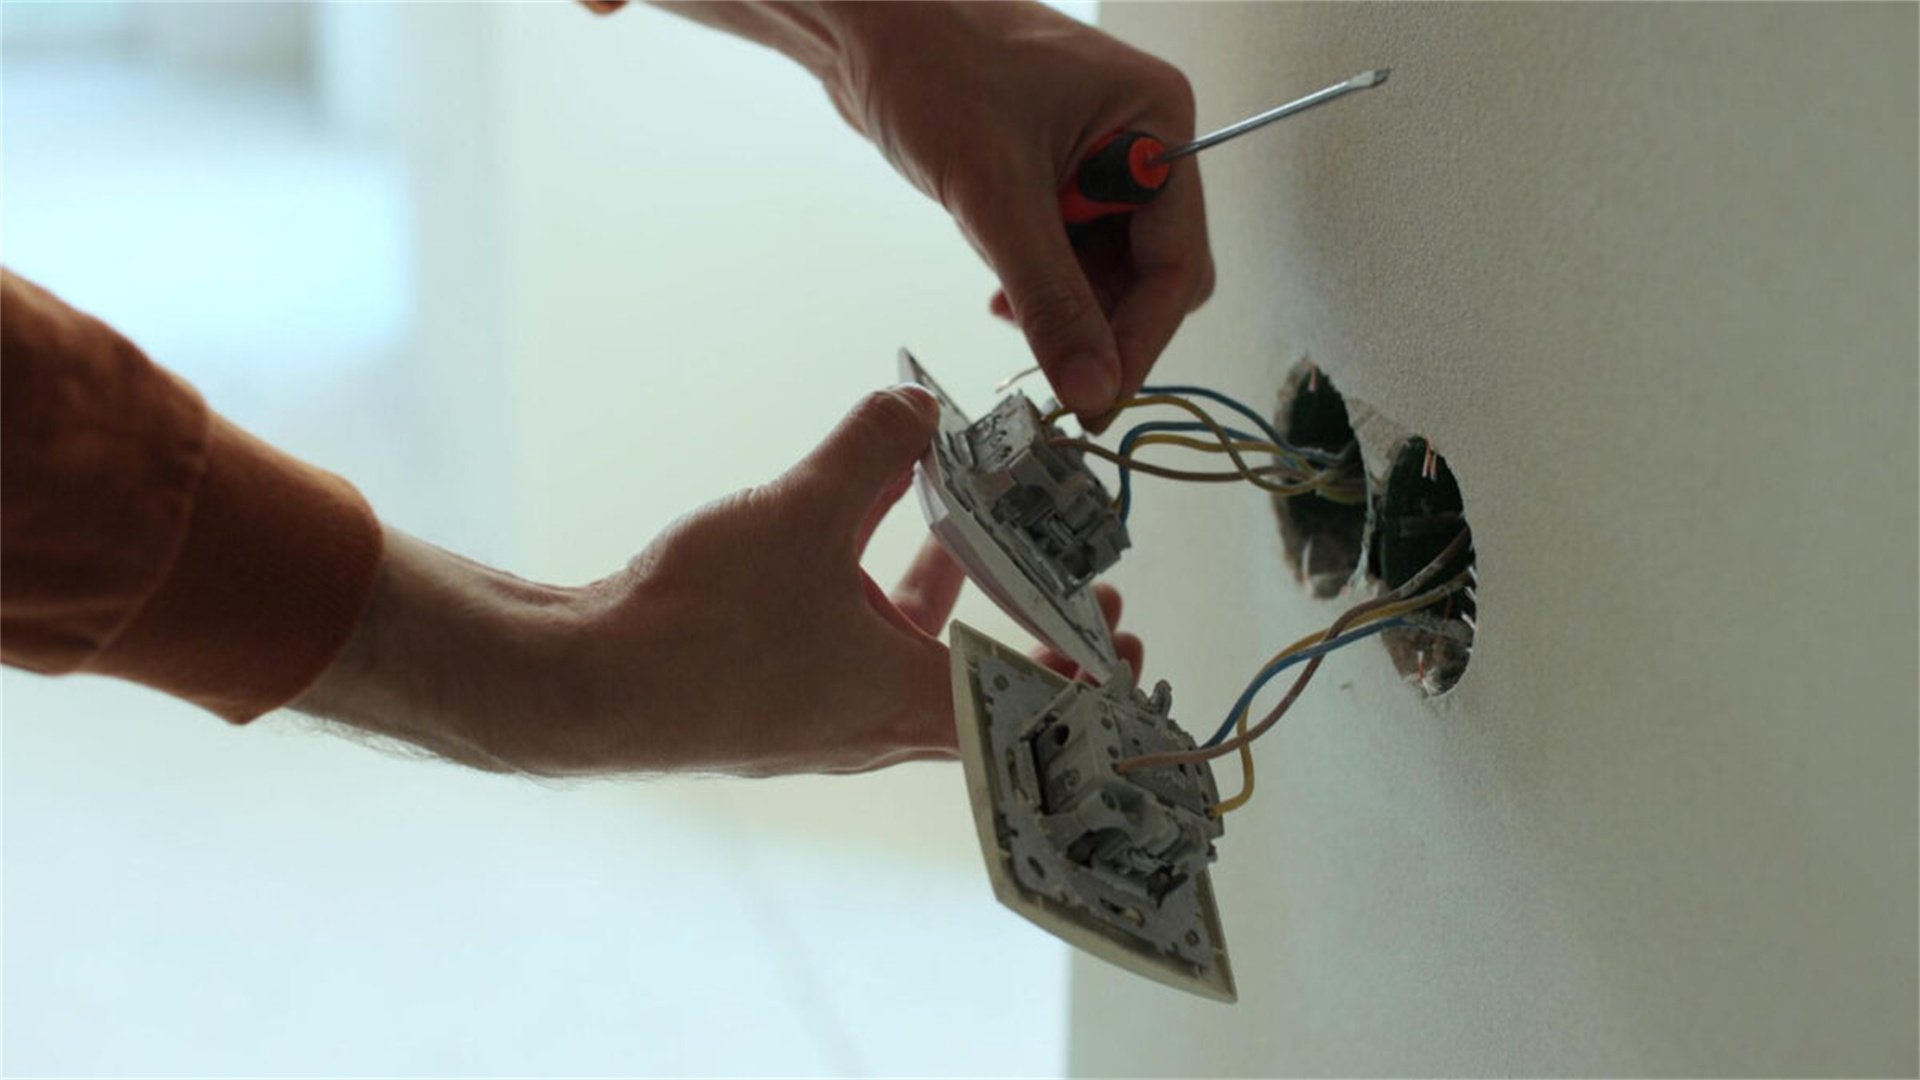
Step 1: Turn Off Power and Verify
- Locate the circuit breaker for the switch and turn it off.
- Use a voltage tester at the switch to confirm no voltage is present.
- Remove the switch plate cover by unscrewing the screws, then set it aside.
Step 2: Remove the Old Switch
- Unscrew the switch from the electrical box and gently pull it out.
- You'll see wires attached to terminals: typically a black (hot) wire, a white (neutral) wire, and a bare copper (ground) wire.
- Note how they're connected—take a photo for reference. Loosen the terminal screws to disconnect the wires.
Step 3: Prepare the New Switch
- Ensure the new switch matches the old one (e.g., single-pole for one location, three-way for two switches controlling one light).
- If the switch is a dimmer, check it's compatible with your bulb type (LED, incandescent).
- Strip about 1/2 inch of insulation from the wires if needed.
Step 4: Connect the Wires
- Attach the black wire to the brass screw terminal, the white wire to the silver terminal (if applicable; some switches don't use neutral), and the ground wire to the green screw.
- Wrap the wire clockwise around the screw and tighten securely.
- Avoid over-tightening, which can damage wires.
Step 5: Secure and Test
- Carefully push the switch back into the box, ensuring no wires are pinched.
- Screw it in place, attach the plate cover, and turn the power back on.
- Test the switch to ensure it works. If the light doesn't turn on, double-check connections and use a multimeter to troubleshoot.
Common Mistakes and Tips
- Incorrect wiring can cause shorts or switch failure. Always connect hot wires to the correct terminals.
- If you're unsure, consult wiring diagrams from manufacturer instructions or online guides.
- This repair typically takes 15-30 minutes and costs under $10 for a basic switch.
🔌 Replacing an Electrical Outlet
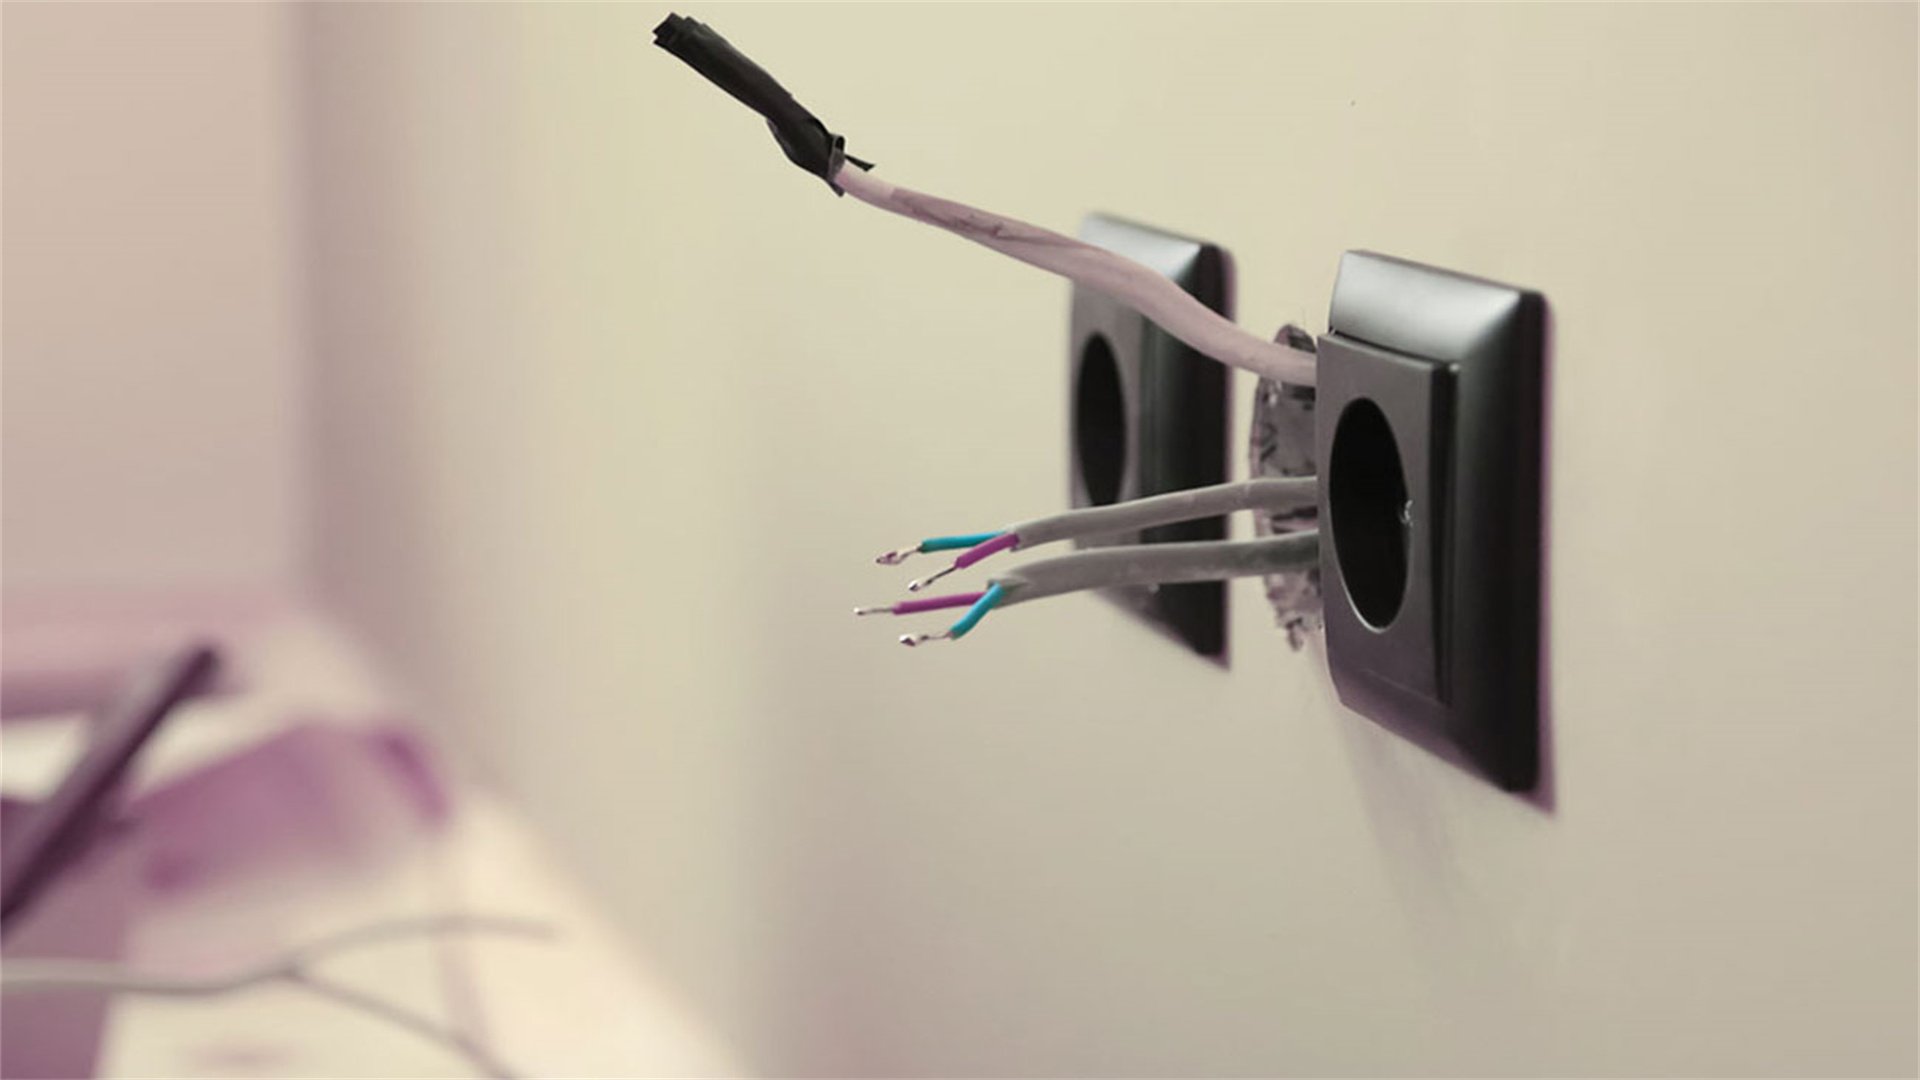
Step 1: Safety and Preparation
- Turn off power at the breaker and test the outlet with a voltage tester.
- Remove the outlet cover plate and unscrew the outlet from the box.
- Pull it out to access wires.
Step 2: Identify Wiring Configuration
- Standard outlets have two brass screws for hot wires (black), two silver screws for neutral wires (white), and a green screw for ground (bare copper).
- Some outlets may have push-in connections instead of screws; if so, release wires by inserting a small screwdriver into the release slot.
Step 3: Disconnect and Replace
- Note the wire placements, then loosen screws to disconnect.
- For a new outlet, such as a GFCI (Ground Fault Circuit Interrupter) for kitchens or bathrooms, follow specific instructions: connect line wires (from power source) to "line" terminals and load wires (to other outlets) to "load" terminals if protecting downstream outlets.
Step 4: Secure Connections
- Attach wires to the new outlet, ensuring tight connections.
- Wrap electrical tape around the outlet's sides to cover terminals, reducing shock risk.
- Push the outlet into the box, screw it in, and attach the cover plate.
Step 5: Test Functionality
- Turn power back on and use a outlet tester to check for correct wiring (no open ground or reverse polarity).
- If installing a GFCI, press the "test" button to ensure it trips, then reset.
- This repair costs $5-$20 per outlet and takes about 20 minutes.
Pro Tip
- Consider upgrading to tamper-resistant outlets if you have children, as they prevent foreign object insertion.
- Always follow local codes for outlet placement and type.
💡 Installing a Light Fixture
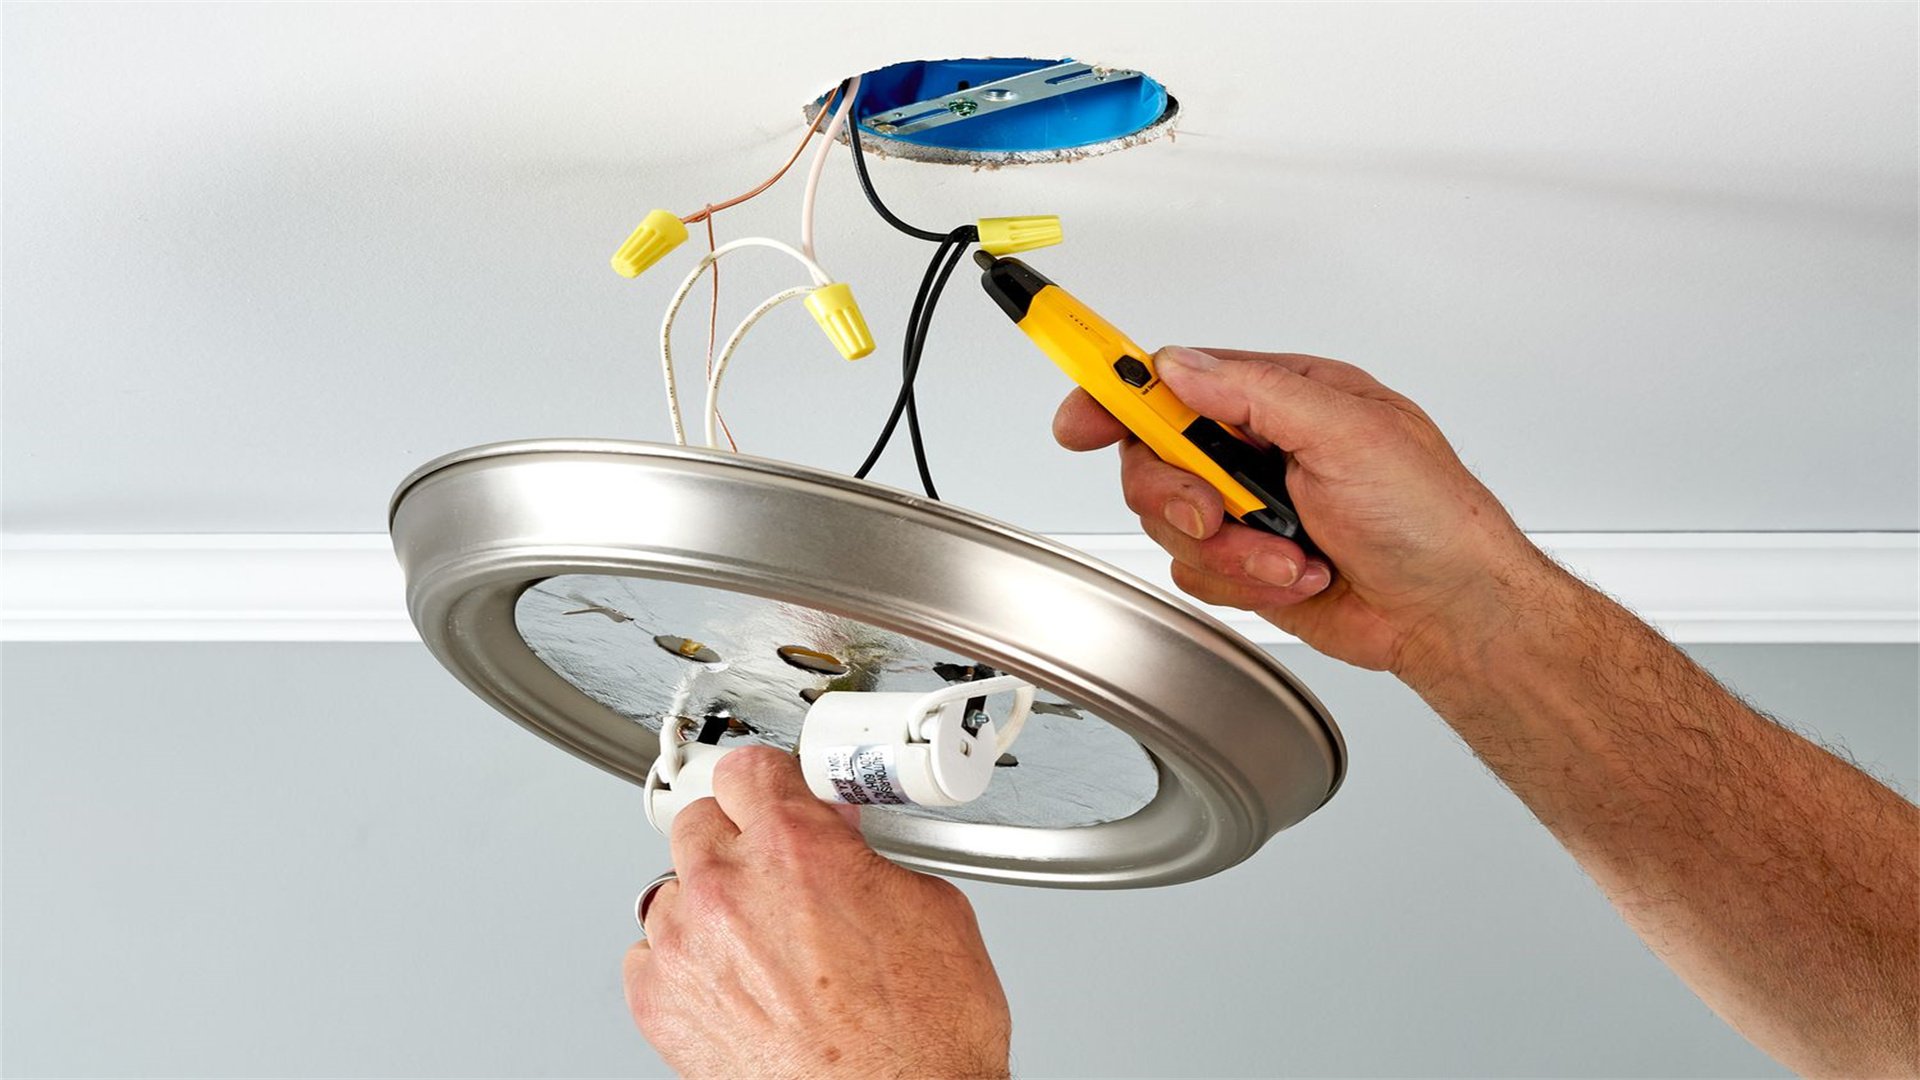
Step 1: Turn Off Power and Remove Old Fixture
- Switch off the breaker and verify with a voltage tester.
- Remove the fixture's globe or cover, then unscrew the mounting hardware.
- Lower the fixture to expose wires. Often, the fixture is supported by a crossbar or mounting bracket; note how it's attached.
Step 2: Disconnect Wires
- You'll typically see black (hot), white (neutral), and ground wires connected with wire nuts.
- Unscrew the wire nuts and separate the wires.
- Support the fixture so it doesn't fall—use a helper or secure it with tape temporarily.
Step 3: Prepare the New Fixture
- Assemble the new fixture according to instructions.
- Many fixtures have a mounting bracket that screws into the electrical box.
- Connect the fixture's wires to the house wires: black to black, white to white, and ground to ground using wire nuts. Wrap connections with electrical tape for security.
Step 4: Mount and Secure
- Attach the fixture to the mounting bracket, ensuring all wires are tucked into the box.
- Screw it in place, then add bulbs and covers.
- Turn power back on and test. If the light flickers, check connections or consider if the bulb wattage exceeds fixture ratings.
Detailed Considerations
- For ceiling fans or heavy fixtures, ensure the electrical box is rated for the weight; you may need to install a fan-rated box.
- Use a stud finder to locate joists for secure mounting.
- This repair can take 30-60 minutes and costs vary based on fixture price.
⚡ Replacing a Circuit Breaker
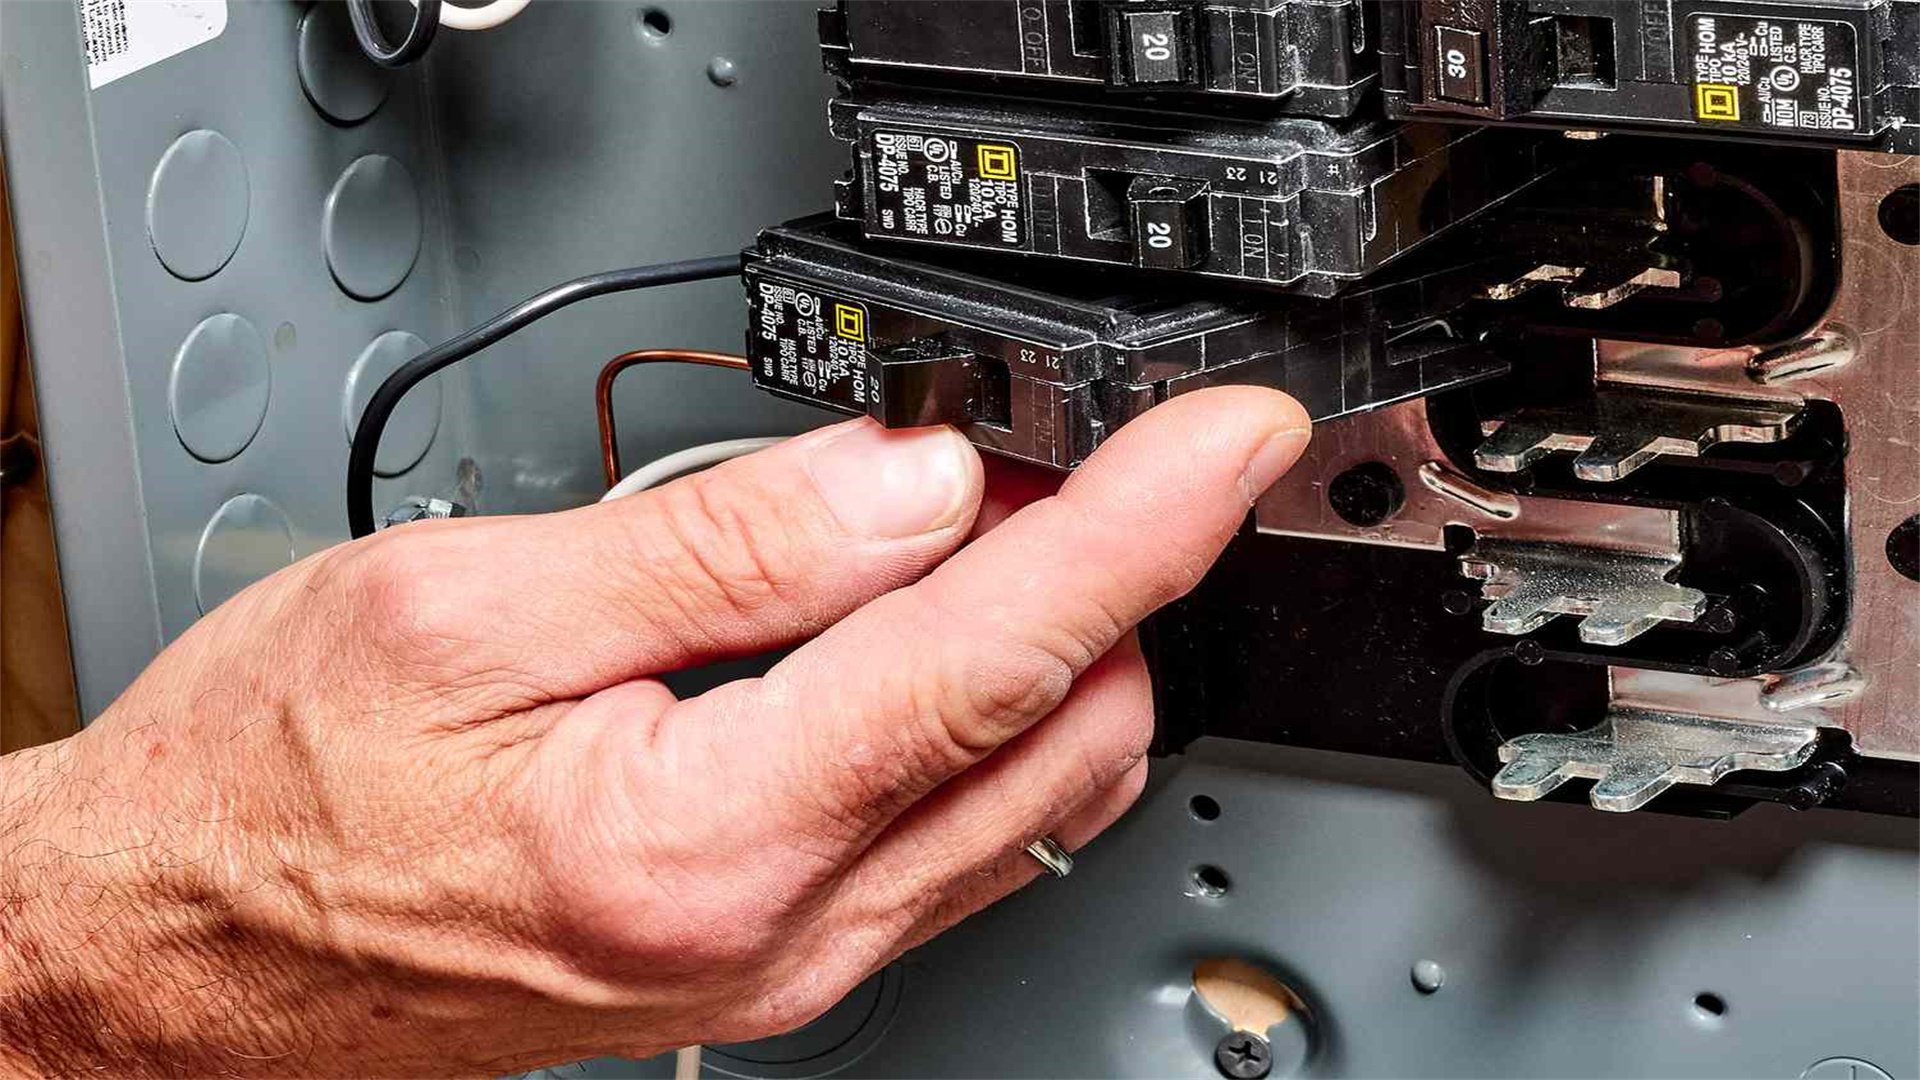
Step 1: Safety Extreme
- This involves working in the main service panel, which has live parts even with the main breaker off.
- Turn off the main breaker to de-energize the entire panel, but note that the incoming utility lines are still live—never touch them.
- Use a voltage tester to confirm the specific breaker is off.
Step 2: Identify the Faulty Breaker
- If a breaker trips frequently or feels hot, it might need replacement.
- Match the new breaker to the old one in terms of amperage (e.g., 15A, 20A) and type (standard, AFCI, GFCI).
- Purchase from the same manufacturer as your panel for compatibility.
Step 3: Remove the Old Breaker
- Wear insulated gloves and safety glasses.
- Pry the breaker loose from the panel by gripping its edge and pulling toward you. It should snap out.
- Disconnect the wire from the breaker terminal by loosening the screw.
Step 4: Install the New Breaker
- Connect the wire to the new breaker's terminal, tightening securely.
- Align the breaker with the panel's bus bar and push until it snaps into place.
- Ensure it's fully seated.
Step 5: Restore Power and Test
- Turn the main breaker back on, then flip the new breaker to "on."
- Monitor for trips or unusual sounds.
- If problems persist, consult an electrician, as the issue might be with wiring or load.
Important Notes
- Only attempt this if you're comfortable with electrical systems. Mistakes can cause fires or damage.
- In many areas, this repair requires a permit or licensed professional.
- Cost is $10-$50 per breaker, plus tools.
🚨 Installing a Smoke Detector
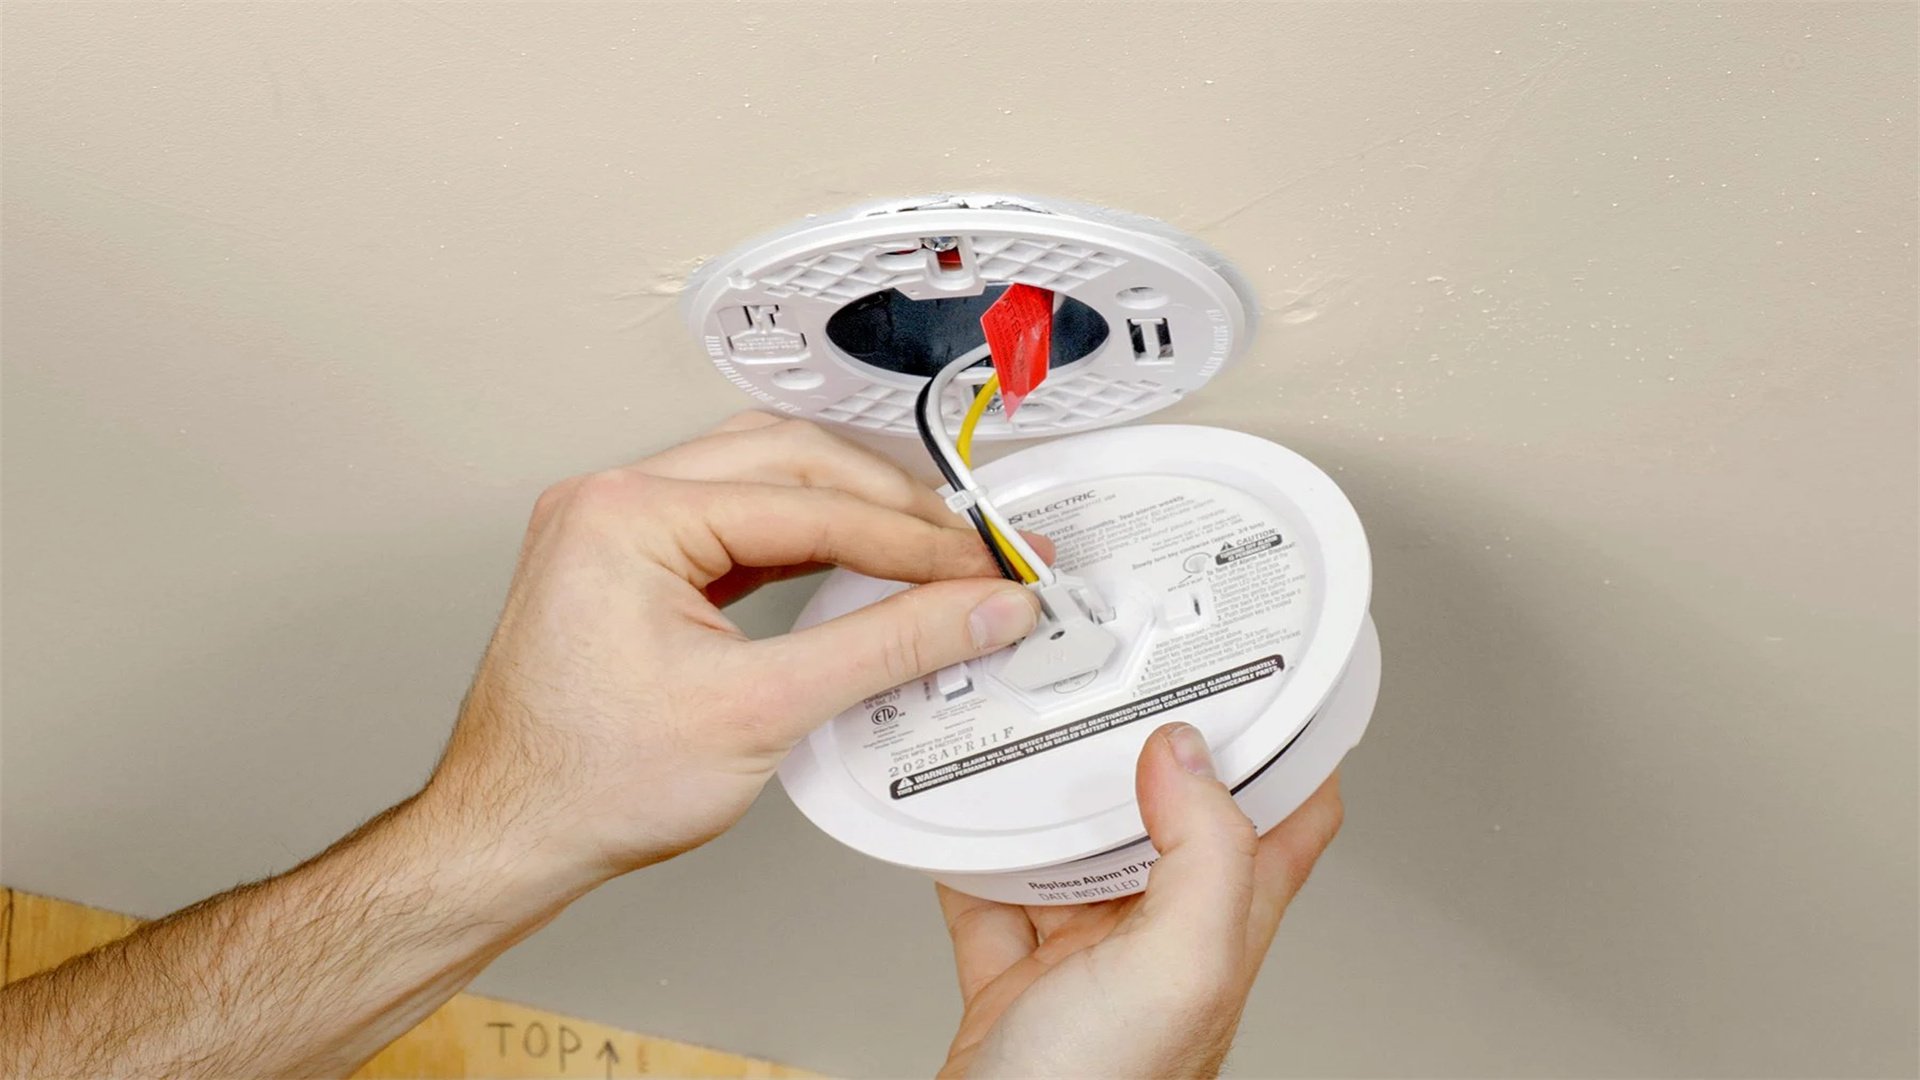
Step 1: Choose the Right Detector
- Select between battery-operated, hardwired, or combination (smoke and carbon monoxide) models.
- Hardwired detectors are interconnected, so when one alarms, all sound—ideal for whole-home protection.
- Check local codes for requirements.
Step 2: Turn Off Power (for Hardwired)
- If installing a hardwired detector, turn off the circuit breaker for the area.
- Use a voltage tester to confirm.
- For battery-only models, skip this step.
Step 3: Mount the Base
- Hold the mounting bracket against the ceiling or wall (follow manufacturer instructions for placement, typically away from corners and vents).
- Mark screw holes, drill pilot holes, and secure with screws.
- For hardwired models, feed wires through the bracket.
Step 4: Connect Wires (if Hardwired)
- Connect the detector's wires to house wires: black to black (hot), white to white (neutral), and sometimes a red wire for interconnection.
- Use wire nuts and tape.
- Push wires into the electrical box, then attach the detector to the base by twisting or snapping.
Step 5: Test and Maintain
- Insert batteries if needed, turn power back on, and press the test button to ensure it works.
- Vacuum detectors monthly and replace batteries annually.
- This repair takes 15-30 minutes and costs $20-$50 per detector.
Additional Tips
- Install detectors on every level of your home, inside bedrooms, and outside sleeping areas.
- Interconnected models often require a compatible wiring system; consult an electrician if your home isn't pre-wired.
🔔 Repairing a Doorbell
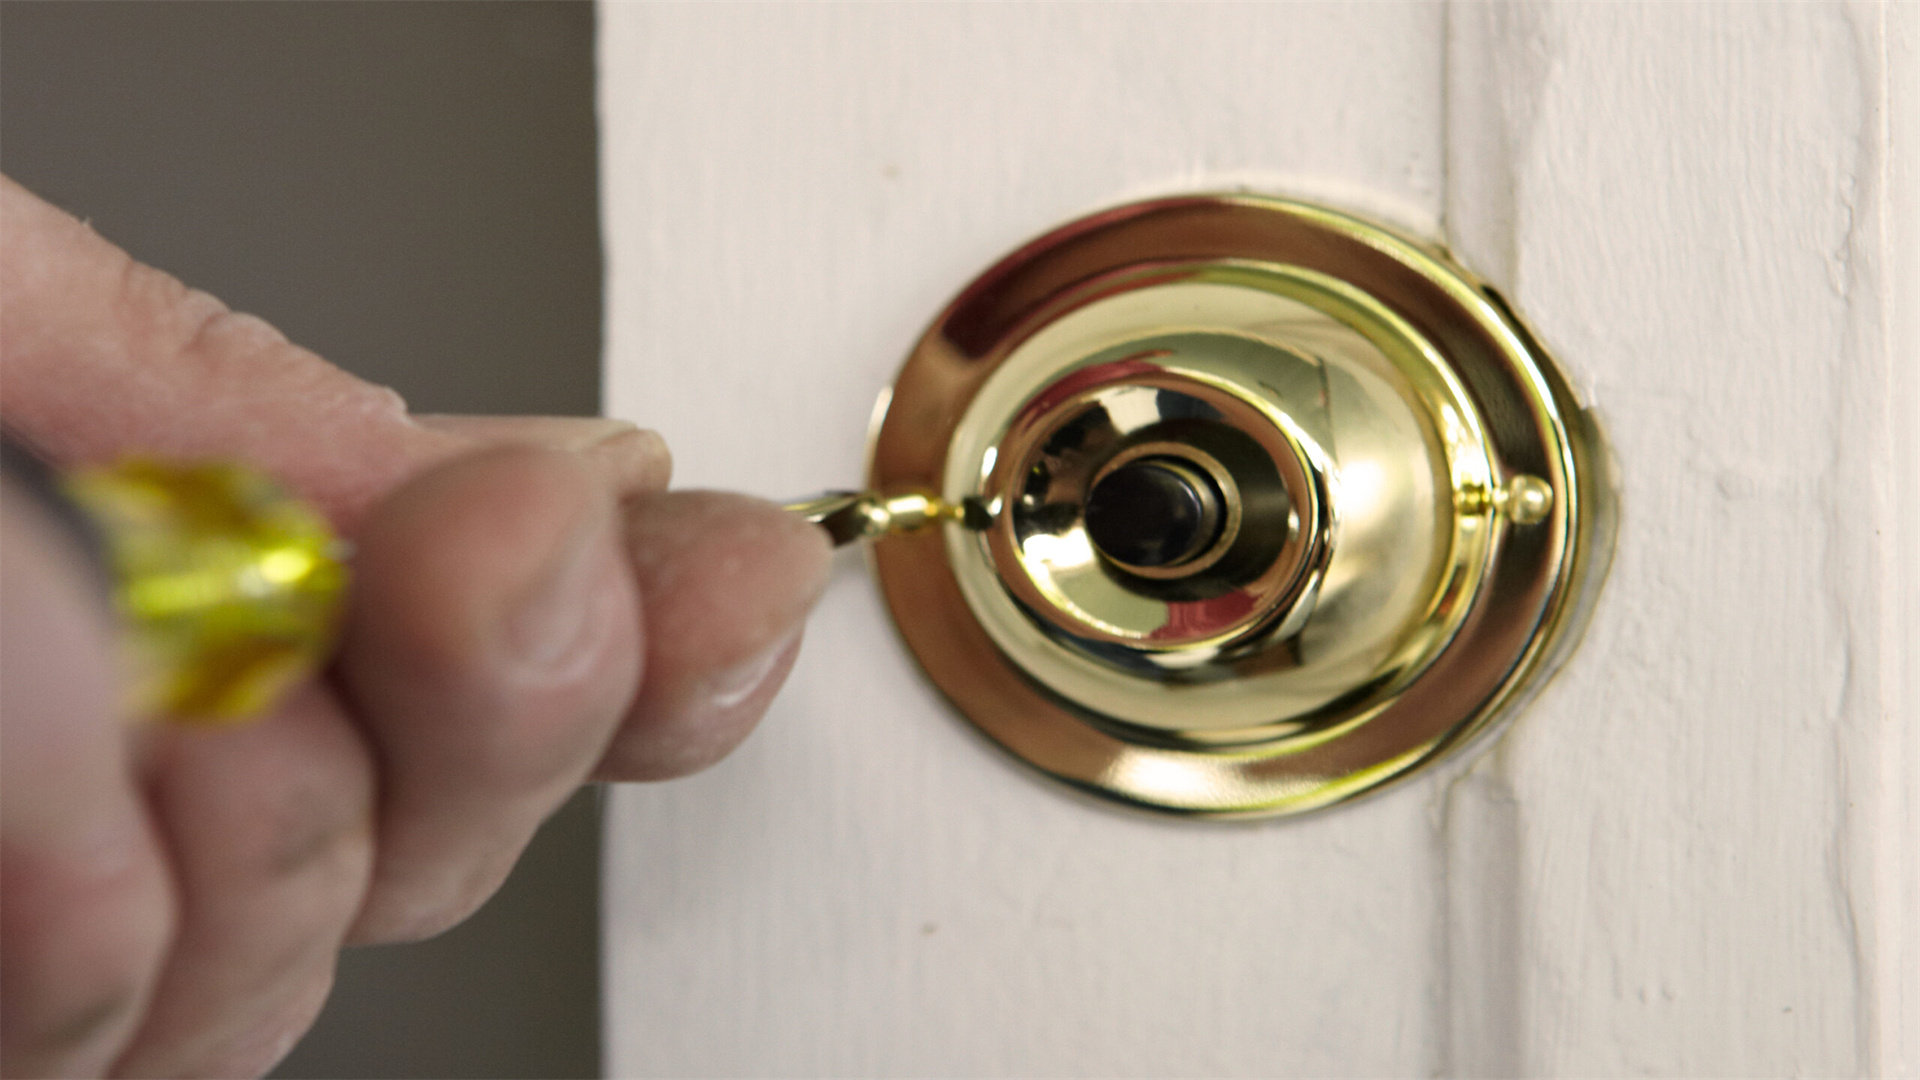
Step 1: Diagnose the Problem
- First, check if the issue is with the button, chime, transformer, or wiring.
- Press the button—if you hear a faint click, the button might be fine, but the chime could be faulty.
- Use a multimeter to test voltage at the transformer (usually located near the electrical panel) which steps down voltage to 16-24V.
Step 2: Replace the Doorbell Button
- Turn off power at the breaker for safety.
- Remove the button by unscrewing it from the wall.
- Disconnect the two low-voltage wires and attach them to a new button. Secure it back in place.
Step 3: Fix the Chime
- Remove the chime cover and check for dust or obstructions.
- Clean with compressed air.
- Test with a multimeter for power. If broken, disconnect wires and replace with a new chime unit, matching wire connections.
Step 4: Check the Transformer
- The transformer is often mounted on a junction box.
- Test its output voltage; if it's not supplying 16-24V, replace it by turning off power, disconnecting wires, and installing a new one.
Step 5: Test the System
- Restore power and press the button.
- If it still doesn't work, inspect wiring for breaks or corrosion.
- This repair is low-risk due to low voltage but requires patience. Cost is $10-$30 for parts, time 30-60 minutes.
Common Issues
- Wireless doorbells are easier—just replace batteries or sync components.
- For hardwired systems, ensure wires aren't frayed or shorted.
🌡️ Replacing a Thermostat
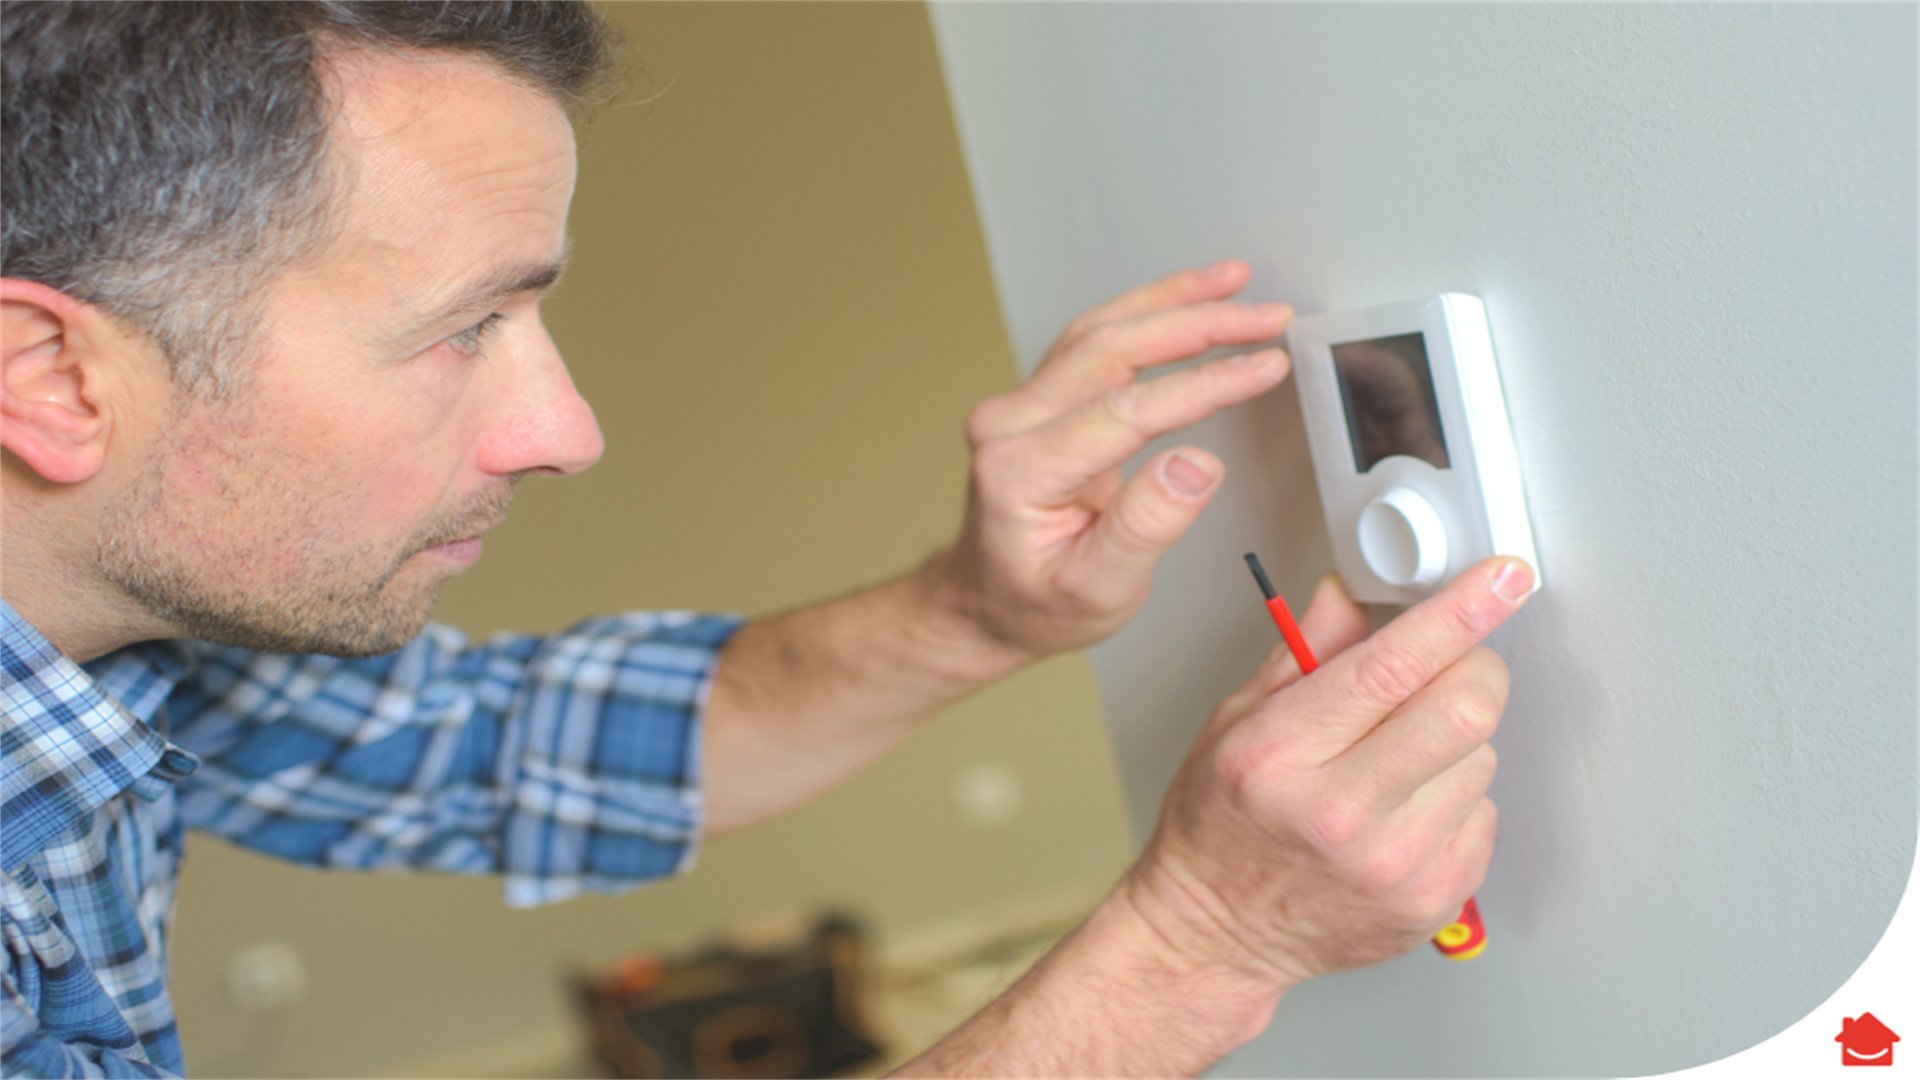
Step 1: Turn Off Power
- Switch off the breaker for your HVAC system to prevent electrical shock.
- Remove the old thermostat's cover to expose wires.
Step 2: Label Wires
- Before disconnecting, label each wire with its terminal letter (e.g., R for power, W for heat, Y for cooling).
- Take a photo for reference.
- Loosen terminals to free wires.
Step 3: Mount the New Thermostat
- Follow the new thermostat's instructions.
- Typically, you'll attach a mounting plate to the wall, thread wires through, and connect them to corresponding terminals.
- For smart thermostats, you may need a C-wire (common) for power; if absent, use an adapter or consult an electrician.
Step 4: Program and Test
- Attach the thermostat body, restore power, and set up programming or Wi-Fi connectivity.
- Test heating and cooling cycles to ensure proper operation.
Detailed Notes
- Ensure compatibility with your HVAC system (e.g., single-stage vs. multi-stage).
- Some systems require professional calibration.
- Cost ranges from $50 for basic models to $300 for smart ones, installation time 30-60 minutes.
🗑️ Fixing a Garbage Disposal
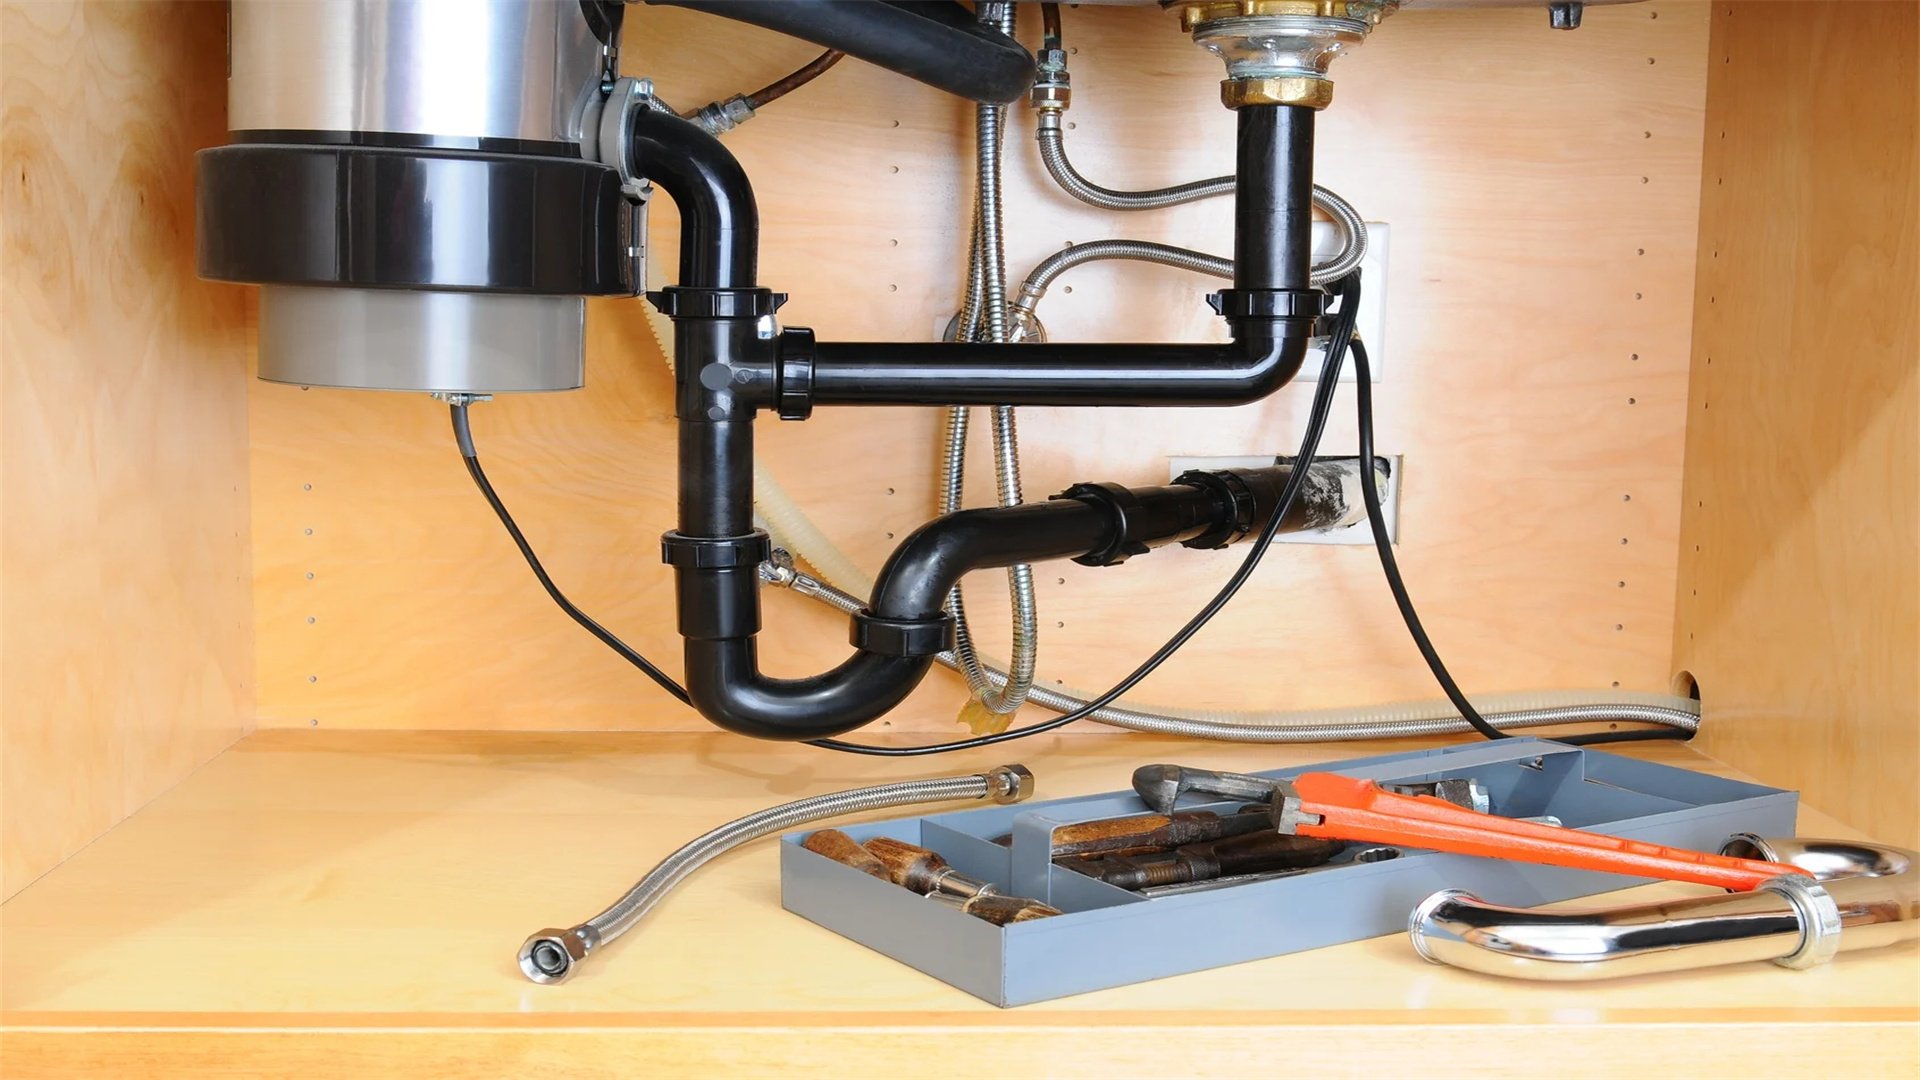
Step 1: Safety First
- Always turn off power at the circuit breaker—never rely on the switch alone.
- Unplug the disposal if it has an outlet under the sink.
Step 2: Clear Jams
- Use an Allen wrench (usually provided with the disposal) to manually rotate the motor from the bottom.
- Turn clockwise to free obstructions.
- Alternatively, use pliers to remove debris from the grinding chamber.
Step 3: Reset the Disposal
- Locate the reset button on the bottom of the unit and press it.
- This restarts the motor after overload.
Step 4: Check Wiring and Connections
- If the disposal still doesn't work, inspect the electrical connections.
- Under the sink, ensure wires are secure at the disposal terminal and the switch.
- Use a multimeter to test for power.
Step 5: Replace if Necessary
- If the disposal is beyond repair, install a new one by disconnecting plumbing and wiring, then reversing the process with the new unit.
- Ensure proper alignment and use plumber's putty for seals.
Expanded Tips
- Avoid putting fibrous or hard items like bones into disposals.
- Run cold water while using it to solidify grease.
- This repair costs $0 for simple jams, $50-$200 for a new disposal, time 15-60 minutes.
🌀 Installing a Ceiling Fan
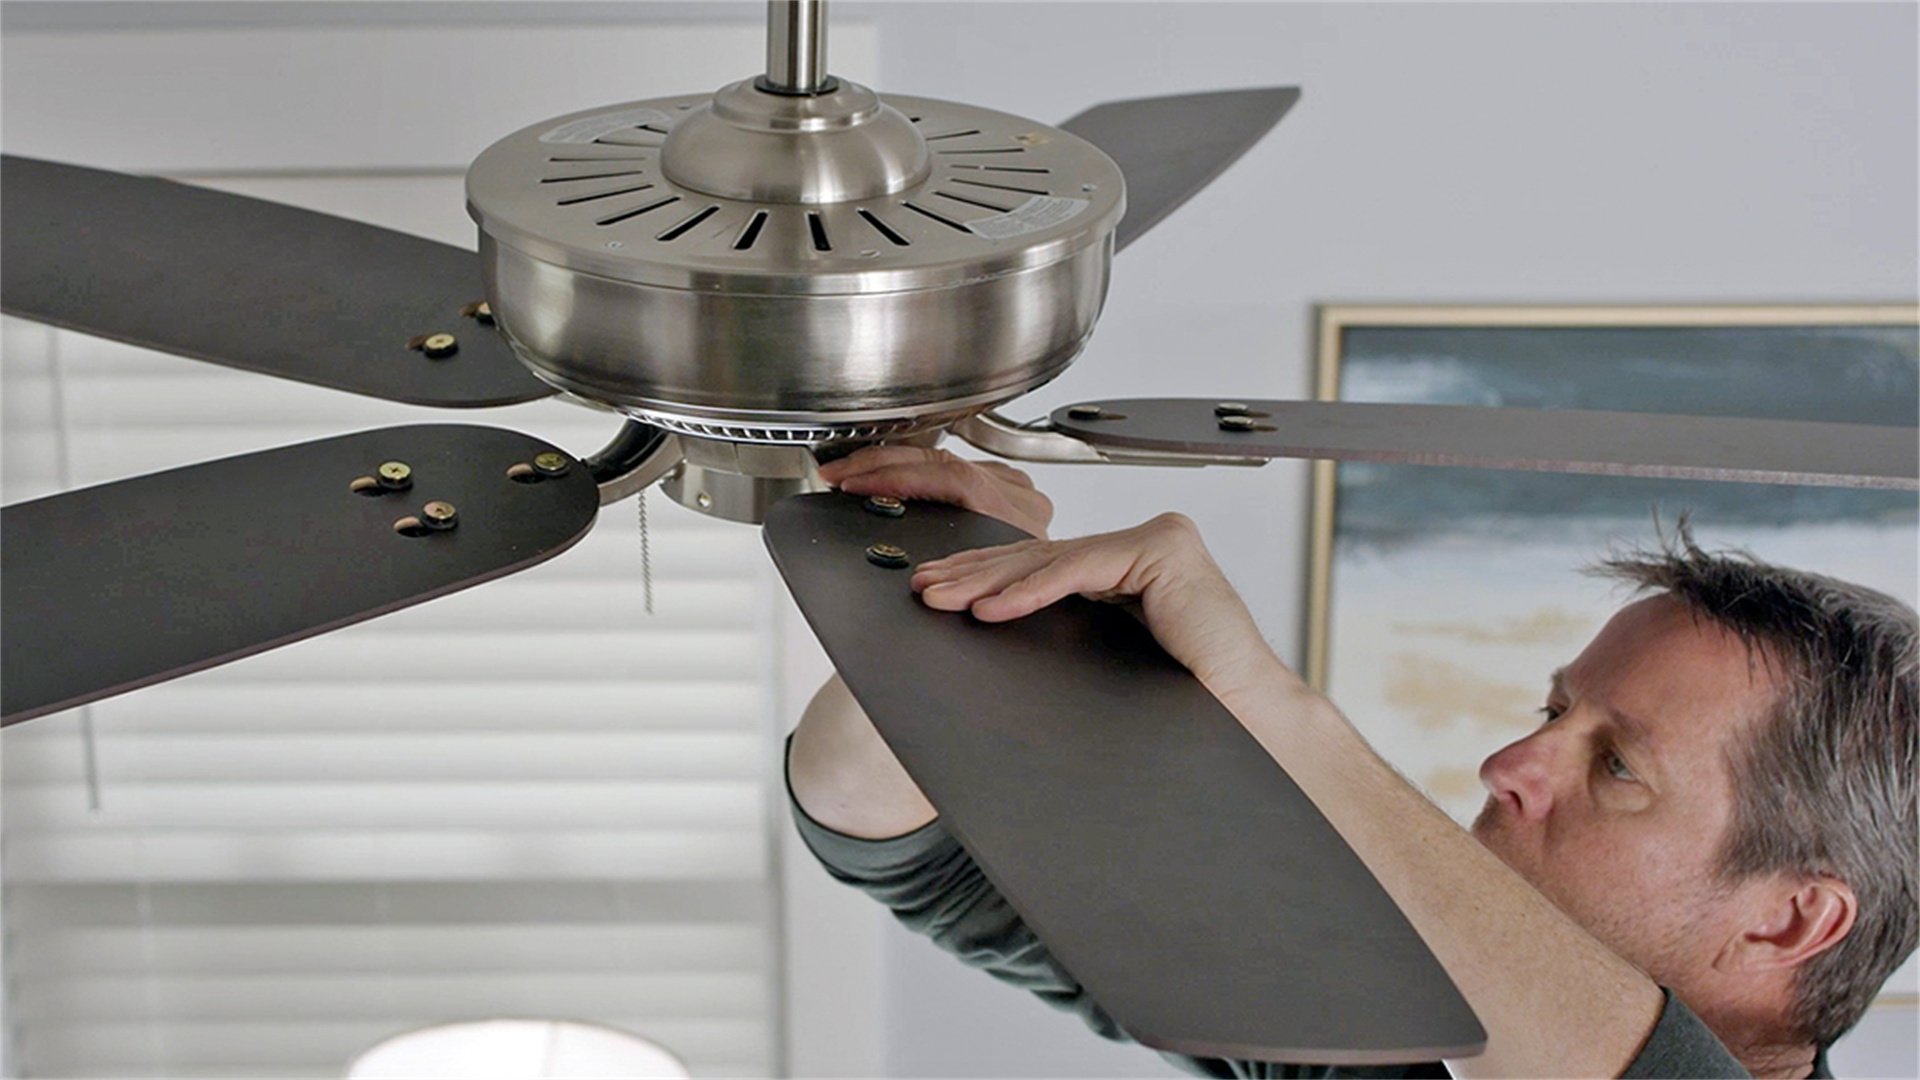
Step 1: Verify Electrical Box
- Ensure the existing electrical box is rated for ceiling fans—it should be metal and securely attached to a joist.
- If not, install a fan-rated box by accessing the attic or using an expansion brace.
Step 2: Turn Off Power and Prep
- Switch off the breaker and remove the old fixture.
- Assemble the fan according to instructions, including attaching blades to the motor.
Step 3: Mount the Bracket
- Install the mounting bracket to the electrical box.
- This bracket supports the fan's weight.
- Secure it with screws provided.
Step 4: Connect Wires
- Lift the fan motor to the bracket (use a helper or support tool).
- Connect wires: black to black (hot), white to white (neutral), ground to ground.
- If the fan has a light kit, connect blue or red wires accordingly. Use wire nuts and tape.
Step 5: Attach and Test
- Secure the fan to the bracket, install blades, and add light covers.
- Turn power on and test all speeds and lights.
- Balance the fan if it wobbles by adjusting blade weights.
Additional Details
- Choose a fan size appropriate for the room (e.g., 52-inch for large rooms).
- Use a remote control for convenience.
- Installation takes 1-2 hours, cost $100-$500 depending on fan quality.
🌟 Repairing Outdoor Lighting

Step 1: Safety and Power Off
- Turn off the circuit breaker for outdoor lighting.
- Use a voltage tester to confirm.
- Work during daylight for better visibility.
Step 2: Inspect and Clean
- Remove the light fixture cover and check for corrosion, water damage, or burnt bulbs.
- Clean contacts with a wire brush and replace bulbs with weather-resistant types.
Step 3: Check Wiring
- Inspect wires for fraying or animal damage.
- Splice damaged sections with waterproof wire connectors and seal with silicone caulk.
- Ensure all connections are tight.
Step 4: Replace the Fixture
- If the fixture is broken, install a new one rated for outdoor use (look for "wet location" rating).
- Connect wires as per instructions, and apply dielectric grease to terminals to prevent corrosion.
Step 5: Test and Secure
- Turn power back on and test.
- Adjust motion sensors or timers as needed.
- Ensure fixtures are sealed against moisture.
Expanded Advice
- Use GFCI protection for outdoor circuits to prevent shocks.
- Bury cables in conduit if adding new lighting.
- This repair costs $20-$100 per fixture, time 30-60 minutes.
🛡️ Installing GFCI Outlets
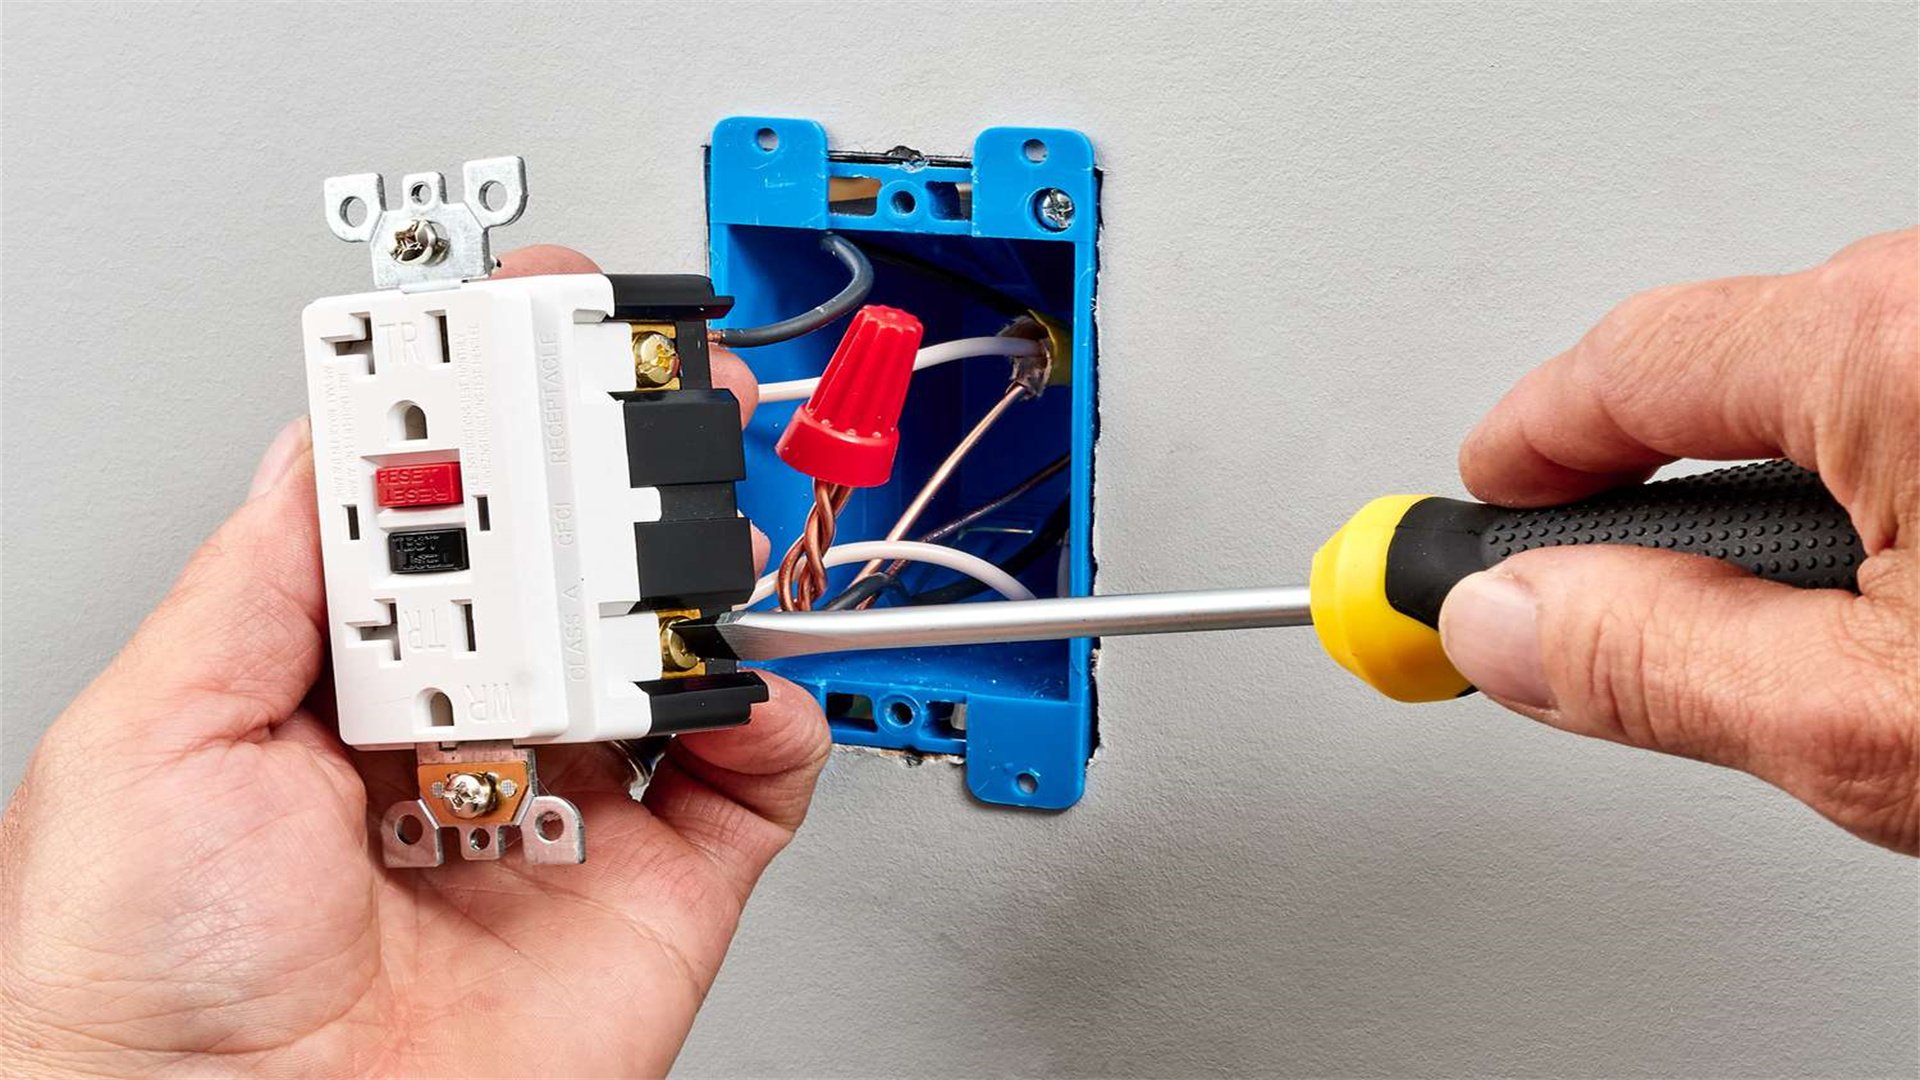
Step 1: Turn Off Power and Remove Old Outlet
- Switch off the breaker and test for voltage.
- Remove the existing outlet and disconnect wires.
Step 2: Identify Line and Load Wires
- Determine which wires bring power (line) and which go to other outlets (load).
- Use a voltage tester with power on briefly (caution) or trace wires. Typically, line wires come from the breaker, load wires daisy-chain to other outlets.
Step 3: Connect the GFCI Outlet
- Attach line wires to "line" terminals (hot to brass, neutral to silver) and load wires to "load" terminals if protecting downstream outlets.
- If only protecting this outlet, don't use load terminals—cap load wires instead.
- Connect ground to green screw.
Step 4: Install and Test
- Secure the outlet in the box, attach the cover plate, and restore power.
- Press the "test" button to trip the GFCI, then "reset" to restore power.
- Use an outlet tester to verify correct wiring.
Detailed Explanation
- GFCIs monitor current flow; if an imbalance is detected (e.g., from a ground fault), they cut power instantly.
- Install in kitchens, bathrooms, garages, and outdoors.
- Cost is $15-$25 per outlet, time 20-30 minutes.
✨ Troubleshooting Flickering Lights
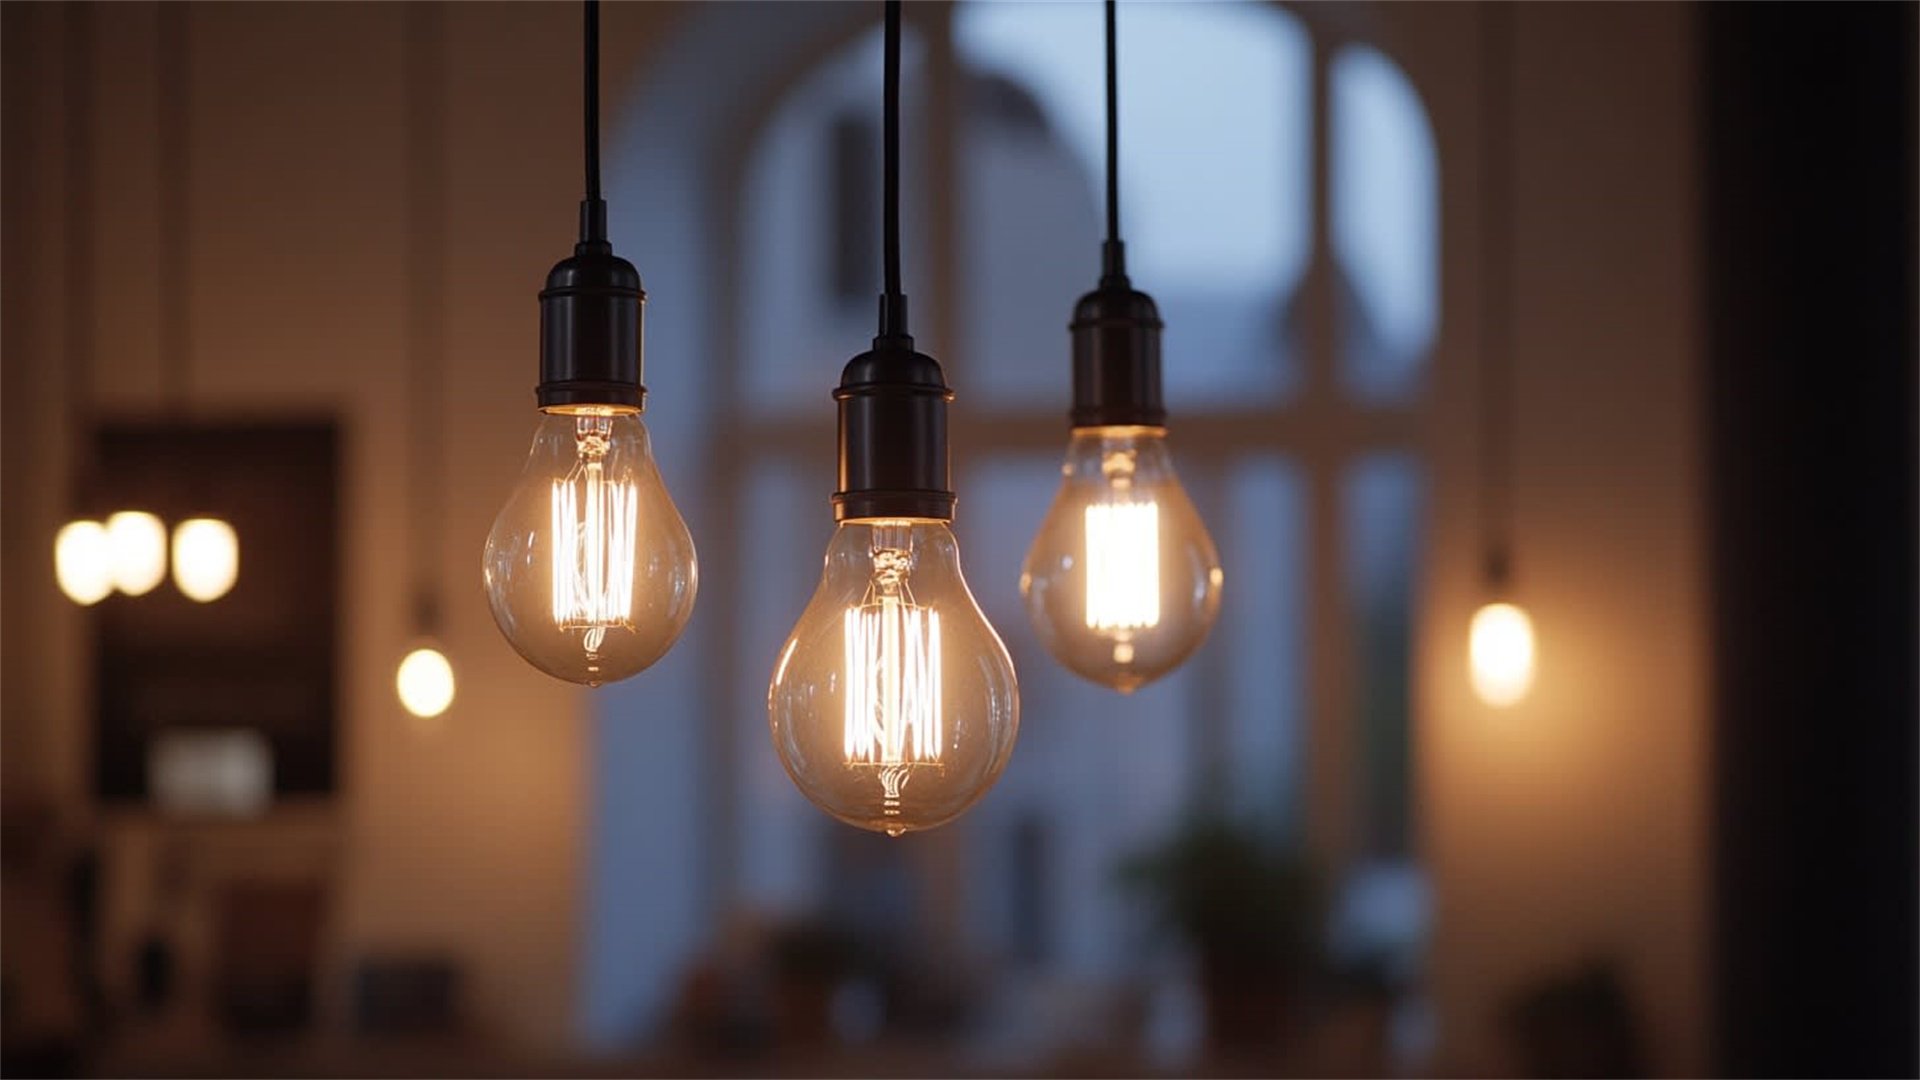
Step 1: Check Bulbs and Fixtures
- Turn off the light and tighten the bulb.
- If using LEDs, ensure they're compatible with dimmers.
- Replace the bulb to rule out a simple issue.
Step 2: Inspect Switches and Outlets
- Turn off power and check switch connections for looseness—re-tighten or replace the switch if needed.
- For plugged-in lamps, test different outlets to see if the problem persists.
Step 3: Examine Wiring
- Flickering in multiple lights may indicate a loose neutral wire in the circuit.
- At the breaker panel, tighten terminal screws on breakers (with power off).
- If unsure, use a multimeter to check voltage fluctuations.
Step 4: Consider Load Issues
- Large appliances turning on can cause voltage drops, leading to flickering.
- This may require a dedicated circuit or professional assessment of your home's electrical load.
Expanded Analysis
- Persistent flickering could signal serious issues like arcing, which can cause fires.
- If basic fixes don't work, hire an electrician.
- This repair is mostly diagnostic, with minimal cost for parts.
💡 Replacing Lamp Cords
Step 1: Unplug and Disassemble
- Unplug the lamp and remove the shade and bulb.
- Unscrew the socket cap to access wires.
- Pull the old cord out from the base.
Step 2: Choose a New Cord
- Select a replacement cord with the same gauge (usually 18-gauge for lamps) and length.
- Polarized cords (one prong wider) are safer.
Step 3: Thread and Connect
- Thread the new cord through the lamp base.
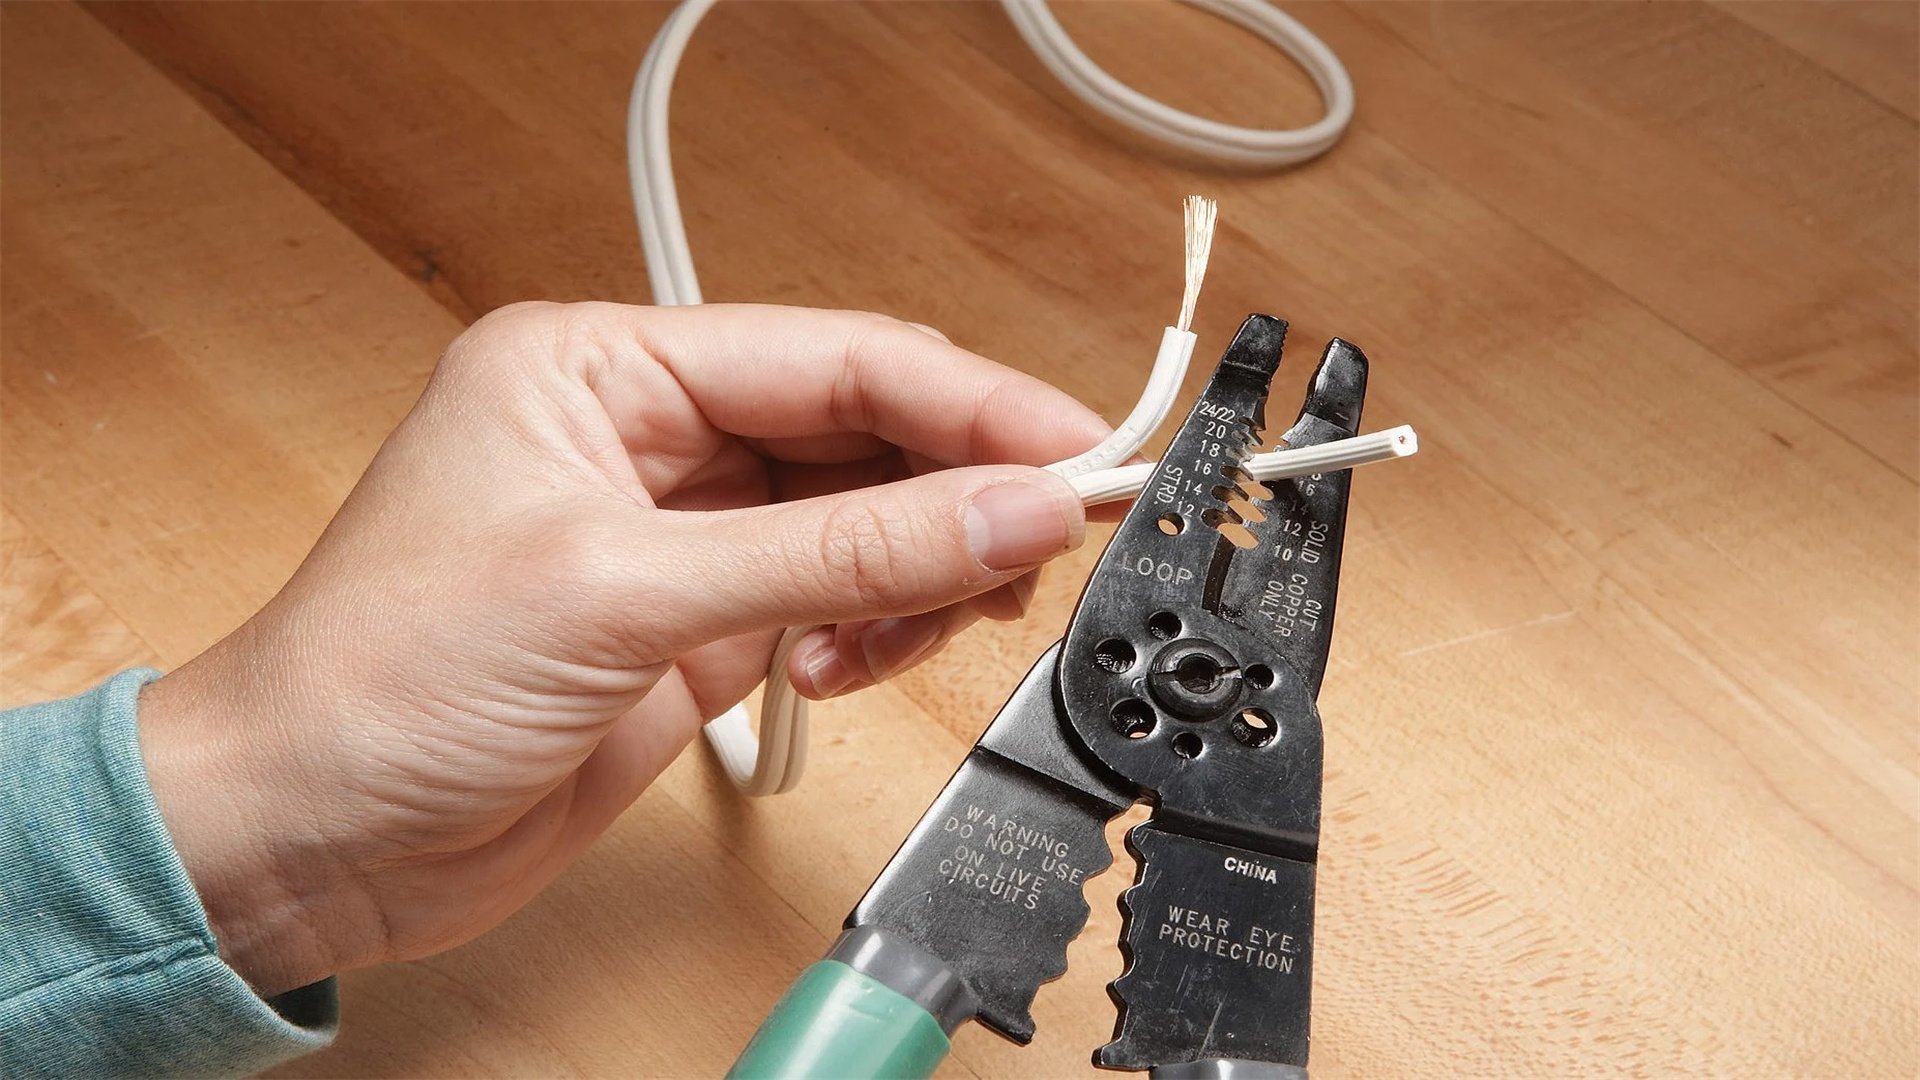
- Strip insulation from the ends and attach to socket terminals: smooth wire to silver screw, ribbed wire to brass screw.
- Tie an underwriter's knot inside the socket for strain relief.
Step 4: Reassemble and Test
- Reassemble the socket, attach the plug if not pre-attached, and plug in the lamp.
- Test with a bulb.
- Ensure no exposed wires are visible.
Additional Tips
- Use cord covers or tape to prevent tripping hazards.
- For vintage lamps, consider rewiring the entire socket for safety.
- Cost is $5-$10 per cord, time 15-30 minutes.
🔚 Conclusion
Empowerment through DIY
- Mastering these simple electrical repairs empowers homeowners to maintain their homes safely and cost-effectively.
- Each repair discussed—from replacing switches to installing GFCI outlets—requires careful attention to safety, proper tools, and step-by-step execution.
Reference and Best Practices
- By referencing reliable DIY sources and following local codes, you can tackle most minor electrical issues without professional help.
- However, always know when to call an electrician for complex tasks like panel upgrades or whole-house rewiring.
Start Small and Build Confidence
- Start with easier repairs, build your confidence, and remember: safety first.
- With practice, you'll save money and gain valuable skills for home maintenance.
Further Learning Resources
- For further learning, explore online tutorials from sites like Home Depot's DIY section or This Old House, which offer videos and articles aligned with these repairs.
- Keep your tools organized, stay updated on electrical codes, and enjoy the satisfaction of a job well done.
Advertisement