Step-by-Step Guide to Building a Cabin Pergola for Shade
Step-by-Step Guide to Building a Cabin Pergola for Shade
🔍 Introduction to Pergolas and Their Benefits
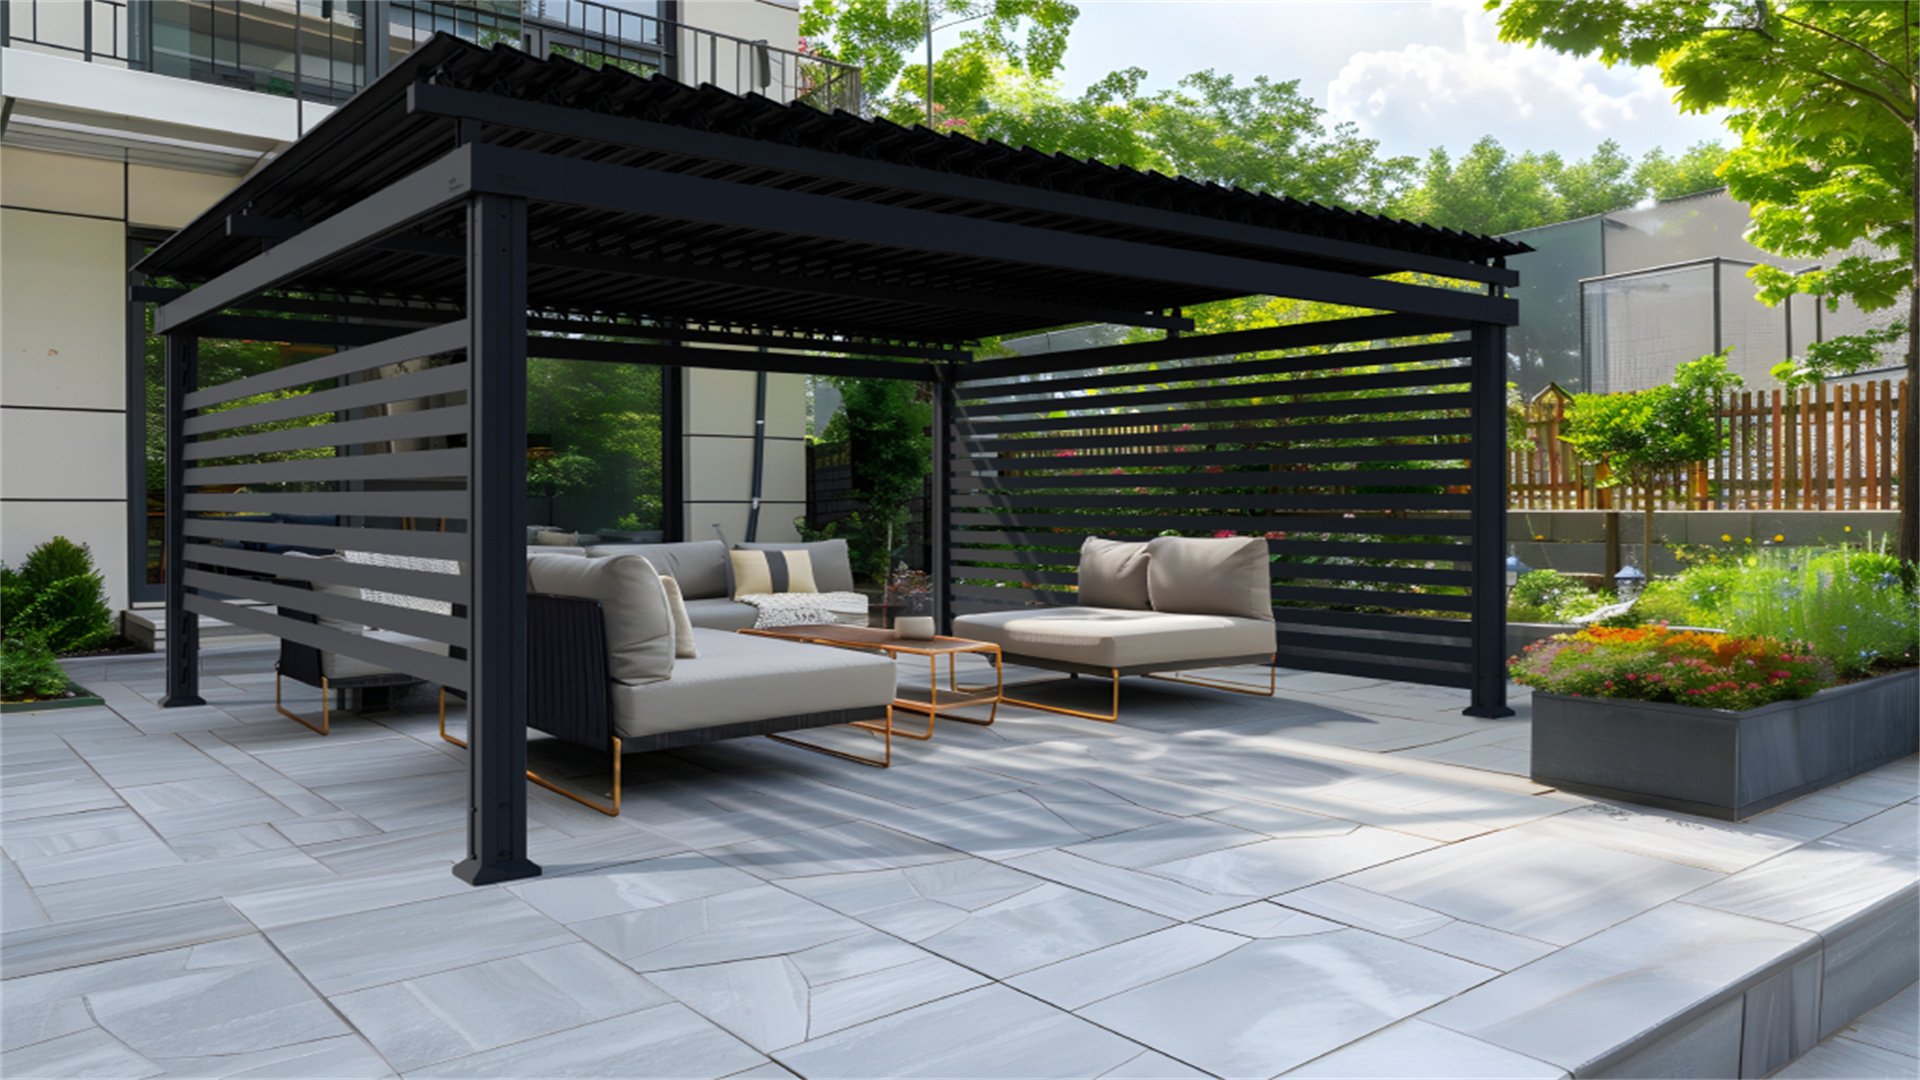
What is a Pergola?
- Historical Background: Pergolas have been used for centuries in various cultures, originally as garden features in ancient Rome and Greece.
- Modern Use: Today, they are popular additions to homes and cabins, serving both decorative and practical purposes.
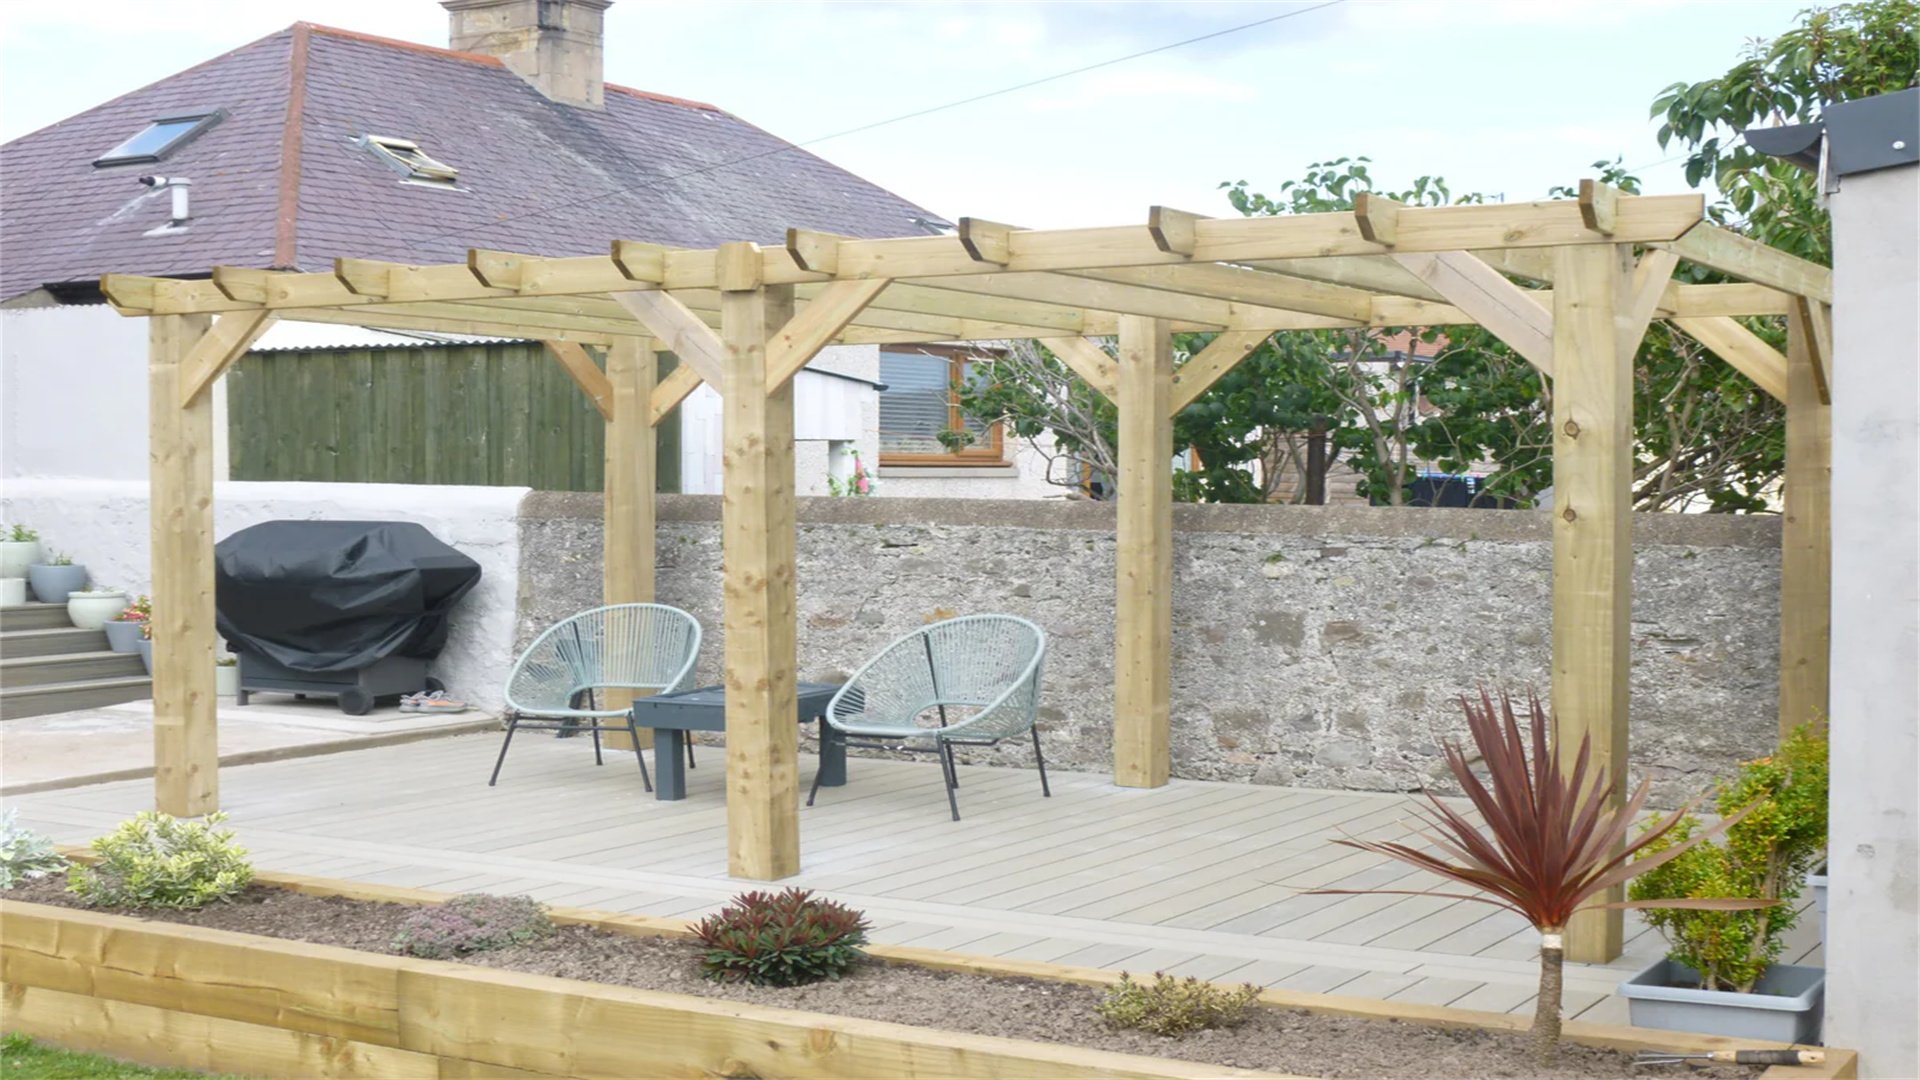
- Basic Structure: A pergola typically consists of vertical posts supporting an open roof of crossbeams and rafters, which can be left open or covered with shade materials.
Benefits of Pergolas
- Increased Property Value: Enhances aesthetic appeal and functionality of outdoor spaces.
- Enhanced Outdoor Usability: Provides shade and protection from the sun, allowing for comfortable relaxation or entertainment.
- Natural Integration: Blends seamlessly with the surrounding landscape, especially in cabin settings.
- Customization: Can be tailored to match cabin architecture and personal style through DIY projects.
Key Components of a Pergola
- Posts: Foundational vertical supports, usually anchored into the ground or attached to a deck.
- Beams: Horizontal members that run across the posts, forming the top frame.
- Rafters: Perpendicular pieces placed on beams to create the roof structure.
- Shade Elements: Optional materials like fabric, vines, or polycarbonate panels added for sun protection.
📦 Materials and Tools Needed
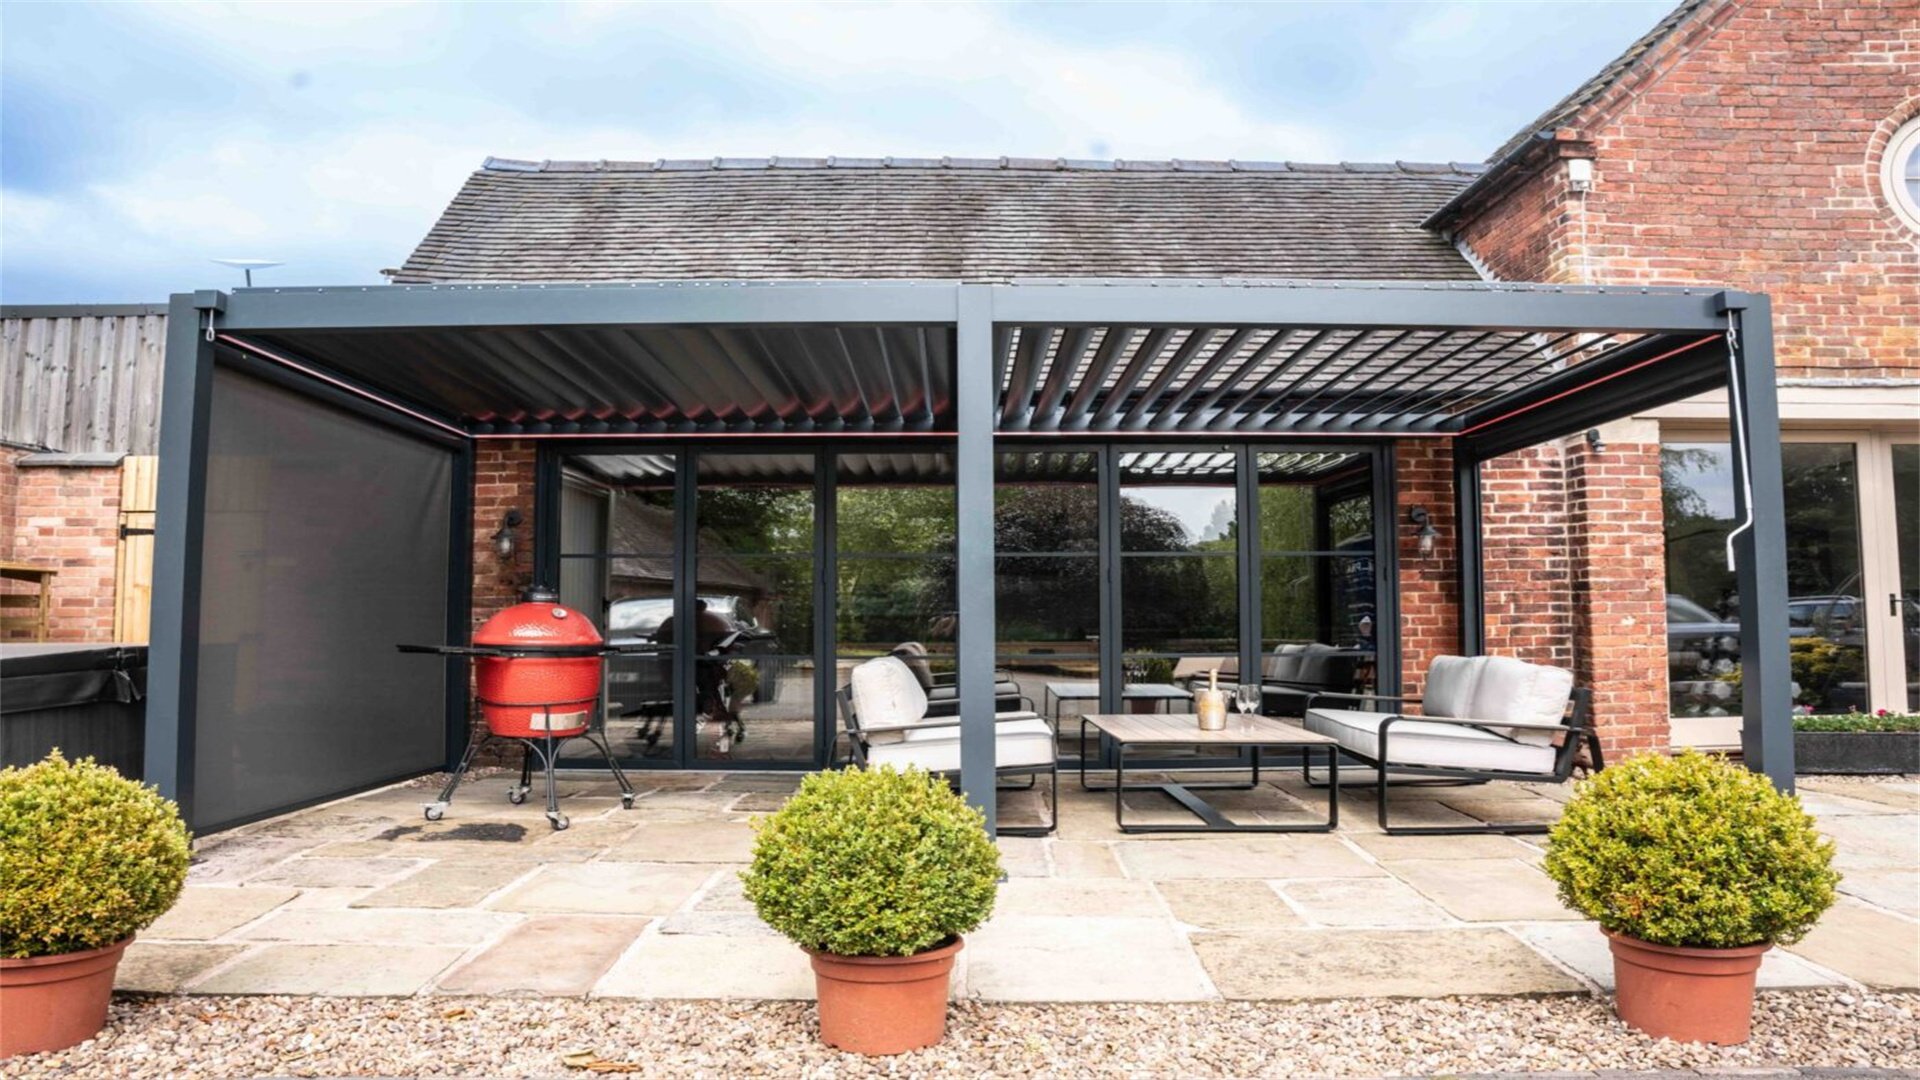
Materials List
- Lumber: Pressure-treated wood or cedar for durability. Includes 4x4 posts, 2x8 or 2x10 beams, and 2x4 or 2x6 rafters.
- Concrete and Gravel: Quick-setting concrete mix and gravel for drainage when setting posts.
- Hardware: Galvanized or stainless steel screws, bolts, brackets, post anchors, beam hangers, and rafter ties.
- Shade Material: Options such as outdoor fabric, reed mats, polycarbonate panels, or climbing plants.
- Finishing Supplies: Wood stain, sealant, paint, and sandpaper for protection and smoothing.
Tools List
- Measuring and Marking Tools: Tape measure, level, chalk line, pencil.
- Cutting Tools: Circular saw or miter saw, handsaw for smaller cuts.
- Digging Tools: Post hole digger or auger, shovel, tamper.
- Fastening Tools: Power drill with bits, hammer.
- Safety Gear: Safety glasses, gloves, ear protection, ladder for height work.
- Additional Tools: Wrench, clamps, square for accuracy.
🛠️ Step-by-Step Construction Guide
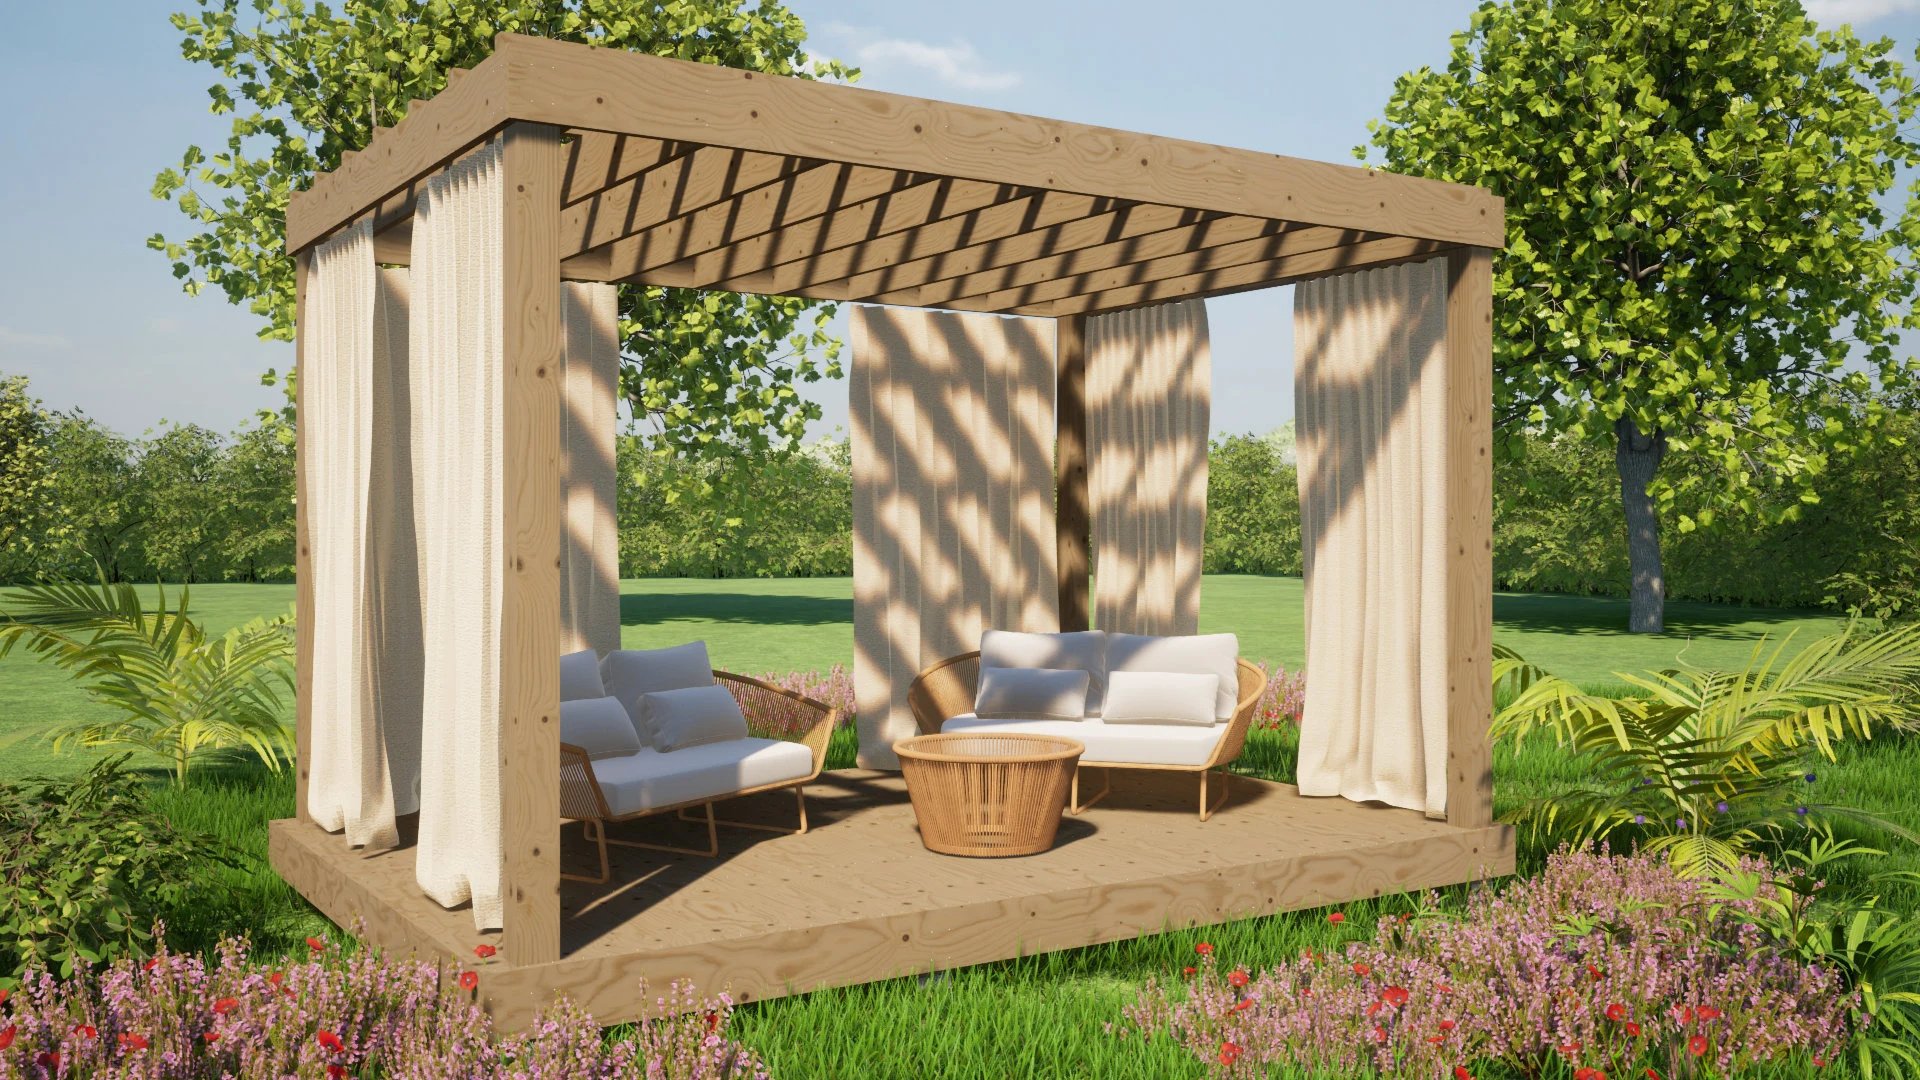
Step 1: Planning and Design
- Decide on Size and Location: Consider how the pergola fits with your cabin's layout, such as adjacent to a deck or in a garden area. Measure available space and sketch a design.
- Check Building Codes: Review local regulations and obtain necessary permits for permanent structures.
- Create a Material List: Calculate lumber lengths and hardware quantities based on design dimensions.
- Consider Shade Options: Decide on fixed or retractable shade materials, and account for sun path positioning.
- Mark the Layout: Use stakes and string to outline the pergola's footprint on the ground.
Step 2: Site Selection and Preparation
- Choose a Level Area: Select a site with good drainage to prevent water pooling. Clear debris, rocks, and vegetation.
- Dig Post Holes: Excavate holes approximately 12 inches in diameter and 24 inches deep (or below frost line). Add a 4-inch gravel layer for drainage.
- Ensure Alignment: Use a level and string line to check that holes are evenly spaced and aligned according to design.
- For Deck-Mounted Pergolas: Skip digging and use post anchors bolted directly to deck framing instead.
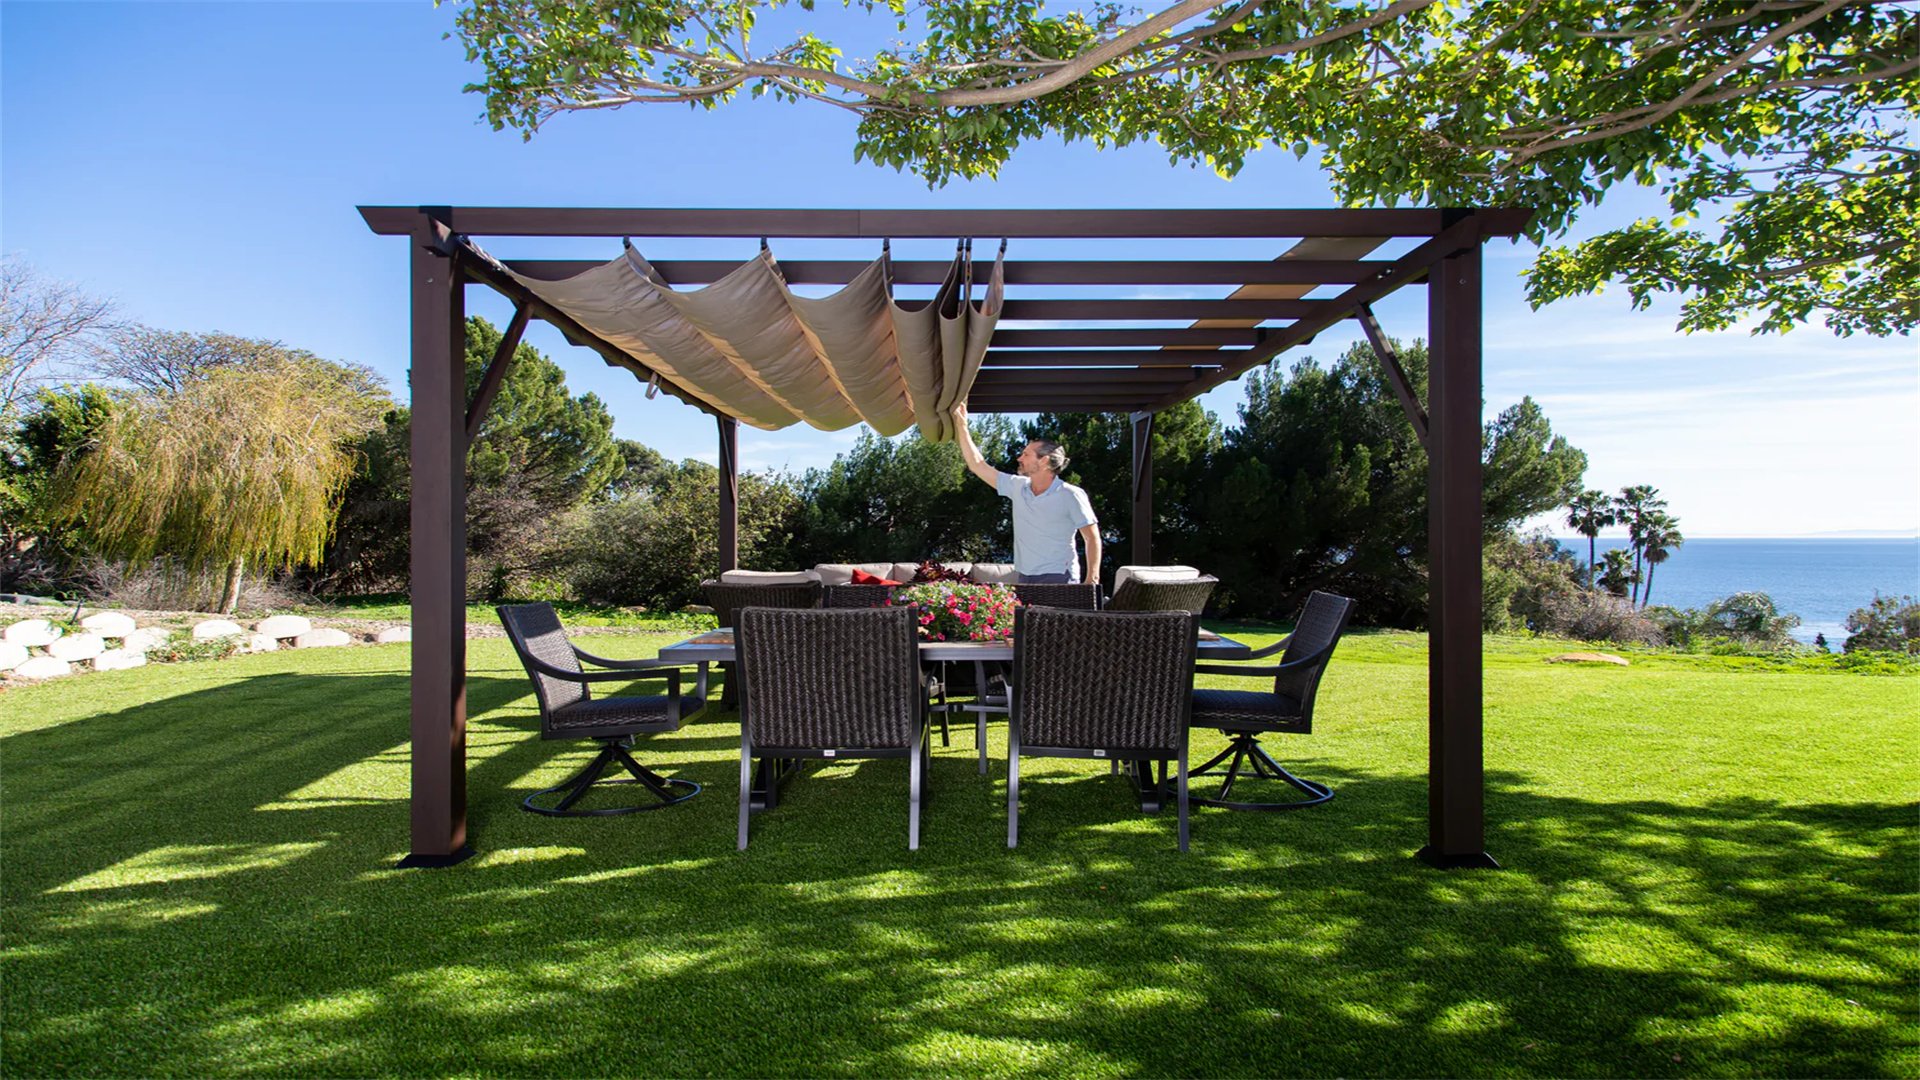
Step 3: Installing the Posts
- Cut Posts to Height: Account for ground depth and desired above-ground height (typically 8-10 feet).
- Place and Brace Posts: Set each post in a hole, use a level to ensure plumb, and temporarily brace with stakes.
- Pour Concrete: Mix and pour concrete around posts, filling two-thirds first, checking plumb, then completing the fill. Slope top away from post for water runoff.
- Cure Concrete: Allow 24-48 hours for curing, avoiding disturbance. Remove braces and backfill gaps with soil.
- Level Post Tops: Measure from a reference point and trim posts if necessary to ensure even height.
Step 4: Building the Frame
- Install Beams: Cut beams to length and attach to posts using notches, metal brackets, or bolts. Ensure beams are horizontal and level.
- Add Crossbeams or Ledger Boards: For attached or freestanding pergolas, install additional supports for strength.
- Check for Squareness: Measure diagonals from corner to corner; adjust beams if unequal before tightening fasteners.
Step 5: Adding the Beams and Rafters
- Cut Rafters to Length: Include overhang for aesthetics. Space them evenly (12-24 inches apart) on beams.
- Attach Rafters: Secure to beams using toenailing or metal rafter ties, starting from one end and working across.
- Install Secondary Beams or Purlins: Optional step for added rigidity and decorative appeal.
- Inspect Roof Grid: Ensure consistency in spacing and alignment, making adjustments as needed.
Step 6: Installing Shade Materials
- Choose Shade Material: Options include vines (e.g., wisteria), fabric canopies, bamboo screens, or polycarbonate panels.
- Measure and Cut: Size material to fit rafters, allowing for overlap and fastening points.
- Attach Securely: Use grommets and hooks, bungee cords, screws, or other fasteners based on material type. Ensure tautness to prevent sagging.
- Consider Weather: In windy areas, opt for retractable systems that can be rolled up during storms.
Step 7: Finishing Touches
- Sanding: Smooth rough edges and splinters on wood for safety.
- Apply Finish: Use wood stain or sealant to protect against moisture, UV rays, and insects. Allow to dry completely.
- Add Decorative Elements: Install string lights, outdoor curtains, or furniture to enhance ambiance and functionality.
- Clean Up Site: Remove tools and excess materials. Consider planting flowers or shrubs around the base for landscape integration.
🔧 Maintenance and Care
Regular Maintenance Tips
- Annual Inspection: Check for loose fasteners, wood rot, or fading finish. Tighten bolts and screws as needed.
- Reapply Protective Finish: Stain or sealant should be reapplied every 2-3 years to maintain weather resistance.
- Clean Shade Materials: Wash fabric canopies or wipe polycarbonate panels with soapy water as required.
- Prune Climbing Plants: Regularly trim vines to prevent overgrowth that could damage the structure.
- Winter Care: Remove heavy snow from the roof to avoid stress on the pergola.
- Insect Control: Monitor for infestations and treat promptly with pesticides or natural remedies.
- Keep Area Clear: Remove debris around the pergola to prevent moisture buildup and rot.
🎯 Conclusion
Final Thoughts
- Rewarding Project: Building a cabin pergola for shade enhances outdoor living space and adds property value.
- Customization: Tailor the design to suit your cabin's style and personal preferences for a unique retreat.
- Enjoyment: Use the pergola for relaxation, dining, or entertaining, and take pride in the DIY accomplishment.
- Ongoing Support: Consult online forums or local hardware stores for additional advice or questions.
Advertisement